How Do I (Really) Crate Heavy Stuff Like Glass and Marble?
Posted in: I'm a Mover, Pro Packing GuidesThis month’s packing tip has nothing to do with packing anything.
Unpacking?
Good guess, but nope.
Disposing of packing material?
Nope.
Umm, wrapping furniture?
Uh-uh.
…A tutorial on different kinds of tape?
Please, this is a newsletter, not a sleeping pill.
Forget it I give up.
Okay, well let’s get to it.
Have you ever come face to face with an item you don’t feel comfortable packing? A glass tabletop? A slab of marble? That one-of-a-kind piece of artwork that the customer is ready to freak out about because it’s expensive and super fragile and, well, one of a kind? (If you haven’t, stick around. You will.)
We can wrap such items in blankets and pads and fashion custom cardboard cartons for them, all to minimize the possibility of damage. We can bandage it all up in three layers of tape and even write FRAGILE all over the place – but really, it’s sometimes hard to convince the customer (not to mention ourselves) that this will do the trick.
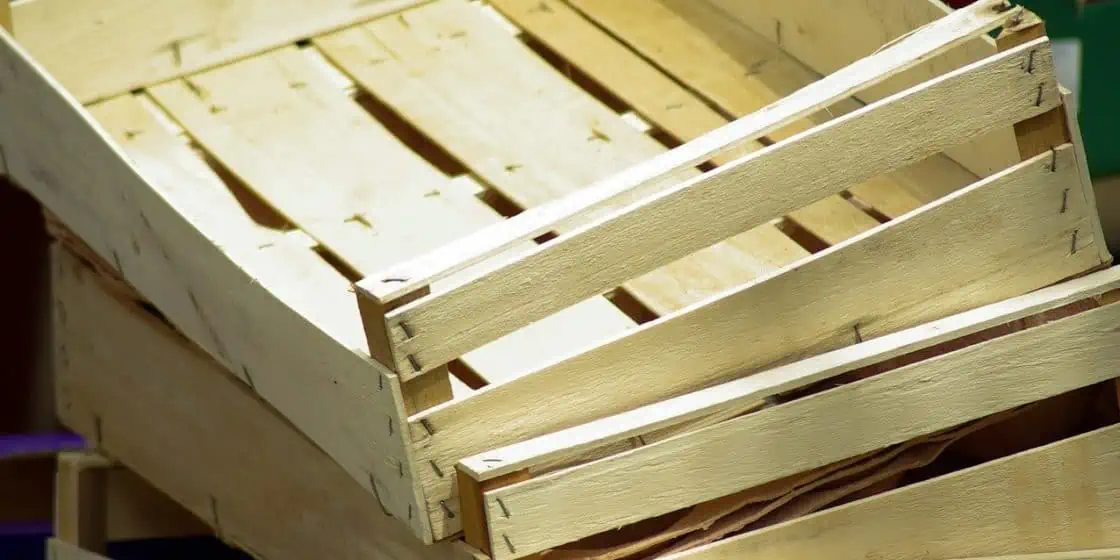
In these times, building a crate might be the answer.
You might be able to find a third party to come in and help out, but what about adding crating to your own list of services? While it may take a bit of practice before you can whip out a 6’ x 3’ x 4” crate for that monster piece of glass, the time and the tools it takes are fairly minimal.
What You’ll Need
- Drill – very preferably the electric variety.
- Screws – 5mm should suffice but there’s no harm in going a little longer.
- Tape Measure – obviously.
- Saw – a good old-fashioned hand saw should do it.
- Lumber – 1” x 4” pine is widely used.
The Basics
Two things to keep in mind:
One, we’re building a crate, not a china cabinet. It doesn’t have to be polished and perfect. It simply has to be constructed to size, to accommodate the item while leaving a bit of space for the padding and protection that is still necessary.
Two, a crate needs to stand up to the pressures of what is both inside and outside. This is why we use screws instead of nails, and why it is a good idea to add triangular support to the corners, as we will see.
Measuring the item is the first step in crating. Rectangular items are simplest and most common but we have had to deal with circular pieces of marble and five-sided oak tabletops. Whatever shape your item is, plan on building a rectangular (or square) crate.
Fashion the frame out of lengths of 1x4s. (Nothing says you can’t use 2x4s but the need to is rare.) Make your square or rectangle frame then add vertical slats to make one of the sides of your crate. These vertical slats can be screwed either to the side or the inside of the frame. Either way, bringing two of these slats flush with the ends of the outer frame will help guard against damage to the corners of the item while adding strength and stability to your crate.
TIP: Take care to make sure your screws aren’t sticking out of the wood. This can weaken the wood while creating a hazard – to the item as well as to people’s fingers.
Wrap and pad the item to be crated. Do this inside, but leave your open-sided crate outside or in the garage if necessary. Hauling your crate through the customer’s home and placing it on their floor only invites damage to the walls and floors. Once the item has been placed and appropriately secured in your crate, screw the vertical slats of the second side into place. Unless your wrapped and padded item is equally as thick as your crate, you’ll want to attach these slats to the interior of the frame, flat against the item to prevent that item from moving and shifting inside its new home.
TIP: Place sheets of cardboard in between the wrapped and padded item and the vertical slats of your crate. This not only provides one more layer of protection but offers a place to write FRAGILE or GLASS or DINING ROOM or whatever else on the item.
If need be take a few scraps of 1×4 and screw them diagonally across the corners of your frame to give it that extra degree of stability. Saw off any excess and your crated item is good to go.
Screw it, don’t nail it. Remember, at destination that item will have to be uncrated. If that crate was put together with a bunch of nails banged in every which way then the uncrating process turns into a demolition project which destroys the wood and presents one more opportunity for that item to get damaged. Screws can be easily and painlessly removed, keeping that glass tabletop safe. As a bonus the crate, nicely disassembled, can be kept and reused by the customer or taken away by the crew unloading everything and they in turn can use the wood for one of their next crates.
The Bottom Line
As mentioned in the beginning, you may be able to find a third party to do your crating for you. But first find out what they’d charge. Then weigh that against what you could do it for while putting some extra money in your pocket for the effort.
Customers who need crating may be few and far between. But when they ask if you can do it, how cool would it be to say ‘Yeah, we can do that for you, and for less than what a crating service would charge.”
If you have crating as part of your list of services you may not have to say anything. That customer already knows you can do it – and will call you before calling someone who can’t.


