How Do I Pack Knives Safely?
Posted in: Pro Packing GuidesKnives are small compared to your sofa or coffee table, but when it comes to packing for a move, they deserve extra attention. They’re sharp, dangerous, and potentially fragile.
But avoiding the risk of injury or damage is really simple: wrap each knife individually, use padding materials like packing paper and bubble wrap, and pack everything tightly in a well-labeled box.
With years of experience and thousands of moves behind us, HireAHelper knows all the tricks. So whether you’ve invested in cutting-edge chef’s knives or you have a cherished knife that’s been passed down through generations, we’ll help you safely pack and protect them from damage throughout your move.
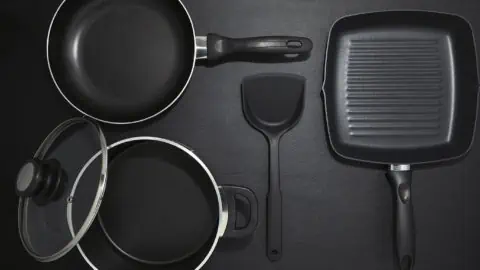
Step 1: Get Your Supplies Together
When it comes to packing knives, the right supplies make all the difference. Having these on hand before you start means no scrambling mid-pack and fewer chances for nicks or accidents:
- Packing paper and/or clean dish towels
- Bubble wrap
- Packing tape
- Small sturdy moving box
- Knife sleeves or blade guards (optional, but highly recommended)
- Knife roll (if you already have one—great for chefs or serious home cooks)
- Rubber bands or zip ties
- Labels or permanent markers
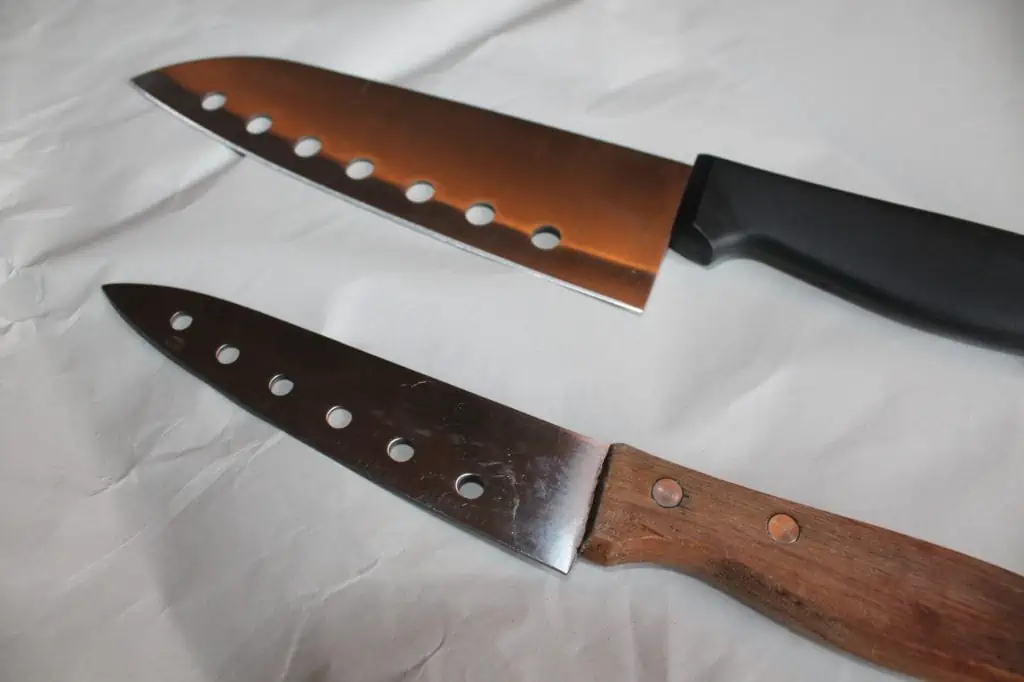
Pro Tip: Knife sleeves and blade guards are great for protecting the blades (and your hands). You can buy disposable ones online or make your own by folding cardboard around the blade and taping it shut. Another option is using a knife roll—it’s one of the safest ways to pack knives for a move, especially when transporting a high-end set.
Step 2: Prep Your Knives
Before wrapping anything, take a few minutes to get your knives ready for packing:
- Clean and dry every knife: Trapping moisture could lead to rust or damage by the time you unpack, especially with carbon steel knives.
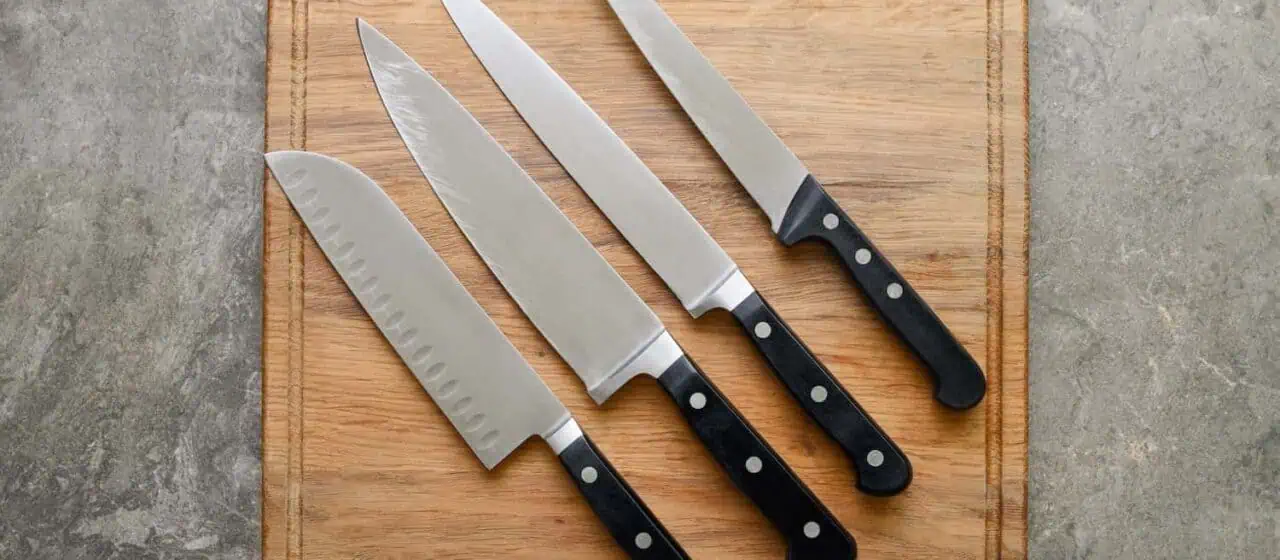
- Group similar knives together: Sorting by size or function will help when bundling and organizing.
- Use sleeves or guards when possible: Add a secure layer of protection before the wrapping begins.
- Lay everything out on a flat surface. A clear workspace helps you stay focused and avoid mixing sharp items with unrelated things.
Pro Tip: Double-check drawers for other sharp items, such as box cutters or letter openers. These should be packed using the same safety steps.
Step 3: Pack Everything Securely
Protecting your knives from rust or dulling is one thing, but making sure they’re safe for you and your movers to handle is just as important. Here’s how to wrap knives to avoid a dangerous “rattling box of blades” situation.
If You Don’t Have Knife Sleeves or a Roll:
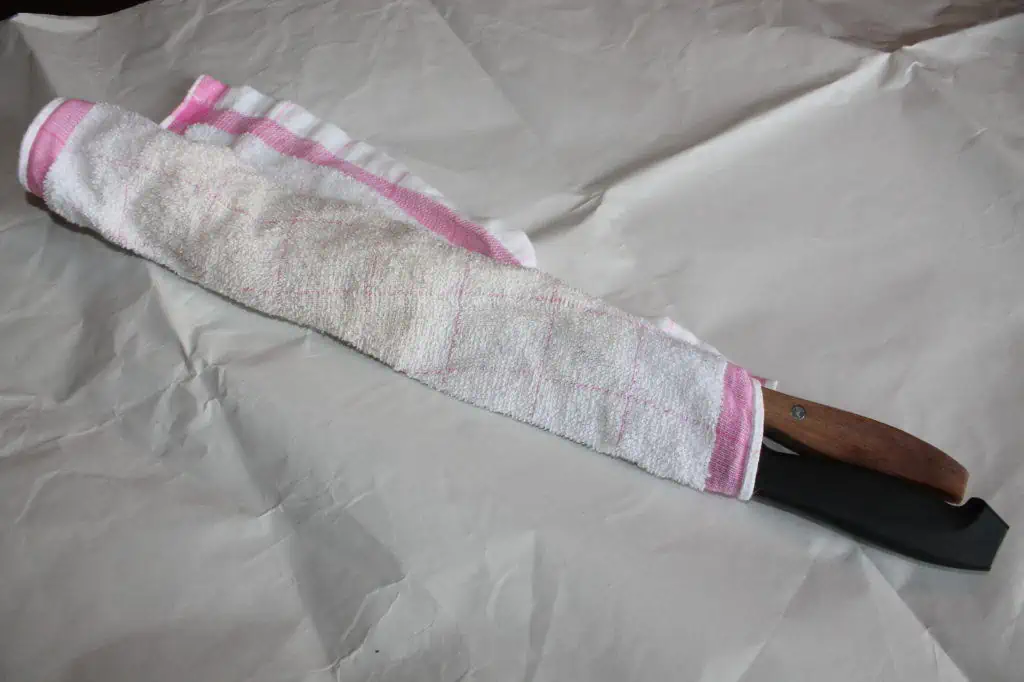
- Wrap each knife individually in packing paper or a soft towel. Fold the blade tightly inside so there are no exposed edges.
- Wrap the knife again in bubble wrap, paying special attention to the tip and handle.
- Use tape or a rubber band to secure the bundle so it doesn’t come undone.
- If you’re bundling multiple wrapped knives together (not recommended for larger blades, but fine for butter knives or utensils), add another layer of bubble wrap around the group.
- Label each bundle as “Sharp” or “Knife – Handle Here” so you or your movers know where to grab them.
When it comes to the best way to pack knives for moving, keep these tips in mind. Following each one carefully ensures your knives arrive safely at your new home without any risk to you or your movers.
![]()
See prices for local moving labor. Read real customer reviews. Easily book your help online.
How to Pack Knives in a Box:
- Use a small box just for knives. This keeps them from shifting and makes them easier to track. A shoebox can hold most knives securely without them moving around too much.
- Fill any gaps in the box with more packing paper or towels. Less wiggle room means less chance of damage.
- Place the heaviest bundles at the bottom of the box, and lighter or more fragile items on top.
Organizing your packing like this simplifies the unpacking process. It also reduces the chance of unexpected cuts and your knives scratching other items.
Step 4: Tightly Secure Your Box
Even if your knives are tightly wrapped, they still need a secure box to travel in. Use strong packing tape to seal every seam.
“You can buy disposable [knife guards] online or make your own by folding cardboard around the blade and taping it shut.”
It’s worth investing in the best packing tape you can afford, because the last box you want to collapse is the one with all the knives in it. Choose a durable brand to ensure your boxes and items are sealed and secured.
Step 5: Label the Box
Even if you’ve mastered how to safely pack knives for moving, everybody should know which boxes contain knives and other sharp items. Clearly label the box on every side, either with a marker pen or labels.
We recommend the following wording:
- “FRAGILE – HANDLE WITH CARE”
- “DANGER – SHARP KNIVES INSIDE”
- “KITCHEN – PACKED KNIVES”
Label the individual knife bundles as well for extra clarity. That way, if someone opens the box and pulls out a bundle, they’ll know to treat it with caution.
Labeling isn’t just about organization—it’s about safety. The last thing you want is an unexpected hand injury while moving. Another way to ensure items are labeled clearly and end up in the right place is to use a color-coding system for your boxes.
How to Pack a Knife Block for Moving

If you have a knife block, there are a few simple ways to pack it without damaging the block or the blades:
- Remove the knives from the block and pack them separately using the steps above.
- Clean the knife block and dry it thoroughly to avoid trapping moisture.
- Wrap the block in bubble wrap or towels, securing it with tape or bands.
- Pack it in the same small box as your knives, or in a nearby kitchen box for easy unpacking.
- If the box contains both the knife block and the knives, label it clearly.
Safely Packing Knives and Sharp Objects
Packing knives for a move doesn’t have to be complicated, but it should be approached with care. Whether you’re working with a full chef’s set, a couple of paring knives, or a mix of kitchen tools, the steps are the same:
- Wrap each blade with soft padding and secure it with bubble wrap.
- Use sleeves, rolls, or DIY guards where possible.
- Pack knives in a small, tightly packed box and fill the empty space.
- Use quality tape and label clearly on every side.
- Communicate clearly with anyone helping with the move.
As a bonus, this method works for kitchen knives, scissors, letter openers, and any other sharp tools. Properly organizing sharp items means fewer accidents, less damage, and one less thing to stress about. And really, isn’t that the goal of any good move?