How to Sell a House: A Guide from A to Z

Author:

Publish Date:

Last Modified Date:

Category: Buying & Selling a Home

Tags: Tags: , , , , , , , , , , , , , , , , , , , , , , ,

If you’ve ever sold something on Craigslist, you probably know how much work even just that can be involved. You’ve gotta take photos of the item, figure out a good price, and then post it online with a descriptive caption and details about the piece. Afterward, you’ve gotta field the emails and calls, then wait for a random stranger to come pick up your item.

Now, take that process and multiply it by 100 … that’s what it’s like to sell a house!

We’re not gonna sugar coat it; there is a lot of work and serious effort involved in selling a home. That’s why we wrote this post to outline the entire process for you. Understanding what you’ll be doing is the first step towards slapping “SOLD” on the sign in your front yard.

Craft a Selling Gameplan

Once you decide to sell your house, you probably would like if it all happened pretty quickly. But nothing good happens without a plan. So the first order of business is to make a selling gameplan. This is what that looks like.

Agent or No Agent?

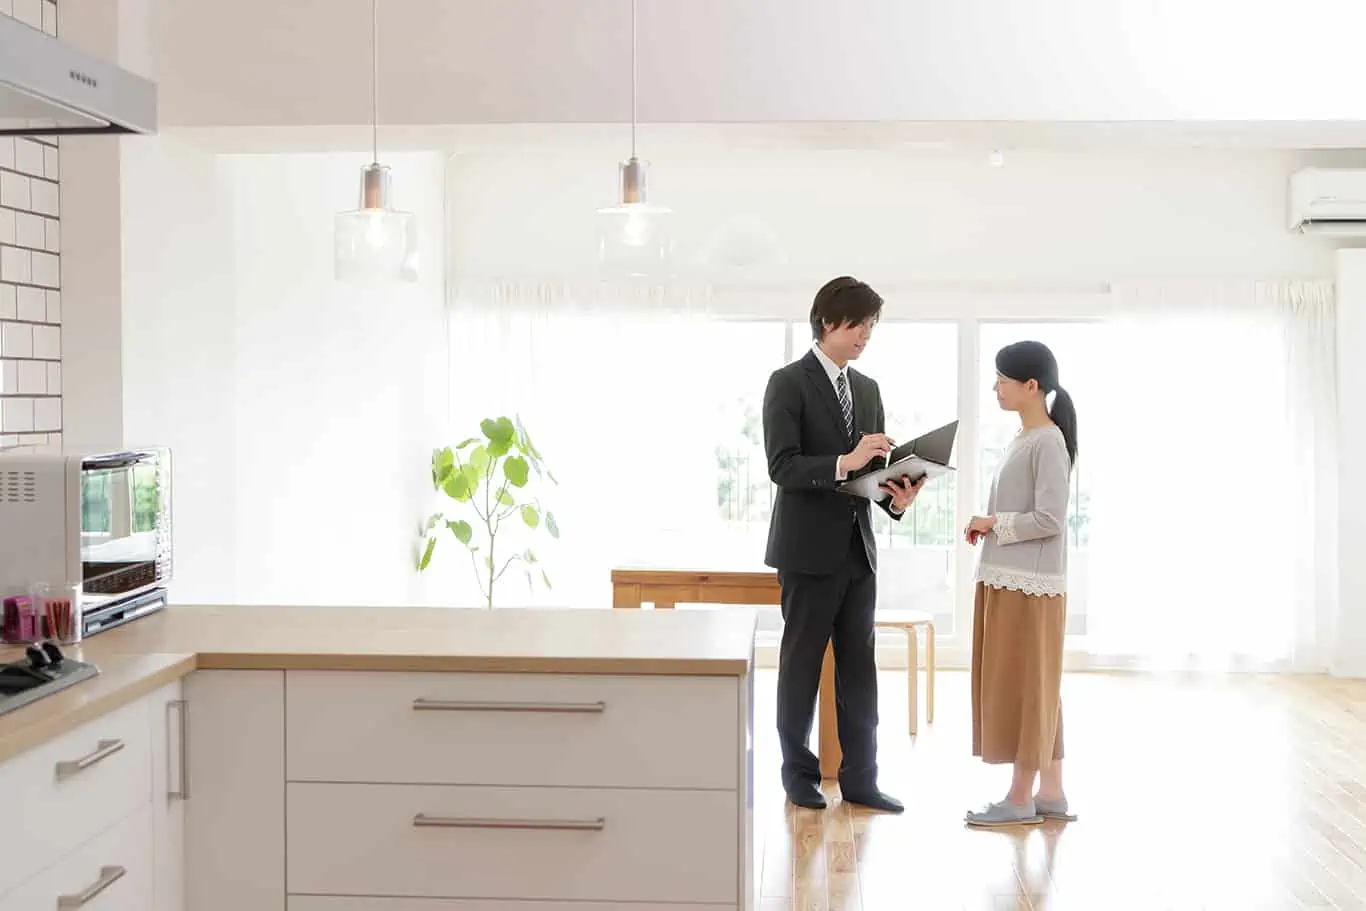
The first major step in the selling process is figuring out if you’re going to hire a professional real estate agent or sell your home yourself. If you go the “For Sale By Owner” route, you could, in theory, save some money. But if you’re new to the home selling process, you may be way over your head if you DIY it. Ask yourself if you have the time, knowledge and marketing skills to sell your house all by yourself. If you come away with a resounding yes, it could be the right move for you!

Though if you decide to go with an agent, take the time upfront to find a good one. Ask friends for referrals, read reviews online and interview more than one agent before you hire the winner. A good agent should educate you throughout the process, and it ultimately should be someone you deeply trust.

This post outlines tips on who to contact, when, and how to do it.

Choosing the Right Time

The best time to sell is March through June. That leaves parents an entire summer to get their kids adjusted and ready for the new school year. So if you can wait until the spring and early summer months, do it! It’s always best to avoid selling during winter and the holidays, as most people aren’t looking to buy homes during that busy time of year on average.

Find the Right Price

The first 30 days of activity are crucial when it comes to selling your house, so price matters. You may assume that you should start high and then lower your price if you don’t get any attention, but if it sits on the market for too long, your listing can become stale. Buyers may stay away if you price too high or assume that you’re not serious about selling. Price it right from the start and you’ll probably sell your home much faster.

If you’re using an agent, they will work with you to figure out the best price for your home. You can also research other comparable homes in your area, and maybe even attend some open houses. Plus, there are many online resources that will help you track down the perfect number for your area. These things will all get you a good feel for the market and how your home compares.

Prep Your Home

Painting the House

Before you can officially get your home on the market, you need to get it looking it’s very best. If you fail to make your home look presentable, then you may not get the asking price you’re looking for, or even worse … it could sit on the market for far too long. You need to showcase your home in its best light, and the only way to do that is with some hard work and effort. Here’s how to prep your home for the market:

De-Clutter and De-Personalize In Six Steps

This first task will cost you literally zero dollars. Yep, you can already make your home look 10 times better without spending a dime. Here’s how.

  • Find a spot where you can store items out of sight. That could be an attic space, shed, or even a storage unit that you rent while you’re selling.
  • Remove excess bulky furniture. The more space to walk around, the better.
  • Try to pare down at least 10% in each room. Gather extra accessories and items that are taking up space.
  • Permanently clear all counters in your kitchen. And try to get rid of most items on surfaces (i.e., desks, dressers, etc.).
  • Donate everything you clear. (Or add them to your designated storage spot.)
  • Remove any personal items from around your home. This means things like picture frames and family knickknacks.

These six steps will have your home looking so much more sellable. Your space will be lighter and brighter for the photography and showings later on! Don’t forget about closets and drawers too. Buyers are nosy, and they’ll be checking out every nook and cranny in your house.

Make Small Home Upgrades

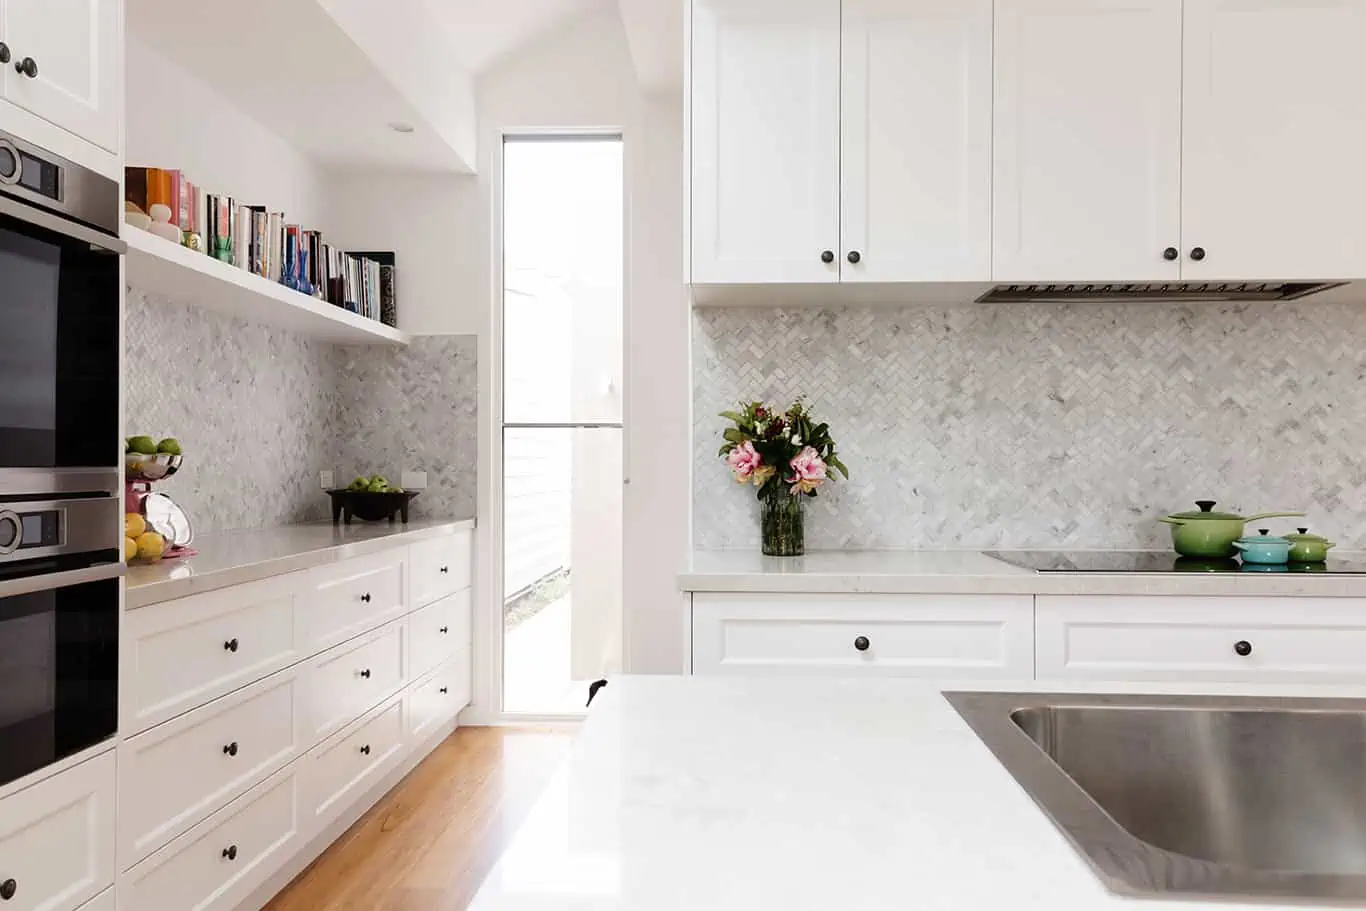
You don’t necessarily need to renovate your kitchen or bathroom to sell your house, but there are small upgrades you can make to improve your home. Here are some ideas that will instantly improve the look of your space (and potential home value!).

  • Give your walls a fresh coat of paint. Be sure to consult this list of paint colors with the best resale value first!
  • Upgrade your kitchen on a dime. Swap cabinet hardware, replace your faucet, and add new pendants for a quick and budget-friendly new look!
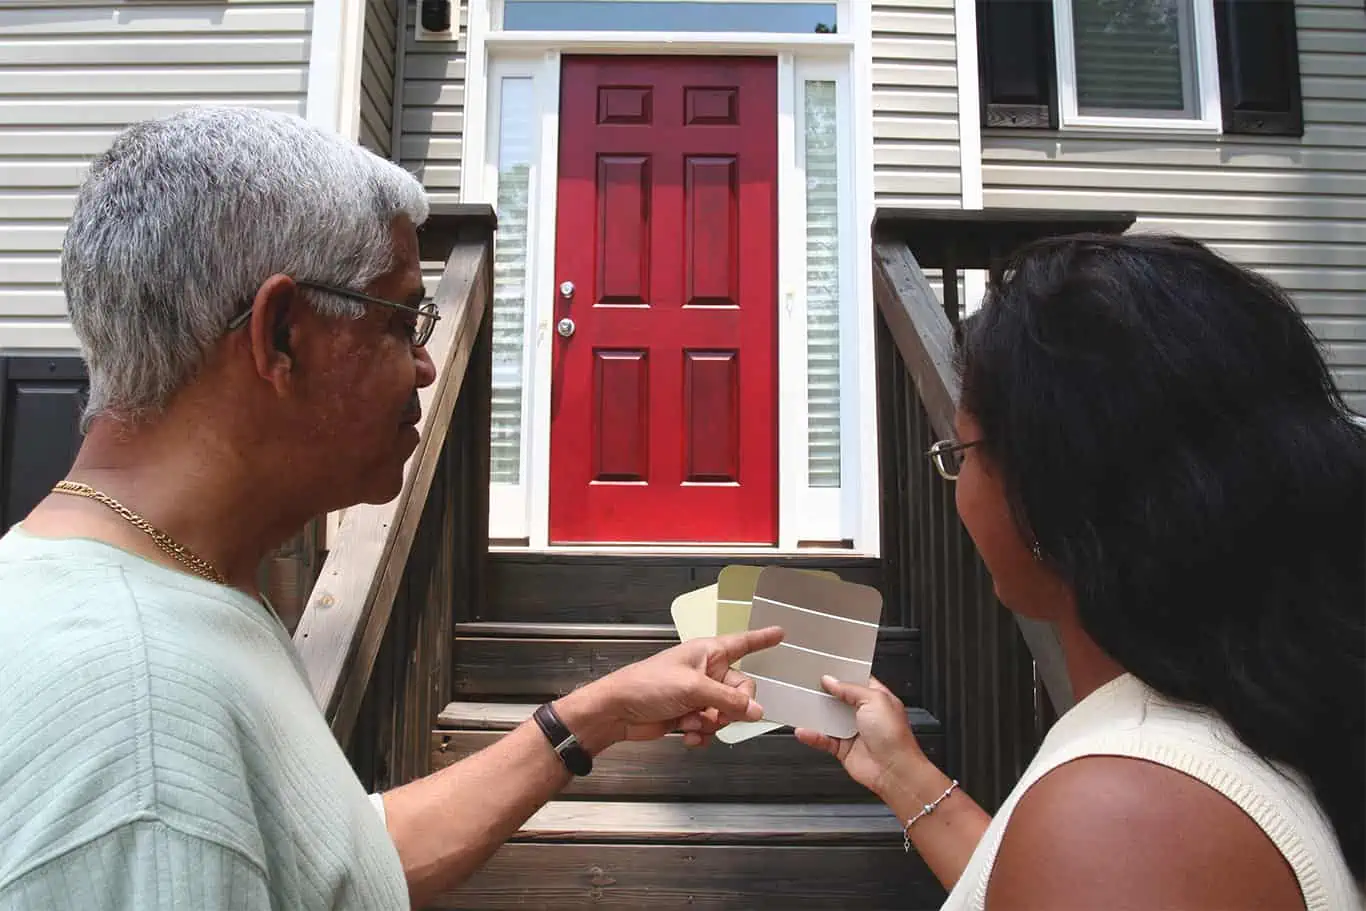
  • Boost curb appeal with a painted door. This post will help you pick the perfect hue. (Also helpful is a cleaned up yard and fresh flowers.)

Finally, if something has been broken (and on your to-do list for years), now is obviously the time to fix it!

Clean From Top to Bottom

There’s another essential (but free) task you’re going to be doing to make your home look a lot better: cleaning everything! Grime and dust can quickly deter buyers from truly considering your home, so get every nook and cranny sparkling. These posts will help you channel your inner Mr. Clean.

Marketing Your Home

If you’ve gotten to this step, your home is in tip-top shape from all of your hard work and it’s ready for its debut to the world! Marketing your home is by far the most important step of the home selling process. You can have the most gorgeous house on the block, but if no one sees the listing it’s never going to sell.

Stage and Photograph Your Space

You’ve already prepped for the staging when you got rid of personal items and removed clutter. Good work, that’s 90% of the battle. Now it’s time to add the finishing touches before your home’s photo shoot.

Make sure every room is clean, all beds are made, and blinds are open to let that natural light in! (Natural light is ideal for photos.) It’s important to keep accessories to a minimum, but if you do want to add a few we suggest opting for plants and flowers. This post has lots of tips on how to do it right.

Pictures are the most important part of a home listing, so it’s crucial to get these right. If you don’t think you can DIY it, then hire a pro! Investing in a professional photographer could potentially be the biggest money spent to money gained ratio in the entire process. If you’re using an agent, often times they will pay for this service. A professional is always a good idea because they will know how to photograph your home to make it look its best.

If you’re selling your house yourself (or just want to save some money), it’s possible to take your own pics. We suggest using a wide-angle lens, shooting during the daytime, and using a tripod. For more DIY photography tips, check out this post.

Promote Your Sale

Don’t solely rely on your agent to promote your listing. You can take some of the marketing efforts into your own hands and broadcast your sale to the world! Put your listing on social media sites, email your friends and family, and let neighbors know that you’re selling. You never know who might be looking to buy, so it’s worth it to use your own network to get the word out. Here are some of the most common sites people use for listing and/or real estate research:

Bring on the Showings

Simply put, homes that don’t get shown don’t get sold. So the first order of business is to make your home available for showings. That could mean a few open houses on the weekends and availability during the week. We highly recommend that you leave the house during showings so buyers can really feel comfortable checking out your space. It may be an inconvenience for you and your family, but remember that it’s only temporary!

You’ll also want to do these 10 things before any open house to get your home looking (and smelling) its best!

Keep It Clean

It’s hard to live in your home like a normal person and keep it ready for showings at all times. But you’ve gotta do your best to keep your home clean and organized. Whenever you leave the house, tidy up and wipe down all of your countertops. That way if you need to have a last-minute showing, your home is ready to go.

Get Everyone Out of the House

It’s important for buyers to check out an empty house. So that means that you, your kids, and any animals should make a plan to high-tail it out of there. That could mean taking the dog for a long walk or heading over to a friend’s house for the day. But no matter what, come up with a plan for where your family will go when those last-minute showings happen. And if you do have pets, be sure to remove their items (e.g., dog bowls, cat litter, etc.) from the home before buyers come in.

How To Get Ready For Closing

If you’ve made it this far, then congrats! You’re almost to the finish line. Here’s what happens now:

Appraisal and Inspection Time

After the listings and showings, you will (hopefully!) get an offer on your place. After you’ve accepted an offer, most buyers will do an inspection of your place within a week. You won’t need to be there for the inspection, and you’ll usually have the results within a few days. At that time, you’ll know if all went well, if you need to fix a few items yourself, or if you’ll offer the buyers a credit to fix things themselves.

Here’s our full guide for how to deal with a home inspection.

Next, it’s time for the appraisal. Appraisals usually happen within a week of the home inspection. You can do some homework before the appraisal to improve the chances of getting a higher price. Provide a list of recent home improvements and receipts to explain the value you’ve added to your home.

The results of the appraisal may take a few weeks. If your home appraises, you’re good to go! If not, you’ll have to negotiate with the buyer to find a price that works for all parties.

Prep to Move

After the appraisal, you’ll be on track for closing day. You can finally start to pack things up and get ready to move out of your home. This would be a good time to think about hiring some help for moving day. It’s also time to start packing! This handy checklist will keep you on task so you stay organized and on top of your move.

See prices for movers by the hour – instantly.

Read real customer reviews.

Easily book your help online.


Saying Goodbye to Your Home

Congrats, you sold your house! All that’s left to do is say goodbye and toast to all of the memories made in your place. As a bonus, you can also leave your buyers a little gift as you head out (like a booklet of your favorite restaurants or just a note with tips on their new house). It’s a great way to hand off your past experiences to the new homeowners. Onward!

Paint Chips Aren’t the Only Toxic Hazard I Found While Apartment Hunting

Author:

Publish Date:

Last Modified Date:

Category: Neighborhood Advice

Tags: Tags: , , , , , , , , , , , , , , , , , , , ,

I‘m a single mom, so you might say I’m a little overprotective of my daughterwho isn’t?

My daughter and I are a dynamic duo. When it was time for us to pack up our stuff and journey across the city, my overprotectiveness made sure our new home was safe for the one thing in my life I couldn’t possibly live withoutmy little girl.

I also happen to live in New York City. And like many families here and other metropolitan areas, we’re your average apartment dwellers. Guess what? Especially here on the east coast, apartment buildings are often old, which set off my mom alarms when I was looking for a new place.

What I already knew to do was be vigilant about paint chips. But after a scare that led me to do more research, I found out there was so much more than lead paint to worry about. I want to share what I learned so other families can be safer when they move.

Asbestos

Have you heard of asbestos? I had heard of it before but never understood what it really was until I was told that the material was actually in my new apartment.

Through my ordeal with the removal process, I learned that this toxin is the only known cause of a rare form of cancer called mesothelioma. Wow! Getting cancer from the one place meant to keep you safe?

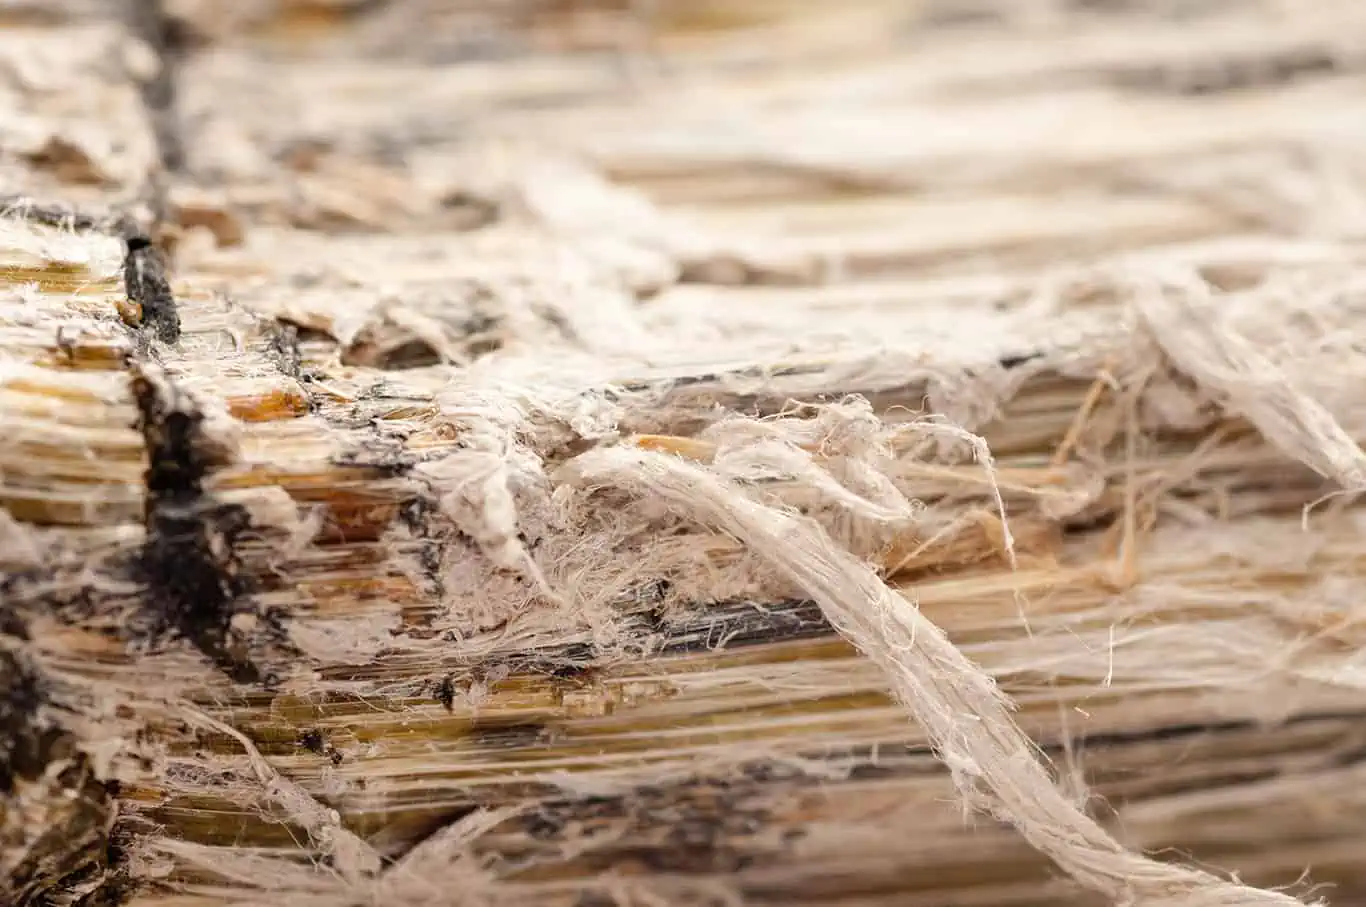
What happens with asbestos is this: when disturbed, the asbestos particles are released into the air and then unknowingly inhaled. Those particles get caught in the lining of vital organs. Consistent exposure can cause cancerwhich can form in the abdomen, lungs or even heart. Asbestos is tricky because you can’t identify it by sight with the untrained eyeyou actually need to pay someone to inspect your home. (Sometimes this can come with your home inspection, but you might need to ask for the actual test.)

Though when I say you need to, I mean just that. If your home or apartment building was built between 1930 and 1980, it may have asbestos in it. The initial cost may seem like a heavy burden now, but in the long run, will prevent an unnecessary battle with cancer. Get that stuff far, far away from your loved ones!

Radon

Radon detecting units being built underneath a house

So you’ve checked for asbestos. Now onto radon, another sneaky toxin. Radon is an invisible, odorless, and tasteless gas.

According to the Environmental Protection Agency (EPA), as many as 8 million homes throughout the county have elevated radon levels. That is problematic because the gas is the second leading cause of lung cancer. Radon leaches from the soil and into the home where it can collect. There is the highest risk of elevated radon levels in the basements or lowest levels of buildings.

The only way to know if you have elevated radon levels is to test your home. There are two different forms of testing: short and long-term detectors. Short-term detectors measure radon levels for two to 90 days. The long-term tests determine the average radon concentration for more than 90 days. Long-term detectors are more accurate, as radon levels change constantly.

Mold

Mold … now that I’ve done the research, just thinking of this word gives me the willies. Mold is quite common, and for those with allergies or asthma, the presence of mold can be really disruptive to their lives. Yep, unfortunately, I am one of those people. (All my fellow allergy suffers please blow your nose in solidarity.) 

Unfortunately, mold does not discriminate against any homes or apartments—you lucky ones with brand spanking new homes may still fall prey to mold growth. Thankfully, it’s pretty simple to remove! 

Mold growth can be removed from hard surfaces with commercial products, soap and water, or a bleach solution of no more than one cup of household laundry bleach in one gallon of water.

To prevent further mold growth, ensure that humidity levels in your space are low. An air conditioner or dehumidifier can help to dry that air out! Cleaning bathrooms with mold killing products will also ensure no little spores have time to flourish. Also, make sure to consider your vents. Keeping household vents open will allow for proper circulation to keep mold at bay.

Lead-Based Paint

Lastly, it’s still important to be on the lookout for lead-based paints. Bad paint was at the forefront of my mind with a little “ankle biter” in tow when I looked at prospective apartments.

Lead is particularly dangerous for kids because, if you weren’t aware, just about everything goes into their mouths, including paint chips. For kids, lead exposure can result in behavior and learning problems, slowed growth and lower IQ. Again, older homes and apartments have a higher incidence of lead paint—those built before 1940 have an 87 percent chance that they contain lead paint. If the lead paint is in good shape, there is little to no risk. but if the paint is chipping, peeling or cracking, it’s time to get it removed.

It’s important to have your homes inspected for lead-based paint. Don’t be shy about bringing it up to a landlord, even if you’re already moved in! A basic risk assessment will inform you about any lead-based paint present in the space and how to mitigate the risks.

As a young professional making my way on my own I was confident that I was smart enough to know what to look for when apartment hunting. It turns out I wasn’t smart enough without additional research. But hopefully, through the tips and tricks I’ve mentioned, you can be sure to save yourself from some headaches (and heartaches) and prevent you and your little bundles of joy from exposure to toxins.


Tonya is a single mother and blogger raising her daughter in NYC. She has a newfound passion for health after journeying into motherhood and hopes to share her knowledge with those around her. In addition to writing, she enjoys going to the park with her daughter and cozying up with a good book.

Moving Paperwork 101: How to Organize, What to Keep, Who to Contact

Author:

Publish Date:

Last Modified Date:

Category: Moving Checklists & Planning, Organization

Tags: Tags: , , , , , , , , , , , , , , , , , , , , , , ,

Listen, we are organized people.

At any given moment, our countertops are usually cleared of clutter, our files are neatly kept in labeled file folders, and our medicine cabinets are filled with colorful baskets of bathroom essentials. Organizing is our jam, mostly because we can’t take the stress that comes with living in a state of disorganization.

But recently when Bridget bought a new house and put her old house on the market, she became immediately bombarded with moving paperwork, emails and electronic files that quickly had someone who prides herself on her organization … feeling overwhelmed! All of the documents and information streaming into the mailbox and inbox were so important, yet it seemed like a whirlwind of information was getting lost in the shuffle. Not good.

With that in mind, today we’re diving into:

  • Who you can expect to hear from when you begin to move
  • What paperwork you need to keep tabs on, and
  • A few quick strategies that will help you keep track of your sanity (and those important docs!)

First, we go over the two different methods that helped me, then we get into the details about what you’ll be organizing (and with who!)

The Organization Must-Do’s

Create your official “Moving Binder” for the hard copies of paperwork.

No matter if you’re just moving, just selling, or possibly even both, the paperwork is bound to come streaming in right away. Heck, even when your home hits the multiple listings service (MLS) market or your name is given to a loan company, your address is often shared with businesses in the moving industry so they can start marketing to YOU. Some of these documents you receive in the mail are bogus and won’t really help you, but some coupons or information can be very helpful for your upcoming move. New furniture, carpet cleaners, deals on boxesyou name it and you’ll probably receive some type of paperwork for it. 

That’s why we think it’s important to set up a binder/folder system that will keep all of the hard copies of these important docs safe and together. You should immediately discard any information that is junk, but any paperwork that is important should be filed in this binder right away. We would also recommend adding a spiral or paper in the binder so you can take notes as you go. You can even add an envelope into the binder in order to save your receipts as you make purchases. Having this system in place before the paperwork gets out of hand is essential. Also keeping this binder out of the moving boxes and with you (even on moving day) will ensure you have access to paperwork up until, during, and even right after your move.

Start an official email folder for moving stuff.

Not only will your mailbox outside fill up quickly, so will your inbox! No one likes a cluttered inbox, yet sometimes it’s hard fielding all of these emails when they seem to never stop coming. Your lawyer, realtor and loan agency are going to bombard you with time-sensitive instructions for you to follow in order to move forward in the process. And if these emails get overlooked, you may have a serious problem!

We recommend starting a folder (at least one) in your inbox to start sorting out these important documents. You can always print the really important stuff to add to your binder, but also having the electronic copies of these items accessible and in one spot will be a lifesaver down the road!

But what exactly will you need to sort via email? Allow us to give you the heads up on which documents you’ll probably be receiving so you can have a better understanding of how you can manage your system accordingly.

Who Will be Contacting Me Before My Move?

The professionals that will be filling your inbox most frequently are your realtor, your real estate lawyer, your lender, and the insurance agent (and anyone from those respective teams of people). Although they will all eventually work on your behalf, communication with all of them is crucial for an on-time closing.

The Realtor

Right after the seller accepts your bid on a new house, you will most likely receive important documents from your realtorsuch as:

  • A copy of the home’s signed contract
  • Any correspondence about the property from the seller
  • A scanned copy of the receipt of earnest money
  • A timeline of the next steps (deadlines for the inspection, lender’s approval, home owner’s insurance, and written mortgage commitment)

Most of these documents can be saved and filed in the binder and/or electronic file folder. However, we would definitely suggest printing out the timeline for the upcoming deadlines. It’s imperative you meet the outlined deadlines so your closing isn’t delayed! Having these dates printed out and marked on your calendar will help you do this. We also want to remind you to ask your realtor about any questions you may have throughout the process because they are very familiar with this process and should act as your coach over the next 45-60 days. If your realtor is unsure of the answer, the next person on our list is the next best coach to guide you to your closing.

The Lawyers

Alongside realtor papers, you’ll probably simultaneously receive the following documents from your real estate lawyer and their team:

  • An introduction to the upcoming closing process, the timeline, and the fees associated with the attorney services
  • A request to sign and return a contract to work together throughout this deal
  • A request for you to send over additional information about the property including whether or not this is going to be your full-time home, the correct spelling of all buyers’ names as they will appear on the loan and/or title to the property, your current address, phone number, current marital status and your lender’s contact name/information.
  • Property Appraisal
  • Any negotiations that take place after the inspection with the seller
  • Any inspection problems that have been addressed by the seller (with receipts attached that identify proof of work)
  • Tax escrow information

Yep, it’s a lot! (That’s why you need to organize first!)

These steps need to be completed and returned almost immediately if you feel comfortable moving forward with this law firm. If you don’t, it is time to secure a new attorney immediately. You need this team right away, but you don’t want the time sensitivity of the process to force you to work with someone you aren’t comfortable with.

The Lender

While your lawyers are working closely with the realtor and the seller’s attorney, the lender is busy reviewing your finances in order to eventually approve your home loan. You can’t move forward with the contract on this property until your loan has been “cleared to close”, which is a process that can take up to (and even over!) a month. It’s a lot of stuff to cover, but here’s the information the lender will need over that month:

  • Permission from you to order the property’s appraisal (with fees associated, which is about $300-$500)
  • An itemized list of all of the updated documents he or she needs in order to update your loan and get that “clear to close” completed in time for your closing date. This paperwork will include (but is not limited to)
    • Copies of your 30 days most recent consecutive pay stubs
    • Copies of all of your W2 forms/1099 forms
    • Complete copies of your personal federal tax returns with all schedules/pages
    • Complete copies of your 2 months most recent consecutive bank statements for all assets
    • Copy of retirement funds
    • Copy of your most recent homeowner’s insurance renewal information, if you decide to purchase, non-contingent on the sale/close of your current home
    • Copy of Earnest Money Check
    • Proof of a homeowner’s insurance policy in the new home (needed two weeks prior to closing)
    • Copy of your Photo IDs for the Patriot Act
    • Signed and dated letter of explanation to confirm your intent to occupy the new property as your primary residence, if you are purchasing non-contingent on the sale/close of current home
    • Updated printout/activity of your bank account showing your Earnest Money Check clearing your account

Some of the paperwork you won’t be able to produce until right when the lender needs it (i.e., most recent paystubs, the Earnest Money Check, etc.), but some of this paperwork you probably already needed for the pre-approval process. We would advise you to put all of those documents into your moving binder system so they are easily accessible when your lender asks. This will save you tons of stress and will keep the process running as smoothly as possible.

The Insurance Agent

You’ll also need to provide proof of insurance on the new property around two weeks before your closing date. Therefore, you’re going to be in close contact with your homeowner’s insurance agent to secure this coverage.

You’ll need to send her the MLS information about the house. If you want to be considered for a few discounts, you may need to provide additional information (and proof) of the age of the roof or the home’s mechanicals. Make sure you ask your insurance provider about these opportunities so that you can save as much money as possible on your coverage!


Realtors, lawyers, lenders … oh my! The month before your move is a busy one that comes with a lot of paperwork, emails and new items on your to-do list. It can be overwhelming, even for an organized person like myself, so having a plan before the flood of information starts is key! Also knowing what to look for in your mailbox or inbox will help you get a better sense of how to stay organized and what you can have prepared in advance. The last thing you want is a delayed closing date because you missed a deadline. Use these tips so you avoid that at all costs.

×

I'm Moving

Moving? Thinking about moving? Whether your move is off in the distance or you already have one foot out the door, you'll learn about everything you should expect through our useful how-to's, cool articles and much more. It's all specially curated for you in our "I'm Moving" section.
Explore
×

I'm a Mover

For rookies or veterans alike, our "I'm a Mover" section is filled with extensive industry news, crucial protips and in-depth guides written by industry professionals. Sharing our decade of moving knowledge is just one way we help keep our professional movers at the top of their game.
Explore