Studies show that staging your home could boost the sales price by up to 20%, on average. So if you’re getting ready to sell, it’s worth investing the time and money in professional home staging.
But what if time and money are two things you don’t have a lot of right now? Today, homeowners have the option to stage their properties virtually. This involves digitally manipulating photographs of empty or sparsely furnished rooms to create realistic, appealing, and inviting living spaces — for way less than it costs to stage traditionally.
Get a Good Foundation: Home Staging Basics
When selling a home, you’ll likely require some level of staging. It could mean simply making a few tweaks to the layout and colors, or fully investing in a major redesign.
What’s the point of staging?
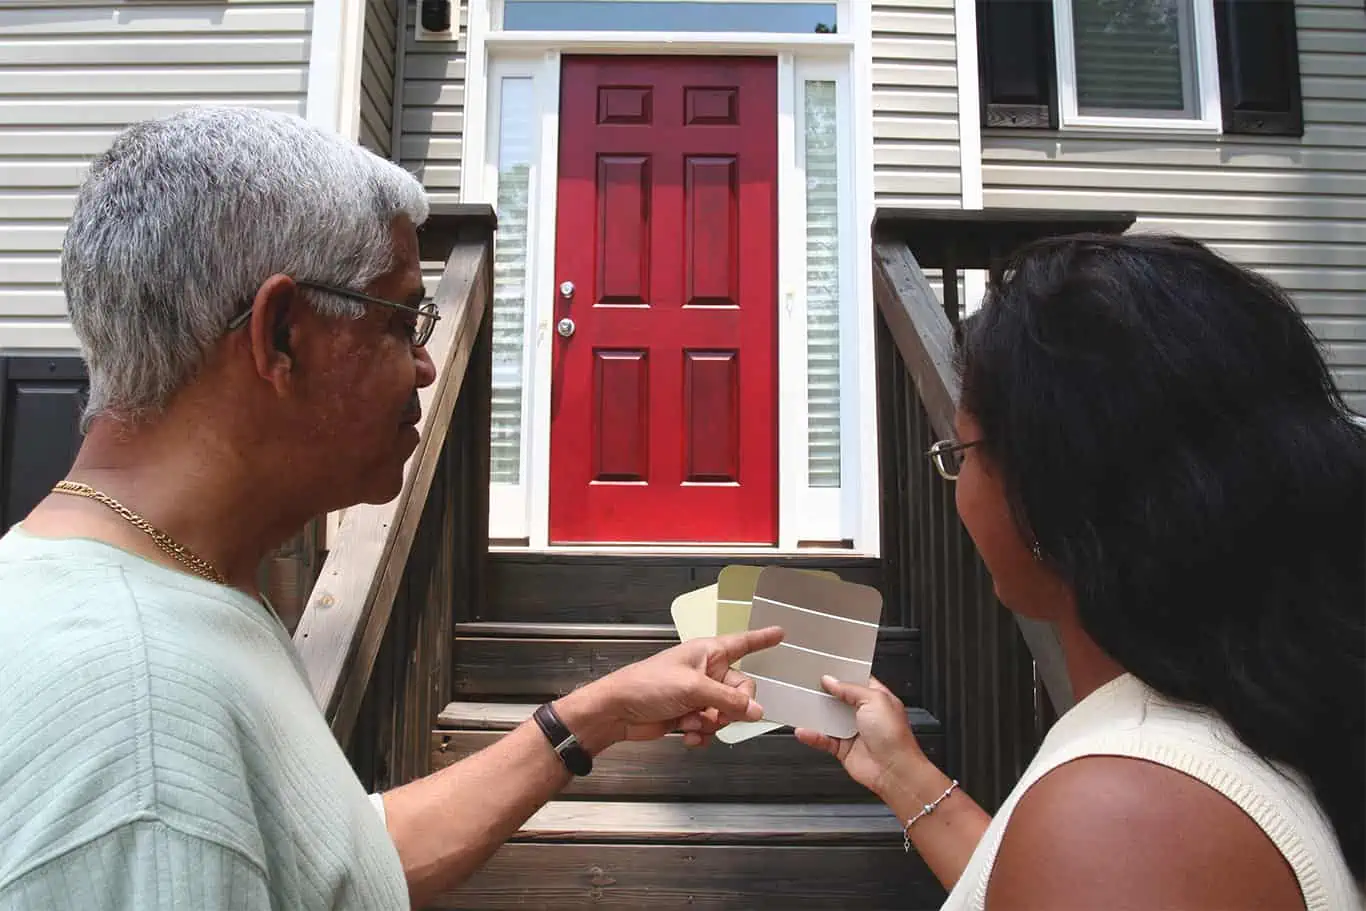
Staging is essentially a form of marketing. A professional home stager can evaluate your property and add furniture and decor elements that provide spatial perspective and illustrate function.
Staging is a great tool if you want to attract a certain type of buyer, such as those who will appreciate unique architecture and historical value, or those who have certain lifestyles or needs, like families with kids. That means your objective should not necessarily be to stage your home to look generic, but rather, craft a specific vibe that will help the right buyers visualize themselves living in that space.
“…traditional staging typically costs around $2,000 to $3,000, while virtual staging is closer to $200.”
That said, you also don’t want to make your home look off-putting to the average person or will only appeal to a handful of buyers. Unfortunately, beauty is in the eye of the beholder, so certain design elements that may have been perfect for you could be considered an eyesore for others. It’s crucial to swallow your pride and try to strike a balance between one-of-a-kind and boring.
Common misconceptions about staging
If you’re still raising an eyebrow at the thought of virtual home staging, let’s clear up some common misconceptions.
Claim: Home staging is an all-or-nothing project
The reality: While you can totally redesign your home to look like a completely different space, you don’t have to. And it might not be a great idea, since you want to present your home in a realistic way. Staging can involve simple steps, such as cleaning, removing personal items, and slapping down a new coat of paint.
Claim: It’s dishonest.
The reality: Some people view virtual staging as deceptive, creating a false impression of the property. While it’s true that virtual staging involves digital manipulation, when done right, the goal is not to deceive but to help potential buyers visualize what a space could look like. It’s crucial that listing agents clearly communicate that the images have been virtually staged.
Claim: It replaces physical staging.
The reality: Virtual staging is a fantastic tool, but it doesn’t necessarily replace the need for physical staging in all cases. For some buyers, being able to physically walk through a staged home can make a significant difference. In other words, both virtual and physical staging have their places in the real estate market, and you should discuss with your agent which option makes the most sense for you and your home.
![]()
See prices for local moving labor. Read real customer reviews. Easily book your help online.
Claim: It’s the same as 3D modeling or virtual reality.
The reality: While these technologies can intersect, they’re not the same. Virtual staging typically involves taking a photograph of an empty room and adding furniture and decor digitally. 3D modeling and virtual reality, on the other hand, involve creating an entirely computer-generated environment that can be explored in a more immersive way.
Claim: Anyone can do it.
The reality: There are do-it-yourself virtual staging software options available, but unlike virtually designing a single room, the process requires a deep understanding of interior design principles, as well as software and photo editing skills.
Claim: Results are instant.
The reality: Although virtual staging is typically faster than physical staging, it still requires time. Professional virtual stagers need to carefully choose the right pieces, design the layout, and make adjustments to ensure the end result is both realistic and appealing. So if you’re going to pursue virtual staging, have patience and understand that you’re going to get the best images with time and revisions.
Virtual Staging: Pros and Cons

Virtual staging is definitely easier and cheaper than physically staging your home. But there are some drawbacks, too. So if you’re considering your options for staging, think about these pros and cons.
Pros of virtual staging
- Cost-effective: As you might have guessed, one of the biggest benefits of virtual home staging is the cost. Since you don’t actually have to rent physical furniture and decor, plus pay someone to set it up and break it down, virtual staging is a much cheaper option. In fact, traditional staging typically costs around $2,000 to $3,000, while virtual staging is closer to $200.
- Lower effort: Getting ready to sell a home–and likely, also buy a new one–can be a stressful process with a lot of moving pieces. You might not want to spend the time and effort involved in working with a physical staging company.
- Helps overcome the buyer’s lack of imagination: An empty house can feel cold and austere, and buyers may struggle to see its full potential. If you have a choice between virtual staging and not staging at all, virtual is the way to go. It helps bring the space to life and show possibilities that the average person may not consider.
- Non-invasive: Unlike physical staging, virtual staging means you don’t have to worry about strangers traipsing through your home, dinging the walls, or scratching the floors when moving furniture around.
- Takes only a few hours: Physical staging could take a half day or more to get done. Meanwhile, virtual staging only takes a couple of hours. Plus, you’re not limited to the professionals in your area. A virtual stager can do their job from halfway around the world.
- Flexible: You can transform a room into just about anything with a few clicks. The home office can easily be staged as a nursery. That extra closet can become a craft room. You’re only limited by your imagination.
Cons of virtual staging
- Lacks in-person impact: Virtual staging might get a buyer’s feet to the door, but their general impression of the home will change when they’re faced with an empty house. Of course, they can reference the virtual staging pictures on their phone to remind themselves of what they liked about the space, but the wow factor isn’t quite the same.
- Highlights flaws: When a room is decorated with elegant furniture and eye-catching art, you’re less likely to notice small flaws. But when viewing a vacant property, those flaws are put under the spotlight because there’s nothing else to focus on.
- Can feel disappointing or deceiving: Some people might consider virtual staging to be a bit of a bait-and-switch tactic to get buyers interested in a home that looks much different online than it does in person.
- Requires excellent design and judgment: If you choose the wrong person to virtually stage your home, you could end up with photos that make your property look worse, not better. Poor photo editing skills, or an inexperienced eye for interior design could cause the staged rooms to look unrealistic or fail to highlight the best parts.
How Virtual Staging Works
Virtual staging is a staging method where images of furnishings are added to photographs using editing software. The end result is a highly realistic image of the property that demonstrates how it could look with certain design elements.
Choosing a virtual staging company

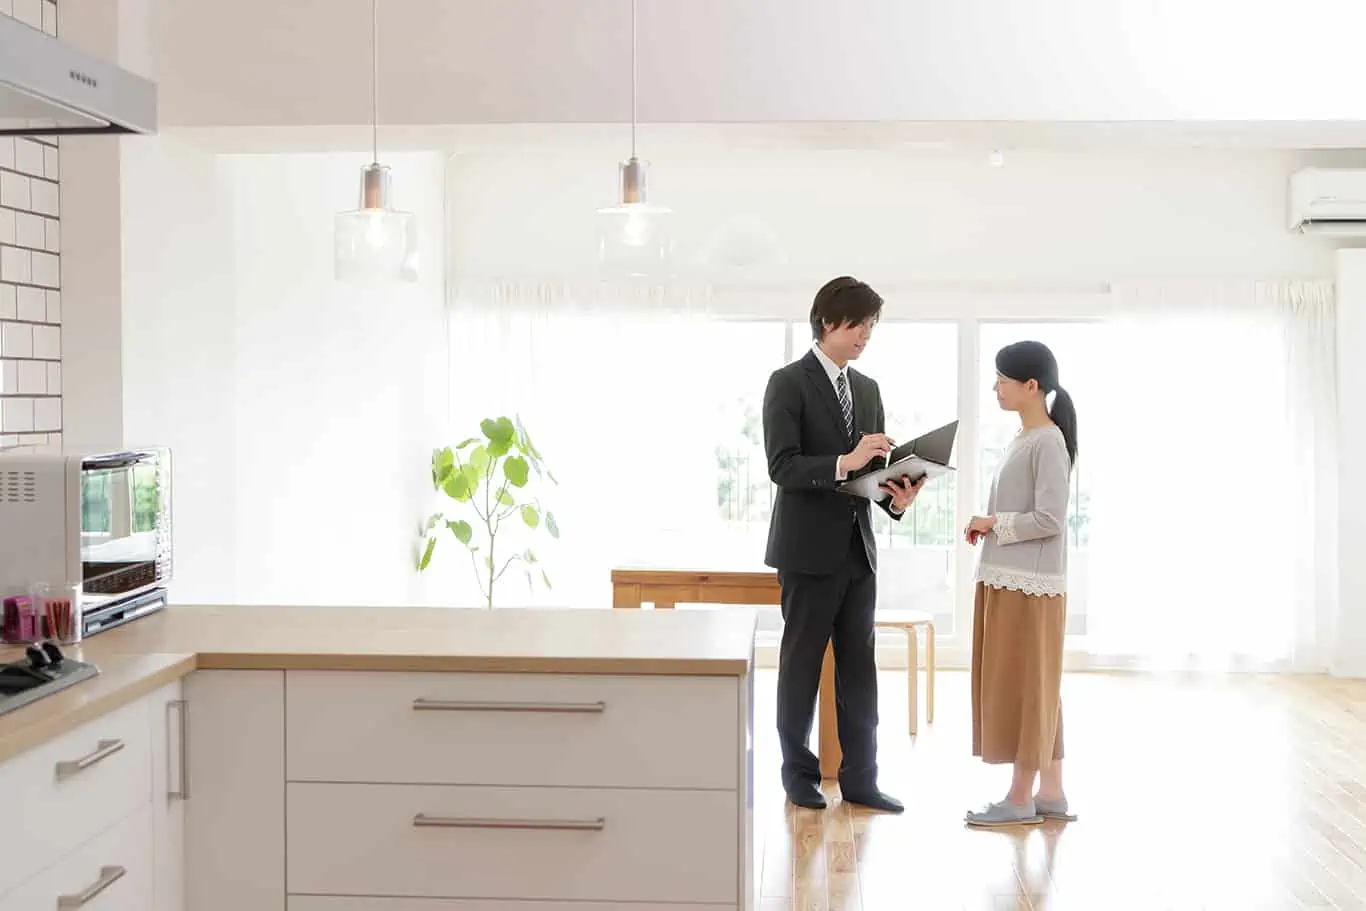
One of the most important decisions to make when pursuing virtual staging is choosing the right company to do it. After all, there’s a lot at stake when you sell your home — you want to ensure you get the highest price possible and sell quickly. A good virtual staging company can help you do that.
“Virtual staging typically involves taking a photograph of an empty room and adding furniture and decor digitally. 3D modeling and virtual reality, on the other hand, involve creating an entirely computer-generated environment…”
Although virtual staging is relatively inexpensive, you don’t necessarily want to go with the cheapest option. Virtual staging can be done by just about anyone, from anywhere, so there are a lot of inexperienced or fly-by-night operations that may be cheap, but won’t get you the results you need.
Instead, look for a company that has plenty of experience, can show you examples of their work, and come recommended. Your real estate agent is likely a great resource for finding a reputable company, but you can also ask friends, family, neighbors, or anyone else you know who recently sold their home.
The virtual staging process
There are several steps in the virtual staging process, and each one is important to getting the best results.
- Photograph the space: First, a photographer takes high-resolution photos of the space (it should be empty or only partially furnished). It’s important to capture the property in its best light and from its most flattering angles, which is why a professional usually handles this part.
- Find inspiration to match property and target buyers: Next, you’ll want to consult the web for inspo pics of the look you’re going for, like coastal cottage or farmhouse chic. Your real estate agent and/or interior designer can help you nail down the style of decor and furnishings that they believe will be most appealing to potential buyers.
- Choose sets from the virtual furniture library and give instructions to the edit team: This can be a standard package provided by the virtual staging company, or it could be a customized look created specifically for that property.
- A designer brings your home to life: A digital artist or designer then uses specialized software to create realistic digital models of the furnishings and decor. The artist will add these items to the photographs of the property, adjusting lighting and shadows to make the virtual furnishings look as if they are physically present in the space.
- Review and revise: Once the staging images are mocked up, you and your professional team can look them over. If any changes are required, such as adjusting the position of furniture or changing the color scheme, the designer will make these alterations.
- Final delivery: Once you’re satisfied with the look and feel of the virtually staged property, the final images are delivered. These can then be used in online listings, social media posts, printed brochures, and other marketing materials to attract potential buyers.
![]()
See prices for local moving labor. Read real customer reviews. Easily book your help online.
Virtual staging done right
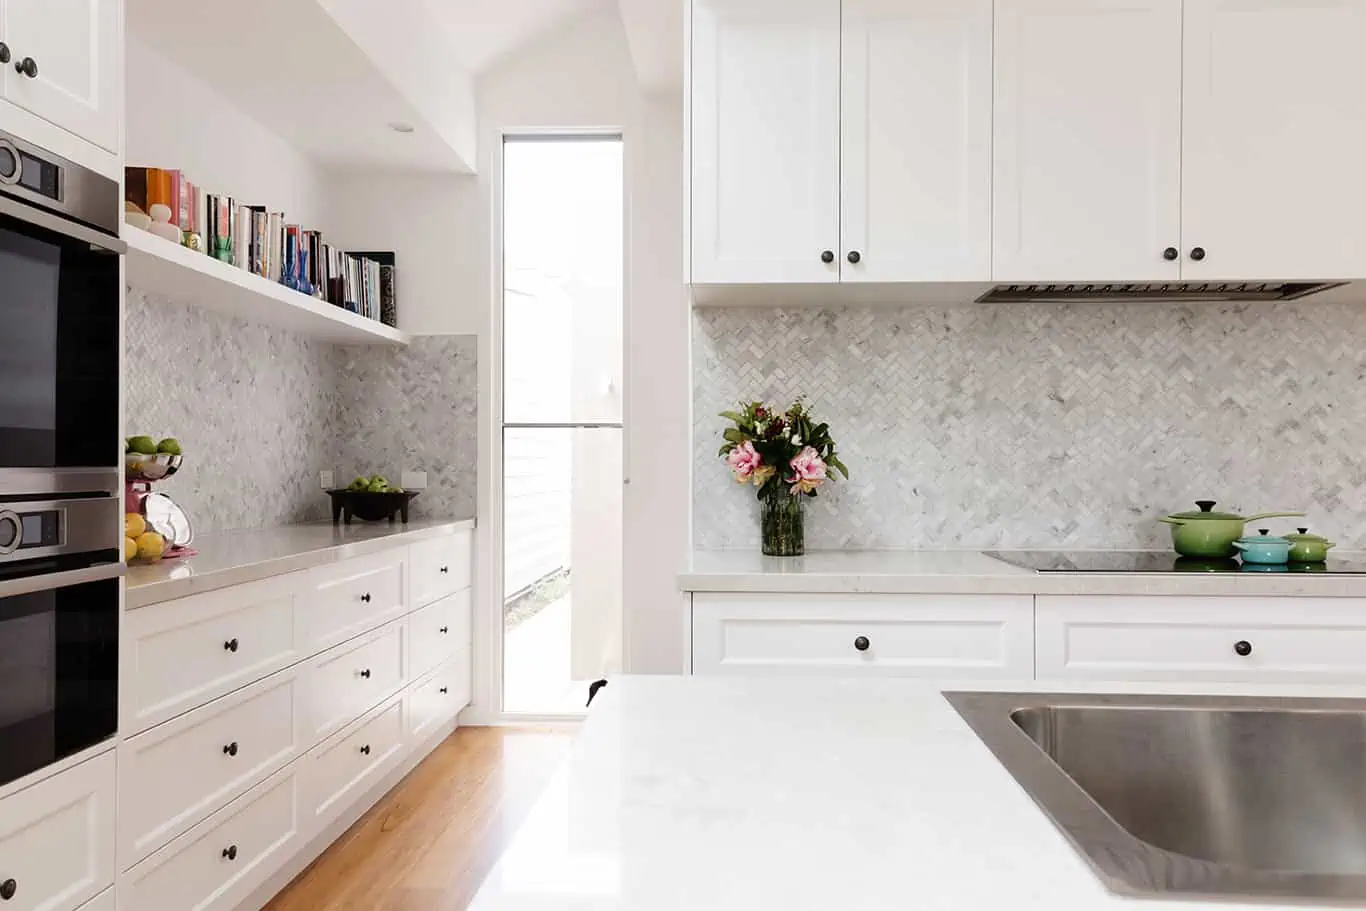
- Deep clean and declutter: Even though virtual staging can enhance the overall appearance of your home, it’s not going to remove noticeable dirt, dust, or stains in the original photos. You should also get rid of any knick-knacks, shabby furniture, piles of paper, and other clutter that will detract from the images. Remember, the goal is to make the space look neutral and versatile.
- Don’t skimp on quality photos: Virtual staging is all about the images. In other words, it’s worth hiring a professional photographer, especially one who has experience in real estate photography.
- Ensure there’s proper lighting: Each room needs to be well-lit, ideally with plenty of natural light. If that’s not sufficient, the photographer should be prepared to bring in additional lighting.
- Understand your audience: Identify your target market and stage your home accordingly. For instance, if you’re targeting young professionals, you might opt for a modern, sleek design. If it’s a family home, you might choose more traditional, comfortable furnishings.
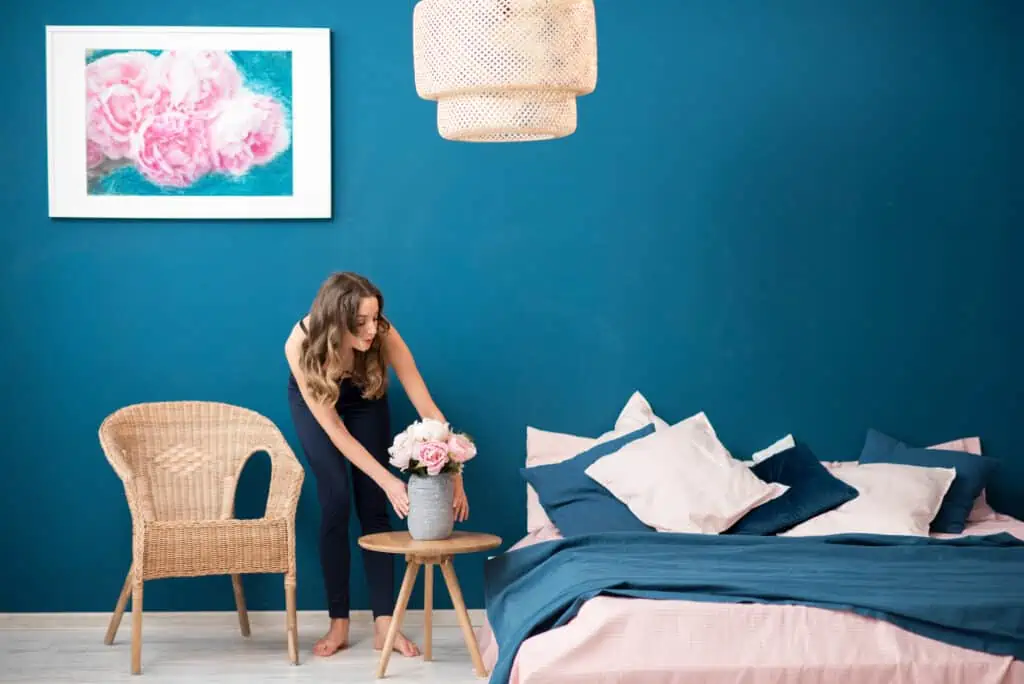
- Invest in key rooms: If budget is a concern, consider investing more of your resources on staging the most important rooms, such as the living room, kitchen, and master bedroom, as buyers will likely be most concerned with these spaces.
- Clearly define each room’s purpose: If you have an empty or spare room, decide whether it would be best shown as a home office, a bedroom, or a gym. The more work you can take on for potential buyers when it comes to envisioning the room’s potential, the better.
- Don’t forget about outdoor spaces: It’s also important to capture your home’s exterior and any outdoor spaces, like patios, decks, and yards.
- Keep it realistic: As we mentioned before, virtual staging provides an opportunity to enhance your property’s appearance, but it’s important to keep it realistic. Avoid making your property look too perfect or set up in a way that’s not really logistically possible, as it might cause disappointment during actual viewings.
- Follow legal guidelines: Some jurisdictions require that you disclose any image manipulations made to property photos.
- Share before and afters: This can give potential buyers a better sense of the space’s potential.
Can I DIY My Own Staging?
Let’s start off by saying yes, you can do your own virtual staging. But the question is: should you?
It’s important to understand that if you go the DIY route, you’re not going to get as good results. However, that may not be a big concern for you. If you do decide to do your own virtual staging, here’s what you should know:
There’s an app for that
VisualStager and iStaging are just a couple of the virtual staging apps you can use. Keep in mind, though, that DIY virtual staging apps usually sacrifice some performance and quality to increase speed and usability. They might also be limited in the range of styles and pieces you can insert into the images.
Prep the rooms properly
In addition to removing clutter and cleaning all surfaces, make sure that you close cabinets and drawers, all lightbulbs work and are the same color temperature, you put toilet lids down, and you turn off any fans.
Use the highest quality camera possible
If you’re not going to hire a professional photographer, you should at least attempt to use professional-level equipment. And these days, a newer smartphone could do the trick. However, don’t shoot handheld; it’s a good idea to use a tripod so you can get the clearest image, and mount at about waist level for the best shots.
If you want to get the most out of your home sale, there’s no denying that staging can be a big help. But there are lots of ways to stage a home, and going virtual may be the best route if you’re looking to save time and money. Even so, that doesn’t mean you should skimp on professional help. Effective virtual staging requires a strong eye for design and plenty of tech skills, too.