Safe & No Sound: How and Why to Pack Household Batteries Correctly

Author:

Publish Date:

Last Modified Date:

Category: Pro Packing Guides

Tags: Tags: , , , , , , , , , , , , , ,

So you’re packing up someone’s kitchen and you reach for the wall clock. First thing you notice is how long the pack job is taking. (Time flies when you’re having fun, right?) But then as you take that clock off the wall you hear it ticking softly and you think “Oh. Battery.”

And it’s not just the clock in the kitchen. So many things in a house that take batteries. Most of these items aren’t running – the flashlights, the handheld games, the remote controls for the TV, the toys and that drone that’s mostly illegal – so you won’t be draining their batteries if you leave them in. Unless of course a switch gets flipped or a button gets pressed in that carton packed full of stuff and something ends up turned on for the duration of the move. (I’ve had plenty of situations, including packing my own kids’ stuff, where something in a box starts making all sorts of noise and I have to dig the culprit out and shut it off and repack it.)

When you see batteries while packing

But what to do with the battery in that clock, and the batteries in all the other items you don’t want running while they’re all packed up? 

Take out the batteries and put them back in backwards. From a convenience, as well as a loss-prevention standpoint, this makes sense. But there are those who say this is not a good idea. These people usually use a lot of terms and offer explanations that are entirely Greek to most of us, so to be on the safe side for a move longer than a couple hours, we might want to just skip to our second option.

Yes, take out the batteries and pack them separately. Which doesn’t necessarily mean in a separate box, just separate from the items they came out of. Wrap them in paper, tape up the bundles and mark them well so they don’t get thrown in the trash or the recycling bin with the rest of the packing paper. Tape them directly onto the items they came from if need be. (Taping unwrapped batteries directly to unwrapped clocks and drones is a practice best avoided.)

What about spare batteries lying around?

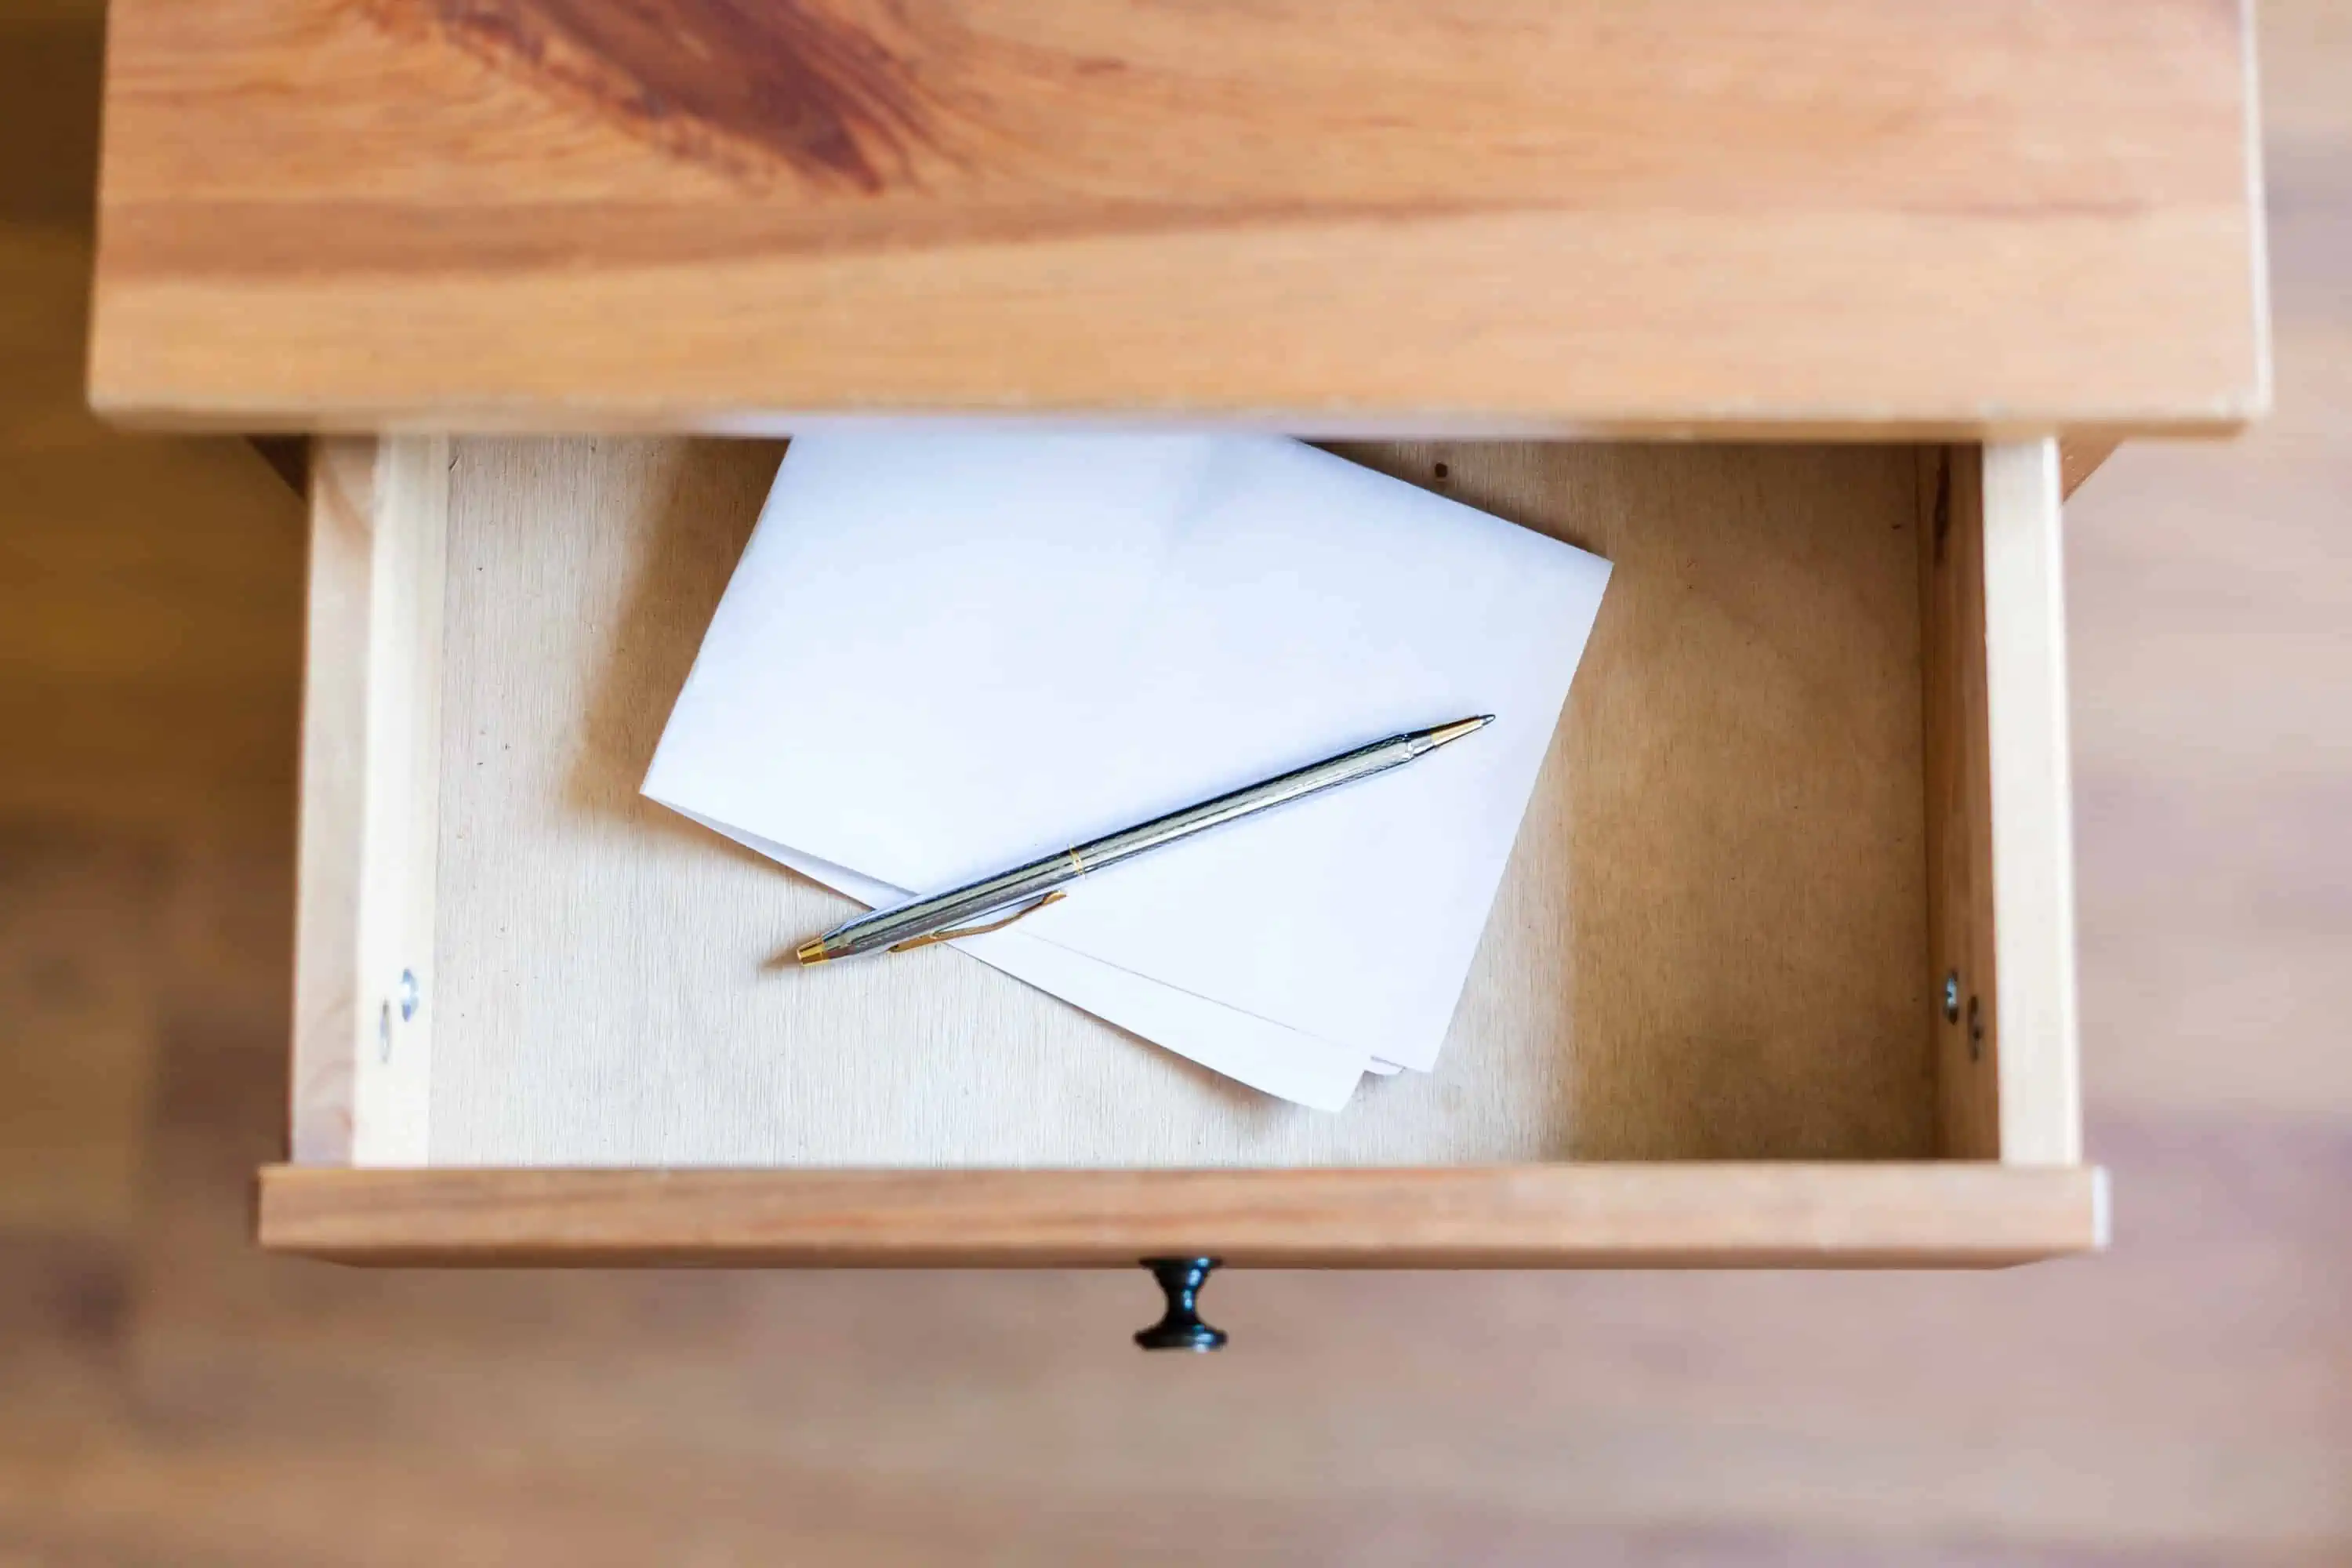
That takes care of all the batteries being used. Now, what about the batteries not being used? You know, all the used ones half buried in a junk drawer. Can we just dump them in a box with all the other stuff in that drawer?

Yes we can. But no we shouldn’t.

Because those batteries – those little packs of stored energy – constitute a fire hazard. It’s true. They may look completely harmless lying dead in that drawer, not hooked up to anything. But under the right (see: wrong) conditions, bad things can happen.

Specifically, mixing those batteries with small metal items like paper clips or spare keys and a random scrap of paper or two spells trouble. Those rectangular 9-Volt batteries with the positive and negative terminals sticking out of the top are of particular concern. Don’t believe it? Check out this video news piece to see how easy it is for a fire to ignite where there’s nothing but a battery, some metal and a piece of paper.

At the tail end of the piece, we’re told that “it’s only 9-volt batteries that have this problem”. Tell that to the victims of this fire, started in the console of their SUV by the combination of a few AA batteries, a couple of DVDs and some random bits of paper. “You confine (these things) in a drawer or put it in a paper sack and confine it, it will build up enough heat that it can’t dissipate out into the air,” says Fire Captain Ken Bailey. “Eventually it will reach 451 degrees, which is the ignition temperature of paper.”

Yep, just in a drawer or a paper sack. Or a cardboard moving box.

Preventing the possibility of igniting a fire is simple: Pack any and all loose batteries separate from anything metallic. Wrap them in plenty of paper, taped side by side or sealed in a plastic bag if you really want to go that extra mile.

To be quite honest, with all the millions of loose batteries lying in all the millions of junk drawers in this country and only a couple of fires on record (that we know of), the chances of those loose batteries actually starting a fire can seem pretty slim.

But then again, why take chances?

A Trash Bag Is by Far the Most Useful Movehack Item. Here’s Why

Author:

Publish Date:

Last Modified Date:

Category: How To Pack

Tags: Tags: , , , , , , , , , , , , , , , , , , , ,

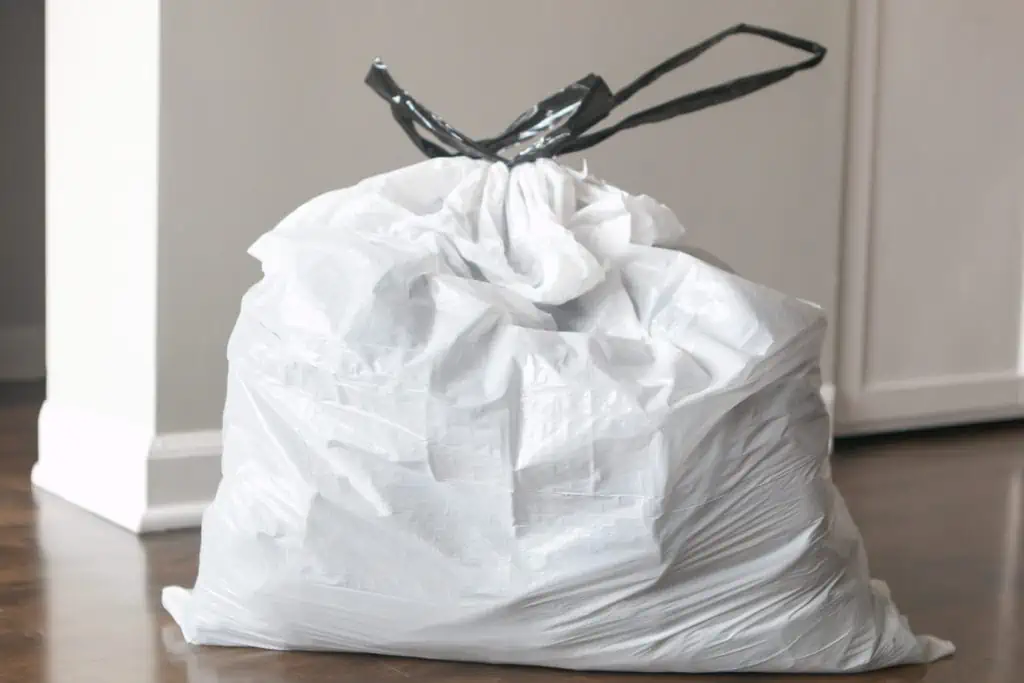
When you’re in the midst of a move, you may find yourself running to the store every other day to pick up supplies. It may seem like you can never have enough boxes, tape and packing paper, but there is another item you should add to your essentials list… trash bags!

This versatile item can be used in so many ways to help you move. Let’s review all of these trash bag hacks.

They’re Essential for Hanging Clothes

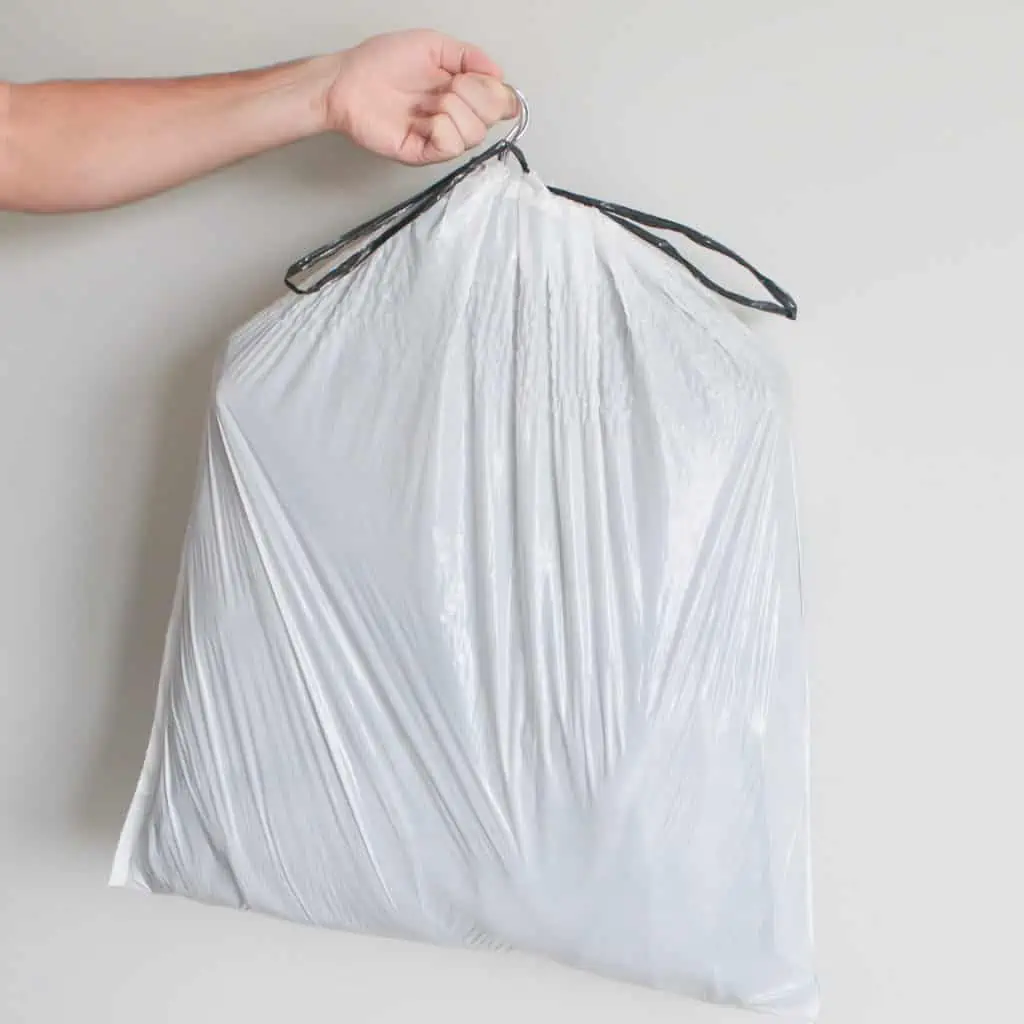
Instead of purchasing wardrobe boxes for your move, we suggest keeping your clothes on their hangers and protecting them with trash bags. All you have to do is take a stack of clothes off the rack and bring a trash bag from the bottom of the clothing up towards the hanger. Then, use the drawstring on your trash bag and tie it tight around the hanger. This will ensure that the bag doesn’t come off during transport. It’s the perfect garment bag hack! Bonus…buy those scented trash bags so your clothes smell fresh when you get to your new home!

Make a Simple Donation Section

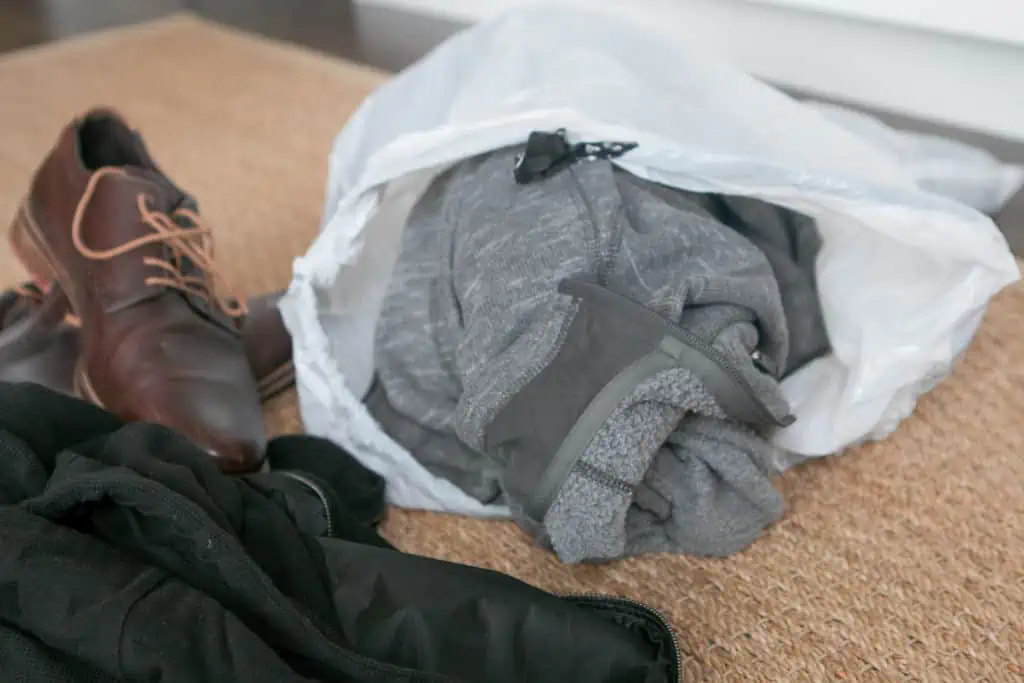
Trash bags make it super easy to corral and easily identify all of the items you’re planning to donate. This is especially helpful when it comes time to clean out that stuffed wardrobe of yours! We suggest that you keep a trash bag in your closet in the months leading up to your move.  As you try on items that you no longer love, toss them into the this conveniently located trash bag. Little by little, the bags in your closets will start to fill up with donation items, and you won’t have to spend an entire weekend purging out your closets! Trust us, you won’t want to move any other way.

Trust us, you won’t want to move any other way.

Transport Your Plants Without the Mess

Plants are a tricky one to move because no one wants dirt all over their vehicle – so grab that handy dandy trash bag of yours and place the bottom of the plant inside. This ensures that the dirt doesn’t get all over and you can easily move your greenery to your new space. If you can though, keep the top of your plant out so it still gets lots of fresh air!

Wrap Unusual Objects Easily

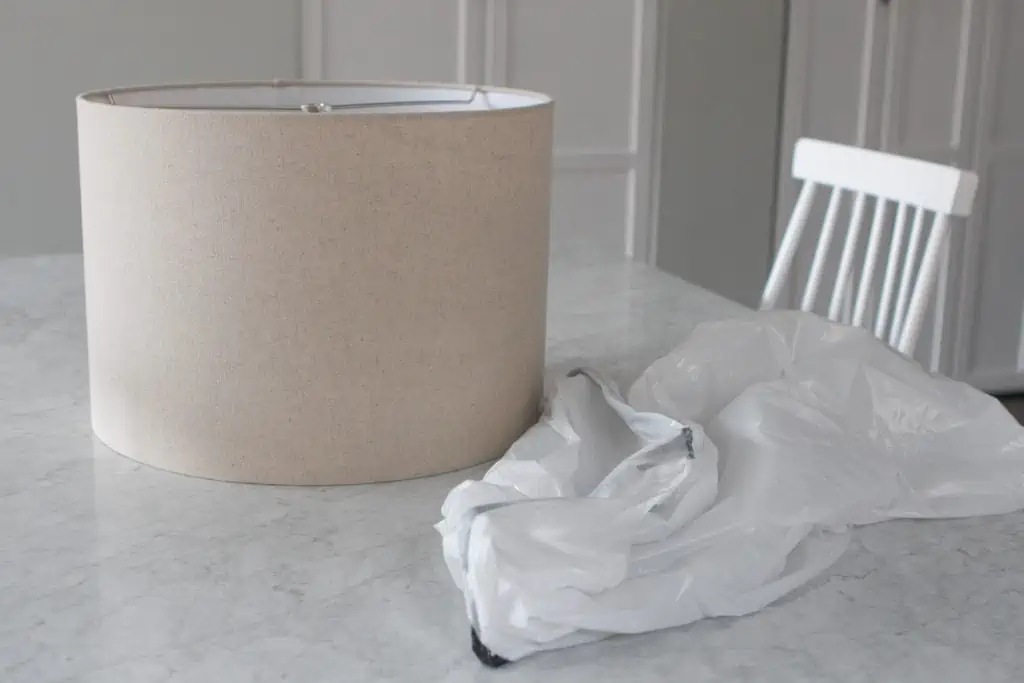
When packing, you’re bound to run into items that will make you scratch your head and say, “How the heck do I pack that up?!” (Lamp shades are one of them.) How can you make sure your shade doesn’t get dirty and gross on its ride to your new pad? Well, use a trash bag to cover those unusual objects and keep them safe!

If It’s Anything Other Than Sunny, You’ll Need a Ton of Them

If you’re worried about special items getting wet during your move, we suggest using a trash bag inside your cardboard box. Simply put your precious items in a trash bag (books, papers, throw pillows, etc) and then put that bag inside the box! That way it’s got double protection from the elements.

And You Can Throw Your Away Trash (Duh!)

Okay, of course, you’ll need trash bags for trash. And you’ll probably have a lot more than usual when you’re packing up your home to move. Stock up on a lot of garbage bags and you’ll be set for this, and everything else on this list for the duration of your move.

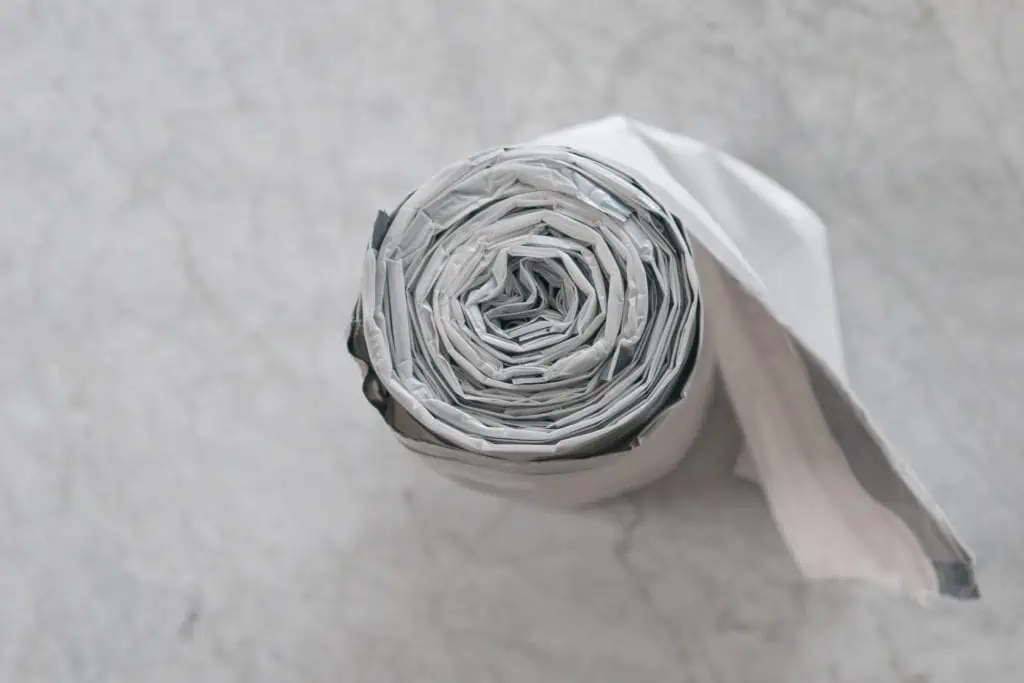
It’s official: you need to head to your nearest Costco before your move and find the largest roll of trash bags you can find. Trust us!

Movehacks: Keeping Paper as Safe as Possible

Author:

Publish Date:

Last Modified Date:

Category: Movehacks, Pro Packing Guides

Tags: Tags: , , , , ,

[Synopsis: Checking out some do’s and don’t’s for packing posters and other large paper items.]

So an unusual scenario…

I’m packing up this guy’s desk…that kind with the tall top and glass doors over the shelves. I get all his books and little picture frames and random knick-knacks packed neatly into cartons, and then I see this little tube-shaped thing on one of those shelves. It’s a piece of ancient-looking parchment rolled up and tied with a fancy red white and blue ribbon.

What am I supposed to do with this?

I placed it in one of the empty desk drawers. “Good idea”, said the customer who I didn’t know was standing behind me. “I was wondering what to do with that.”

The thing was only about eight inches long, so I could have easily found a place for it inside a box somewhere. But the contents of boxes shift in transit and that could crush something like a little roll of ancient parchment. And if the contents don’t shift that means that box is packed pretty tightly – which could also mean trouble for that ribbon-tied sheet of antiquity. I didn’t want to take any chances.

It ended up rolling around a bit in that empty drawer, but still, that seemed the safest place for it.

The More Common Scenario

paper_tubes

Customers will have all kinds of posters, maps, calendars and other random assorted wall hangings. Some may be either treasures monetary or sentimental, while others unremarkable. Either way, we want to take care of them. Here’s what to do and what to avoid.

– When rolling up any kind of paper, start with a wide circle and slowly coax it into a tighter coil. Trying to roll a poster up small-and-tight right off the bat will bend and crease it.

Roll up several posters, maps etc. together. This saves space while adding strength.

– Put sheets of packing paper between these vintage movie posters and replica maps of the Old World, whether or not the customer shows an outward concern for them. (That tattered poster of Kramer from Seinfeld, on the other hand…okay take care of that too.)

Do not apply tape to the customer’s posters and maps directly. Wrap them in packing paper – even if that packing paper doesn’t cover the entire poster – and tape that packing paper to itself.

– Resist the temptation to strand these rolled up items in a wardrobe or in cartons. That bottom end will likely end up irreversibly (though perhaps only slightly) crushed. 

So where to put them?

In drawers of course!

Empty drawers work well, since there’s nothing to put pressure on them; Rolled-up posters are free to roll around without getting hurt. Then there are the dresser drawers that will remain filled with clothes throughout the move. Posters can go in these too, as long as we make sure to either roll up several posters together (if the customer has a few), or make sure there is plenty of room on top of those clothes so the poster doesn’t get caught and crushed (and ripped and torn) when the drawer is opened or closed.

Me? I prefer going that first route, taking those posters all rolled up together in one strong tube and tucking it gently up against the front inside wall of the drawer, under just enough clothing to keep it in place. If need be, take some clothes out and stick them in another drawer.

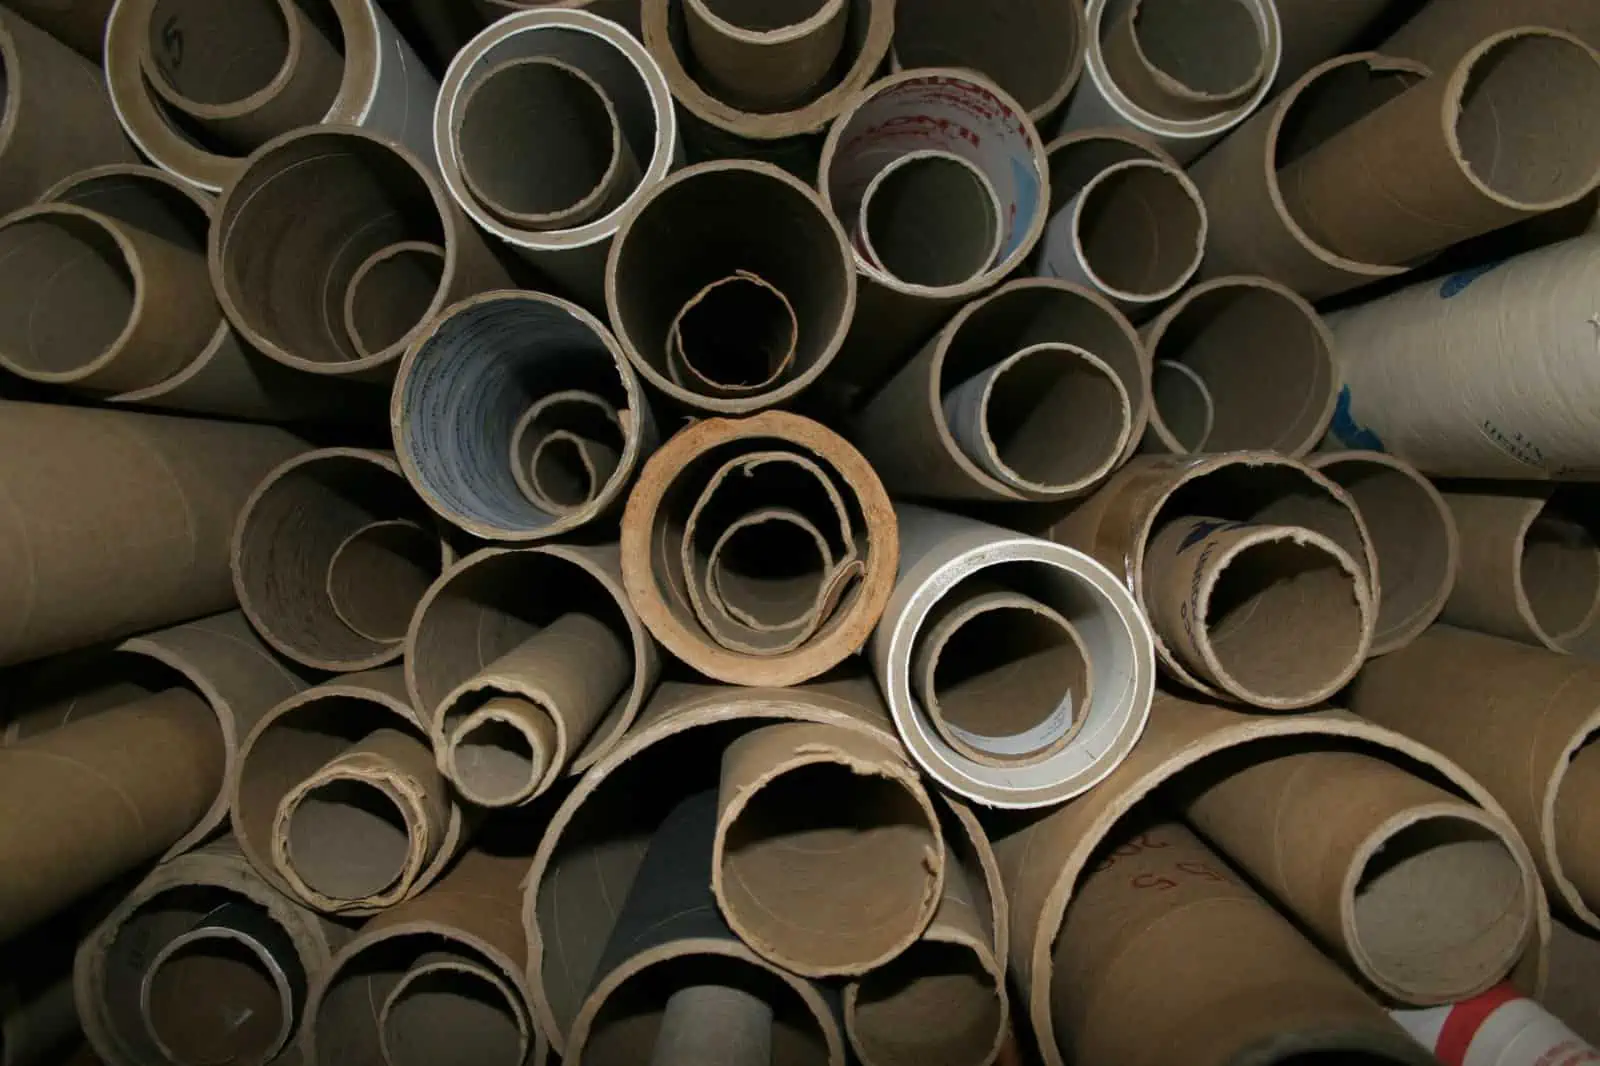
If all this sounds a little over-the-top, just remember: it may be just a poster, but the customer is keeping it for a reason. And if they balk at the idea of putting it in a drawer there are always cardboard tubes available at almost any office supply store, self-storage facility or online shop like ULine, UHaul or Staples.

One last idea to consider…

Instead of rolling them up, keep those posters and maps flat and slip them into mirror cartons, between the picture frames and mirrors you are packing. Just use a little caution with this technique: this might work, but only if those posters and maps are no bigger than the frames that are supposed to be protecting them. Even if they fit within the dimensions of that picture frame or mirror, unless they are pressed firmly between two flat surfaces chances are good they will slip in transit.

If you want some extra visuals, I suggest checking out this short instructional video as a tutorial on getting those posters all rolled up safely and neatly and getting them into cardboard tubes.

×

I'm Moving

Moving? Thinking about moving? Whether your move is off in the distance or you already have one foot out the door, you'll learn about everything you should expect through our useful how-to's, cool articles and much more. It's all specially curated for you in our "I'm Moving" section.
Explore
×

I'm a Mover

For rookies or veterans alike, our "I'm a Mover" section is filled with extensive industry news, crucial protips and in-depth guides written by industry professionals. Sharing our decade of moving knowledge is just one way we help keep our professional movers at the top of their game.
Explore