Adding smart technology into your home is not only a great way to add convenience and value, but it’s also a great way to stay energy-efficient. Take the awesome smart thermostat for example… this gadget can be a high expense up front, but it will end up saving you big money in the long run. Some energy companies are even offering their customers $100+ in refunds if they show proof that they installed a smart thermostat!
Because this technology is a win-win-win in our playbook, we decided to show you how easy it is to make your home smarter with the smart thermostat. And when we say easy, we really mean it! This entire project can be broken down into eight steps that shouldn’t take you longer than 30 minutes.
We installed the Nest for this tutorial, but there are a lot of awesome smart thermostats on the market. Do your research and find one that works best for you and your home.
What You Need

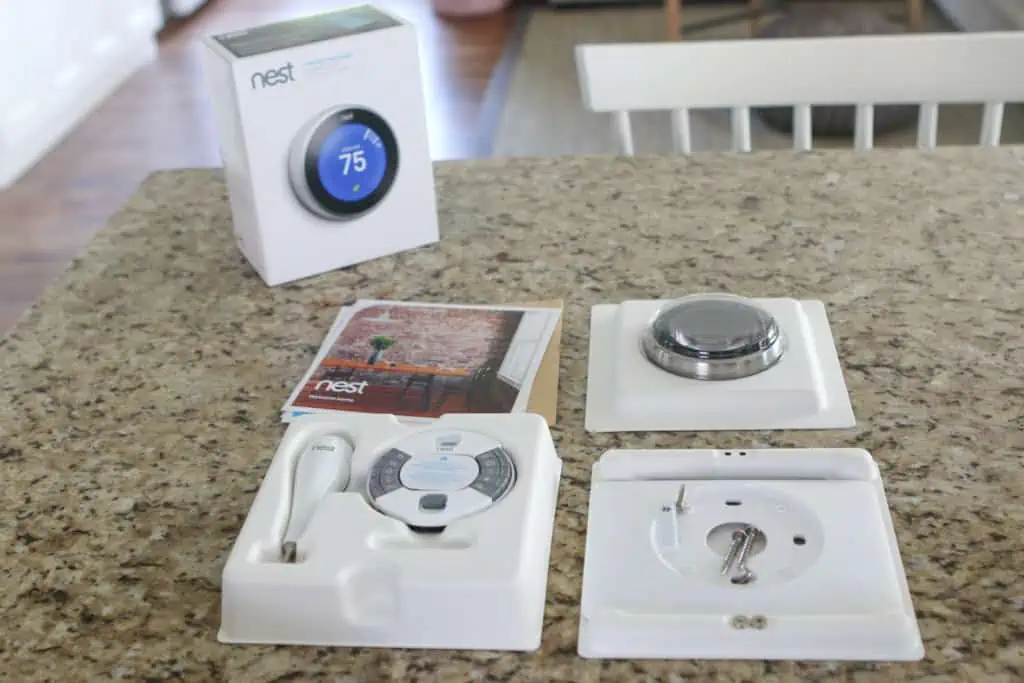
- The Nest (or most any smart thermostat device – the product itself provides almost everything you need, including a screwdriver, screws, and a level)
- Drill (optional)
- Anchors (optional)
- Touch-up paint, brush, painter’s tape (optional)
1. Turn off the Power
No matter how experienced you are with DIY projects, we highly recommend turning off the power to this system before moving on to the next steps. This is the safest way to install the smart technology and the only way we advise you to complete this installation. You will also want to make sure you have enough daylight left so you can see the project without the lights on.
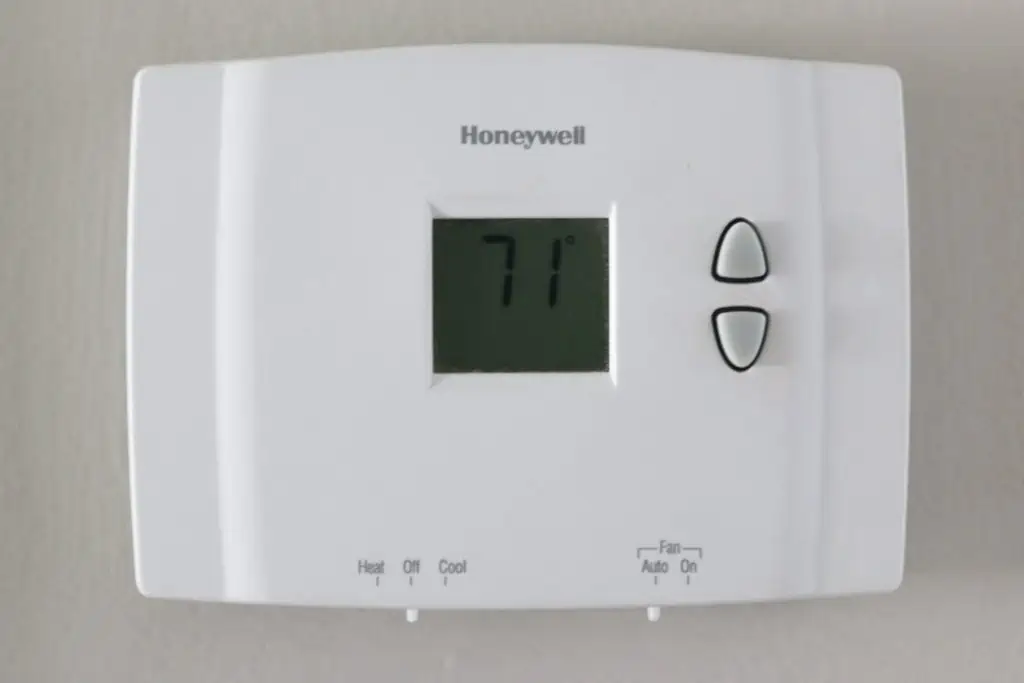
2. Open up the Old Thermostat
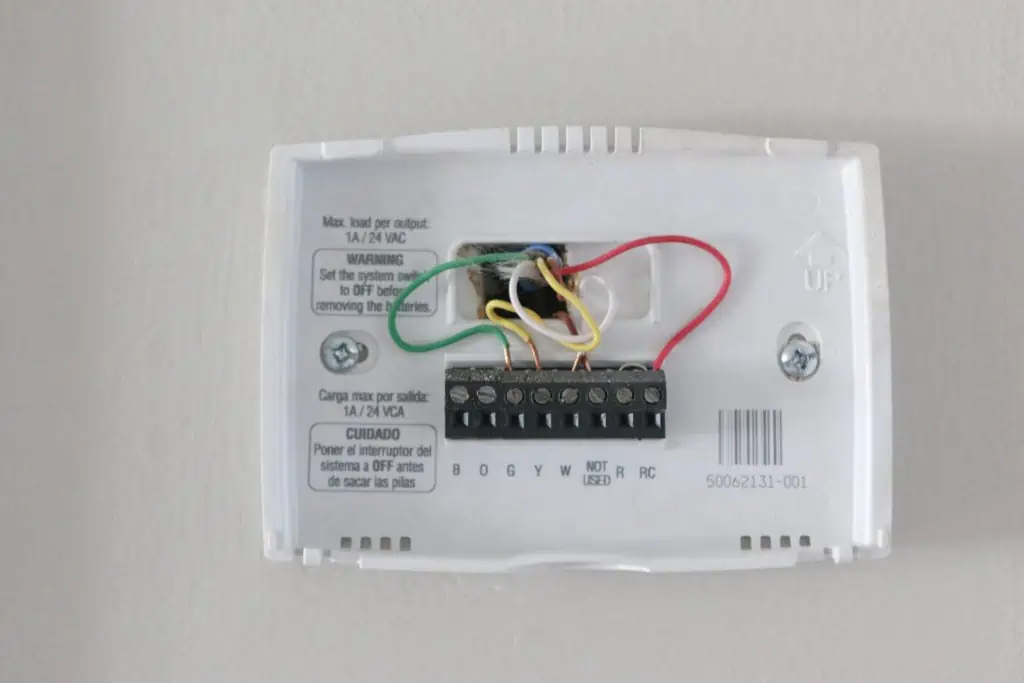
After the electricity is off, we are ready to get to the fun part! Pop off the face of your current unit, which may require unscrewing a screw, depending on your unit. Ours popped right off, no screwdriver necessary. Above is what most thermostats look like without the cover, though yours may vary slightly. What matters most are the wires.
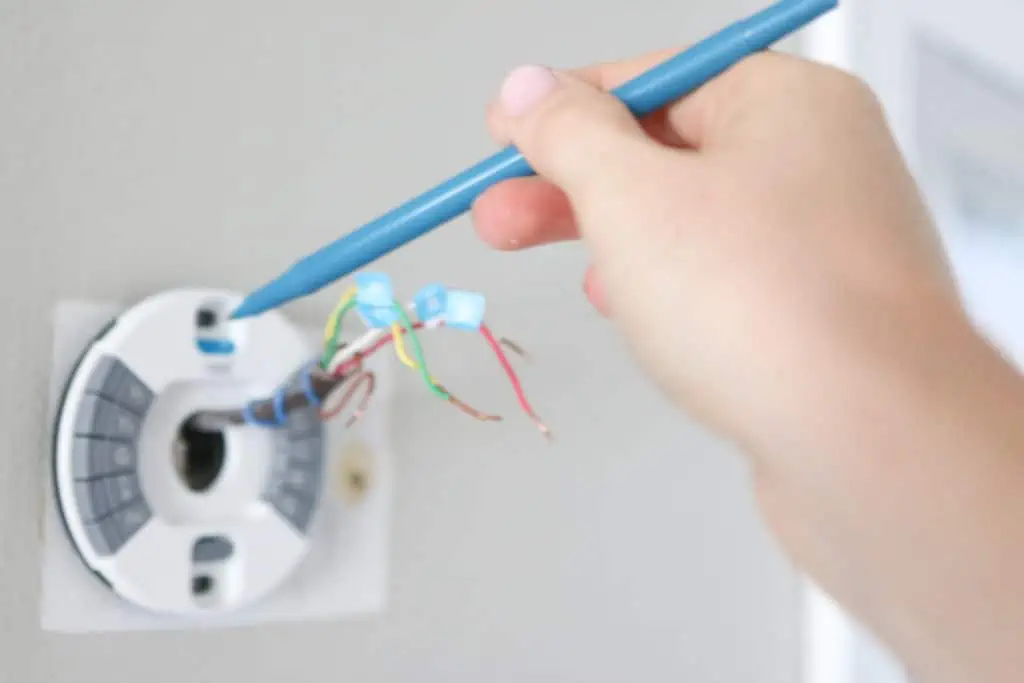
3. Label the Wires

Before you start removing the labels from your old thermostat, we need to label them so that we are fully prepared for the last few steps of this project. The Nest comes with these convenient stickers (right in the manual!) so you can keep your labels organized. If you don’t have stickers, just use whatever you can to label all of the wires. We only had four wires, but you may have more, so make sure you label everything! You’ll thank yourself later… we promise!
4. Take the Old Thermostat off the Wall
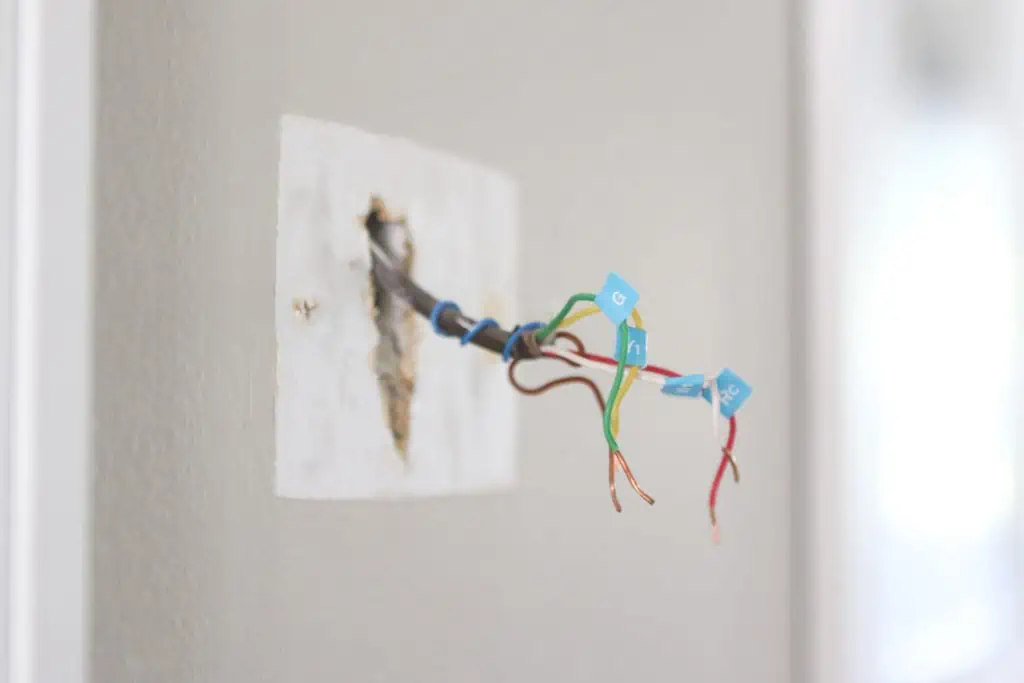
After the wires are clearly labeled, it’s time to unscrew the old thermostat and carefully pluck it off the wall. Use your screwdriver and it should come off fairly easily. Make sure that you’re not taking the wires (or stickers!) with you because you’ll need both of them soon.
5. Hang the New Thermostat
The Nest provides a level within the product (genius!), which makes this process extremely easy. The level makes it simple to identify when the device is evenly placed on the wall, and that’s when you can make a mark so you later know where to drill. If your smart device has no internal level, don’t worry! It’s a pretty simple process to use an external level to make sure you’re screwing it on the wall correctly.
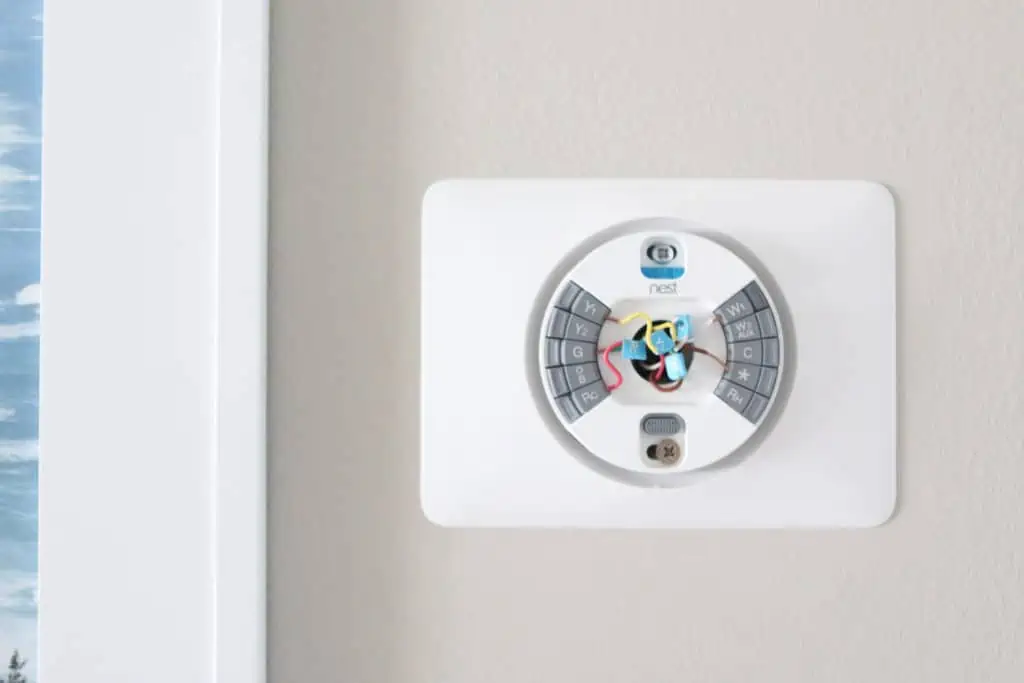
After you mark the wall, add your trim plate (if necessary – it’s the plastic encasing that goes around a lot of these smart devices) and hang the Nest using the markings you made to guide you. You may need to use an anchor for extra reinforcement into your wall during this step, which does not always come with the kit.
6. Attach the Wires to the New Thermostat
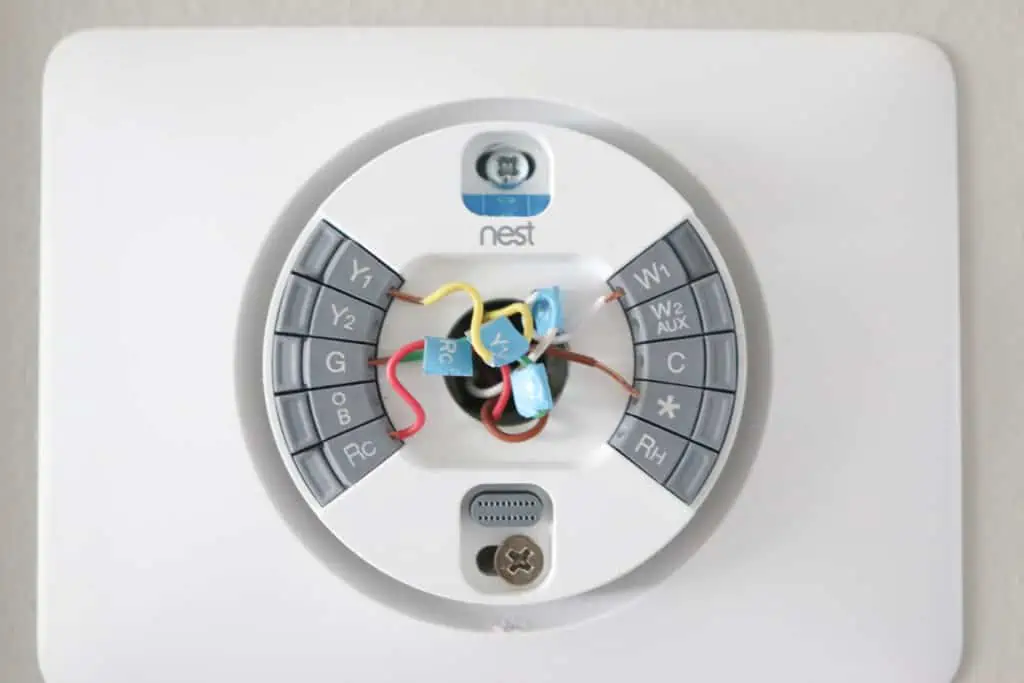
This is when those stickers come in handy. Not only is the technology itself smart, the team that created this kit may be even smarter because these stickers are genius! Simply match each wire’s label to the label on the Nest (or the labels you made yourself), then pop them firmly into place. Make sure the little box the wire goes into pushes down snugly, because that is how you will know it is tight, secure and connected.
7. Turn Electricity Back on
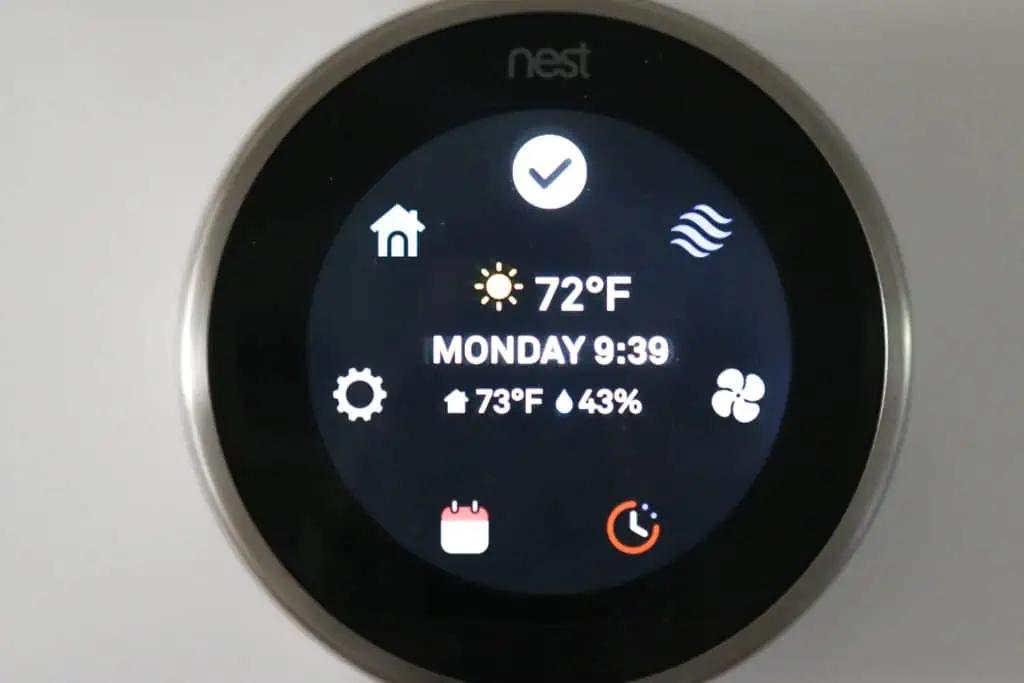
If the Nest lights up a few moments after you turn the power back on, you have successfully completed the installation. If not, turn the electricity off and recheck the colored wires to make sure they’re both in the right spots and pushed down correctly.
Your little gadget will immediately start prompting you through a series of steps that will guide you to align this new technology with your home.
8. Control Your Heat and A/C from Your Cell Phone
This part is where the “smart” technology really comes in! Once you connect the Nest with your home’s wifi, you can monitor it from anywhere you have a wifi connection. That means you can click on the heat from work, turn on the air before you get back from vacation, or even change the temperature in the house while still laying in bed (that last one is probably our favorite!). If that’s not smart technology, we just don’t know what is.
So do you think you can tackle this project and make your home a little smarter, all while saving money and energy along the way? We’re confident that installing a smart thermostat is so simple that you now have all the steps you need to check this project off of your to-do list… maybe as soon as this weekend.