For keeping your most valuable, most expensive stuff protected when you move, it may seem like there’s nothing better than bubble wrap. But we’ll let you in on a little secret.
Movers very rarely – if ever – use the stuff.
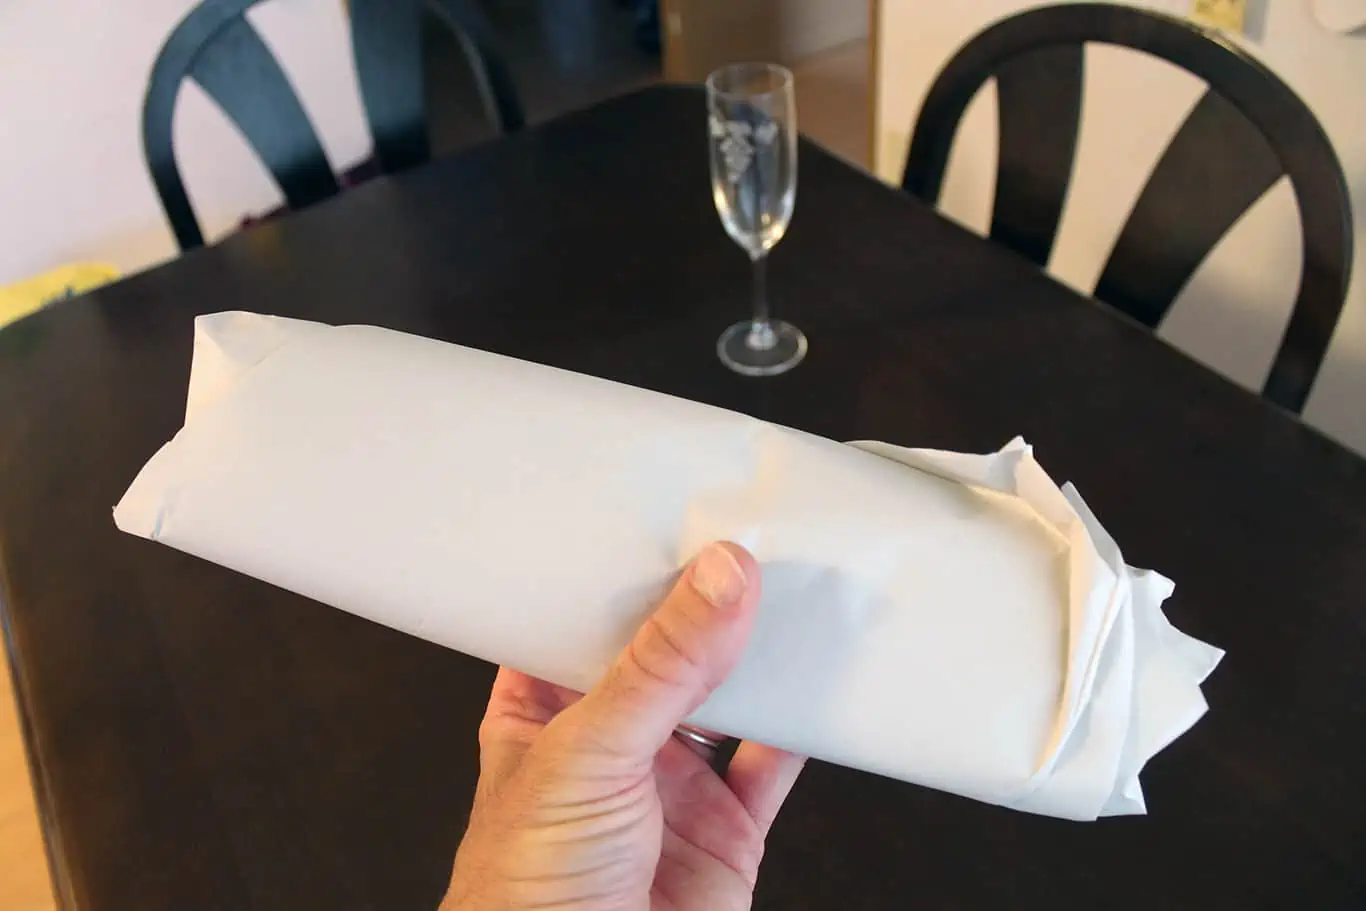
Not because it doesn’t work. It does. But the pros know, all those little bubbles add up to some bulky and relatively expensive bit of cushioning. Packing paper, used correctly, will serve most any packing purpose and save you both space and money.
Still, you may be more comfortable enveloping your flat screen TV, your electronics, your stemware and your china in bubble wrap. That’s totally understandable. So if you decide to go this route, here are a few things to keep in mind.
Using Bubble Wrap: 5 Quick Tips
- Put a layer of packing paper between your TV and that bubble wrap. Plastic can leave marks on your screen, particularly in extreme temperatures. This goes for anything you wrap in bubbles. For items with sharp edges or corners, some extra paper can help keep those sharp areas from poking right through the plastic.
- Wrap your items with the bubbles facing inward for better protection against exterior pressure and accidental impact. The flat side is easier to write on (in case you want to be able to identify each item quickly) and will hold the tape in place much more effectively.
- Don’t bank on one layer of bubble wrap. Two layers of small bubble sheeting might be enough for a piece of stemware, though this would be in addition to packing them with plenty of packing paper and, for extra peace of mind, individual cells inside your cardboard box. If you are using the stuff with the bigger bubbles for heavier items like a large framed mirror or your CPU, one layer may suffice – but again, only in addition to some crumpled packing paper for extra cushioning on all sides.
- Keep that bubble wrap firmly in place by taping not just along the edges, but all the way around the item. You splurged on that bubble wrap, don’t start skimping on the tape!
- Have a pair of scissors on hand when you are unpacking. It would be a real bummer to break something – or drop and break something – while trying to tear that bubble wrap off using only your hands.
You might love our:
Moving Cost Calculator
If the quote from your movers felt expensive …
Make sure it lines up with the costs reported by other Americans.
What to Pack in Bubble Wrap
Valuable items. Fragile items. Heavy and hard-to-replace items. If you’re staring at something and you can’t decide whether to bubble wrap it, err on the side of caution and wrap it.
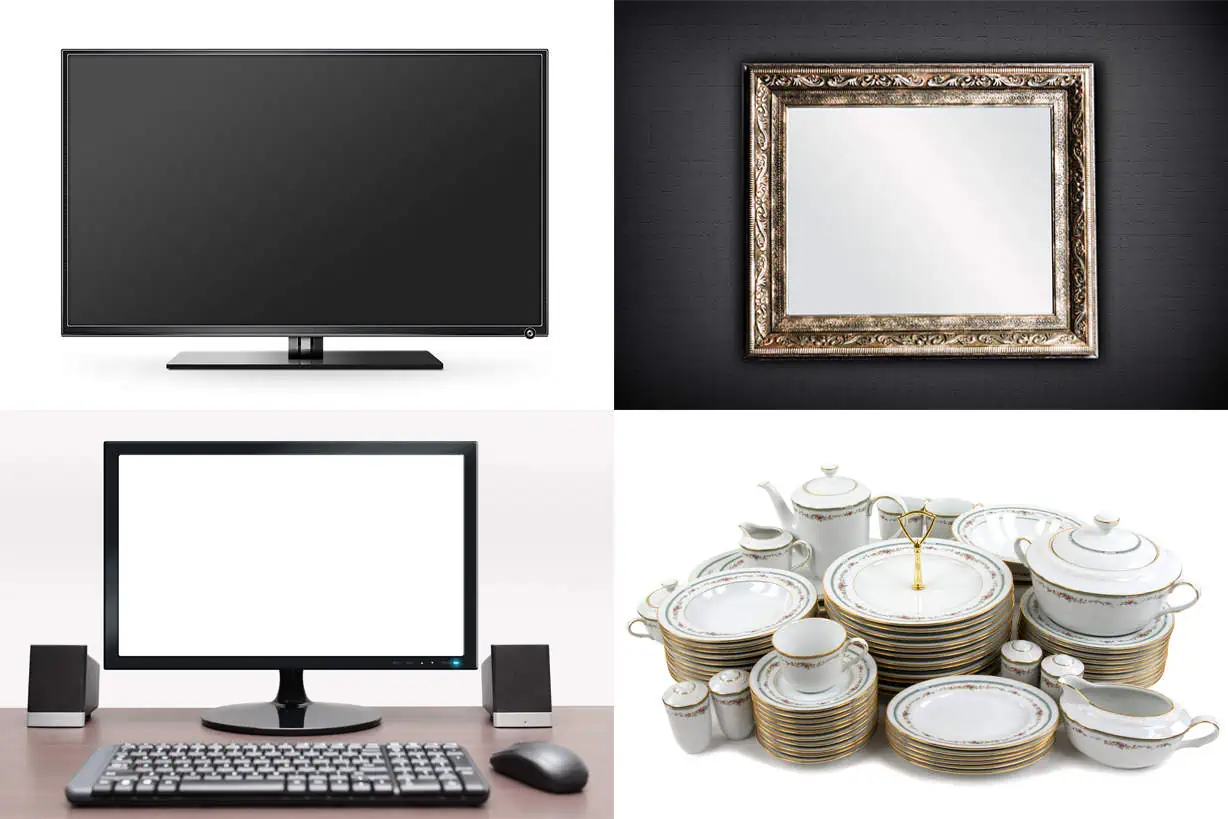
Specifically, you’ll want to consider bubble wrap for:
- Large picture frames and mirrors
- Flat screen TVs
- Glass tabletops and shelving
- Electronics and computers
- Stemware and fine china
- Fragile decorative items
Remember, bubble wrap alone will not do the trick. Even surrounded by two or three layers of air pockets, the things on this list will still need to be packed firmly in cardboard cartons with enough crumpled packing paper on all sides to keep them from shifting and bouncing in transit while keeping them safe from exterior impact.
After the bubble wrapping is done, use the right kind of box.
There’s no point in being safe if you use the wrong box for your stuff. Finish the job right by packing each bubble-wrapped item properly, surrounded by plenty of crumpled packing paper. Moving boxes come in specific shapes and sizes for your items, use accordingly.
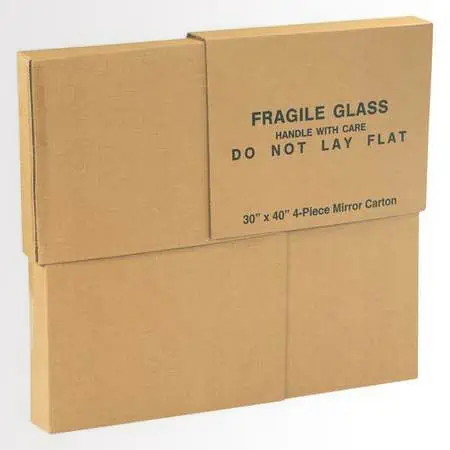
Mirror Cartons
Picture frames, mirrors, glass shelves and flat-screen TVs go in mirror cartons – sets of two, if not four pieces that you can use to form a custom-sized box.
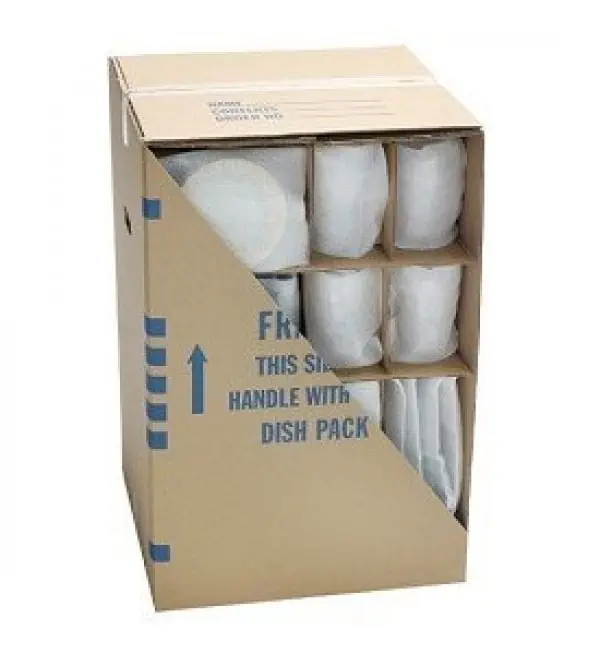
Double-Walled Dish Pack Cartons
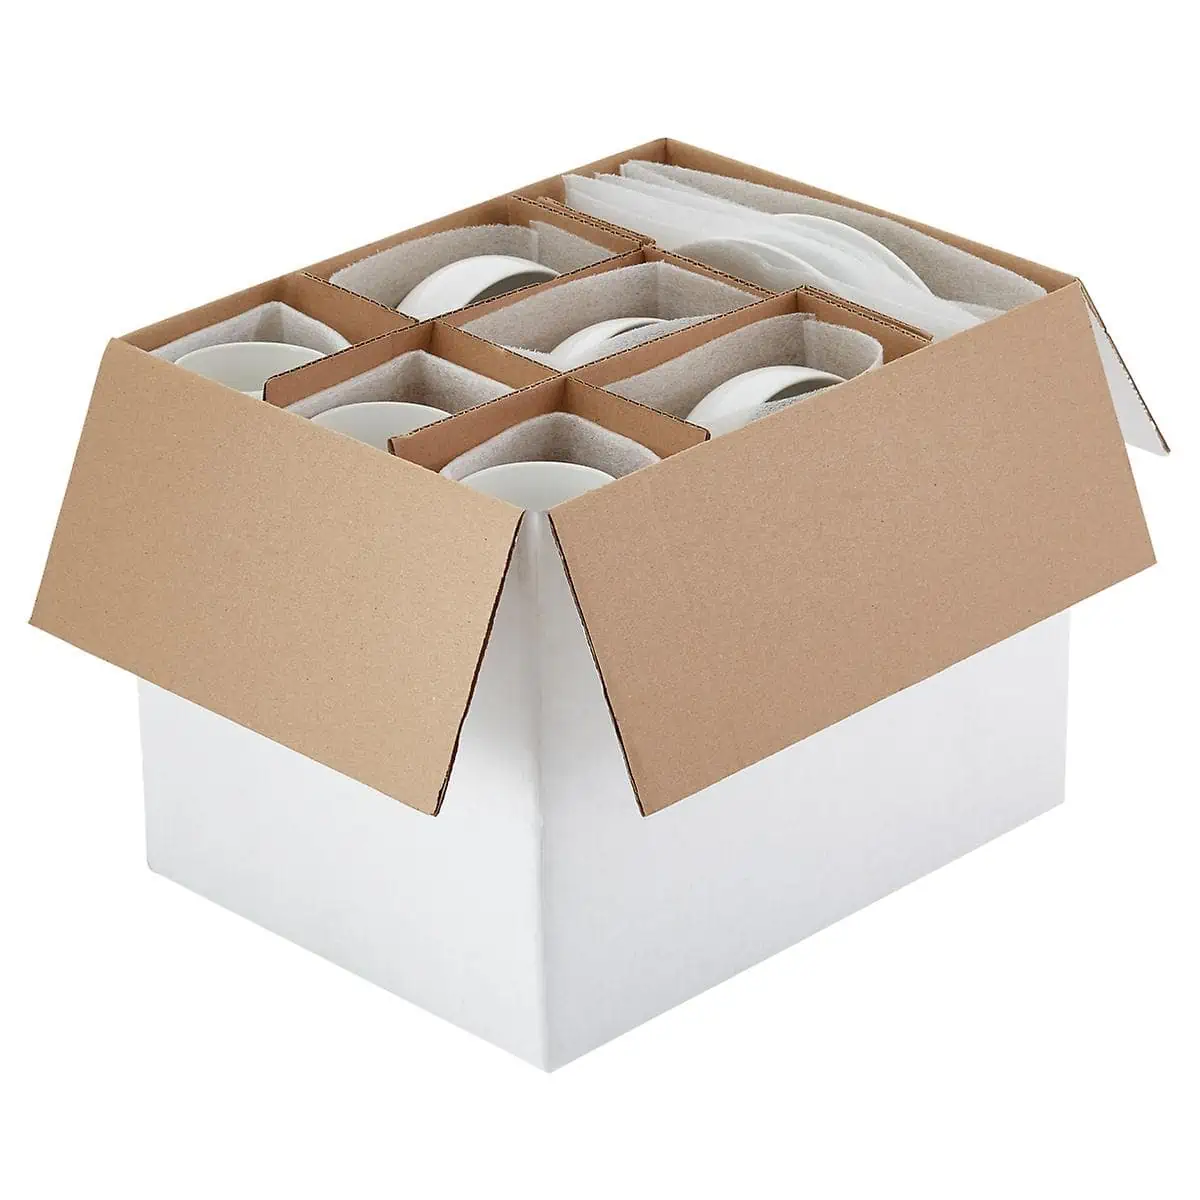
Electronics and computer components are best protected when packed in double-walled dish pack cartons, the same boxes we use for dishes, plates and glasses. And yes! This includes your china and stemware. Fragile decorative items like statuettes and ceramics can still be packed in medium (3 cubic foot) boxes, provided they are cushioned well and the boxes are clearly marked to minimize the chances of someone putting a box of books on top.
Cardboard Cells
A note about stemware: Nothing gets broken more often than this stuff. Wrapping each piece well is crucial, but so is packing it all correctly into your dish pack as the items on the bottom will have to support the weight of everything else in there.
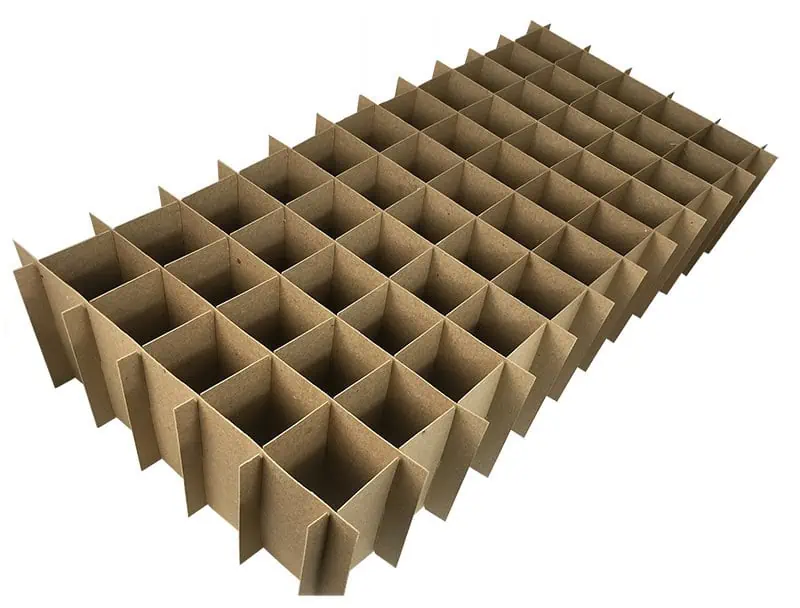
The best thing to do is get your hands on some of those cardboard cells, which not only keep your wine glasses from knocking against each other but offer an appreciable amount of vertical support, keeping all the weight of those glasses off the ones at the bottom of the box.
If you can’t find any cardboard cells, don’t despair! A thick layer of crumpled packing paper on the bottom of your dish pack and another layer of crumpled paper on top of each successive tier of firmly-packed stemware is what the pros use to keep everything safe. If you aren’t comfortable with that, line your entire dish pack with bubble wrap and put a couple of sheets in between your tiers of glasses. This isn’t the most cost-efficient way to pack your stemware, but it beats a box full of expensive shards of glass.
Alternatives
If not bubble wrap, then what? As stated earlier, packing paper is the standard. However, towels, crumpled newspaper, or virtually anything form-fitting, sturdy and that’s plenty soft can often do the trick for cheaper. Sound too simple? It really is. As long as you pad your items in a balanced way, it doesn’t need to be as expensive as bubble wrap. Just as long as “this one, extra towel” isn’t the only thing keeping your priceless vase safe. Check the moving supplies section at your local hardware store for bubble wrap alternatives.
A Note on Packing Peanuts
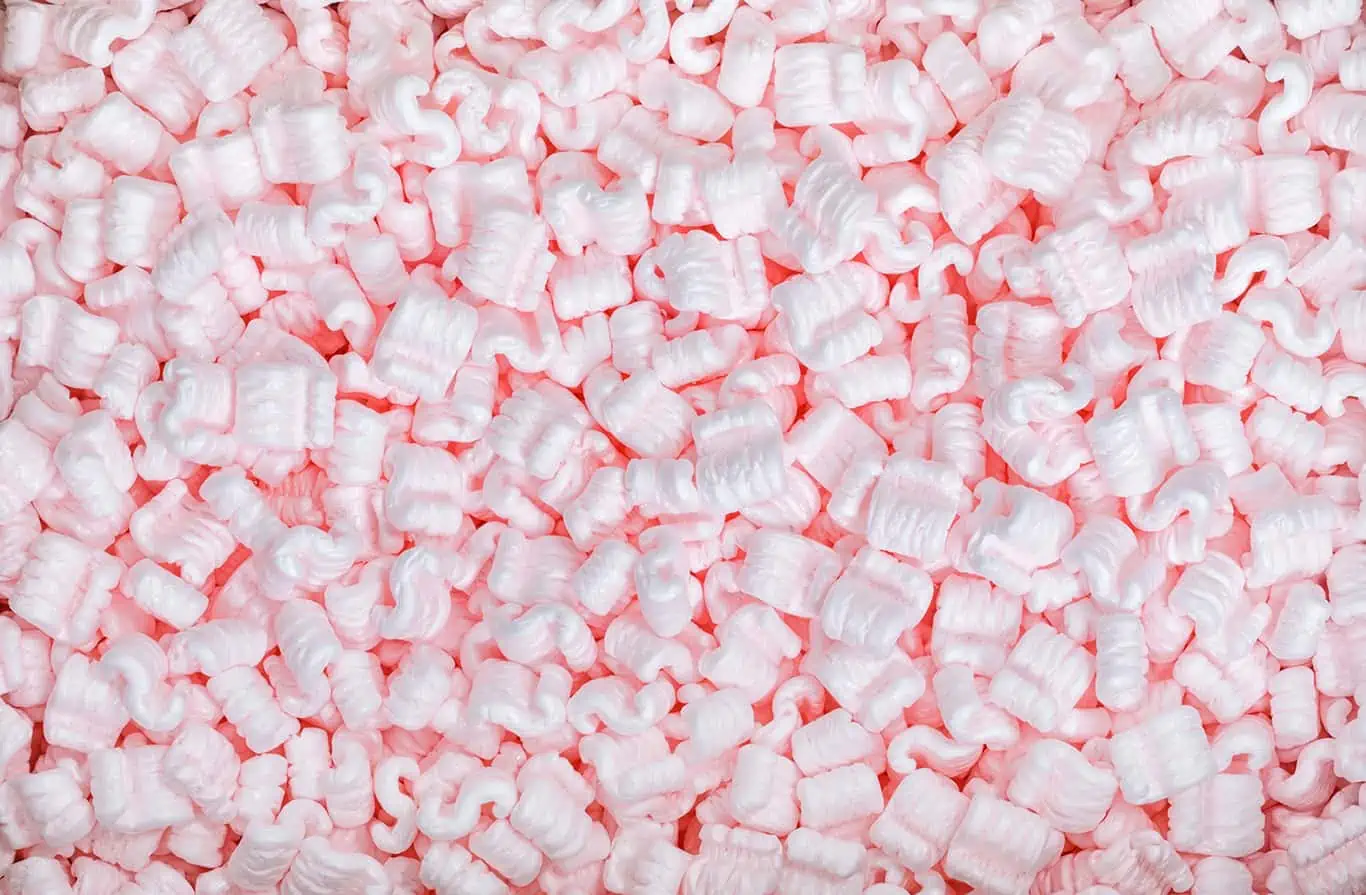 You may like the idea of those Styrofoam nuggets, but in general, they are bulky, costly, and non-biodegradable. The eco-friendly alternative cornstarch peanuts are even more expensive and don’t make for a very satisfying snack, no matter how hungry you are at the end of your move. Plus, they end up getting scattered all over the floor and clinging to your clothes. In short, use (and eat) them if you like, but I don’t recommend them.
Admit it. It’s hard to resist popping those plastic bubbles once you’re done with that bubble wrap. But think for a moment how easy it is to pop them – and how much all the boxes you are packing must weigh.
Keep this in mind when you are packing up all those valuable, expensive, fragile items. On its own, a sheet of bubble wrap can’t adequately protect your stuff. You’re going to need plenty of packing paper (or towels or clothes) in a pinch. Pack those items firmly in the center of your box, protected on all sides.
And really, save yourself a headache (and maybe the stomachache) and stay away from those peanuts!