
How To Move a Beehive
Posted in: I'm Moving, Moving AdviceBees are much more than a source of delicious honey. They’re quite literally essential to the survival of our planet.
If you’re a beekeeper, you probably already know this, and take great care in looking after your hive. So if you need to relocate to a new property (or a different area within your existing property), you may be stressing about how to move a beehive without harming or losing your bees.
The good news is that it’s definitely possible to move a beehive, whether you’re going 30 feet or 30 miles. All it takes is some careful planning and a gentle touch. So if you need to relocate a hive, here’s what you should know.
Step 1: Prepare the Bee Hive for the Move
Healthy, happy bees can handle any stresses of moving better than sick ones. If possible, you should wait until the hive is in top shape to start the move. Here’s how to check:
- Give it a listen: You can listen to the hum of the bees. A gentle hum is usually a good sign, while an aggressive or frantic buzz might indicate a problem.
- Check hive activity: A healthy hive should have regular bee activity at the entrance. You should observe bees coming and going, bringing in pollen on their legs.
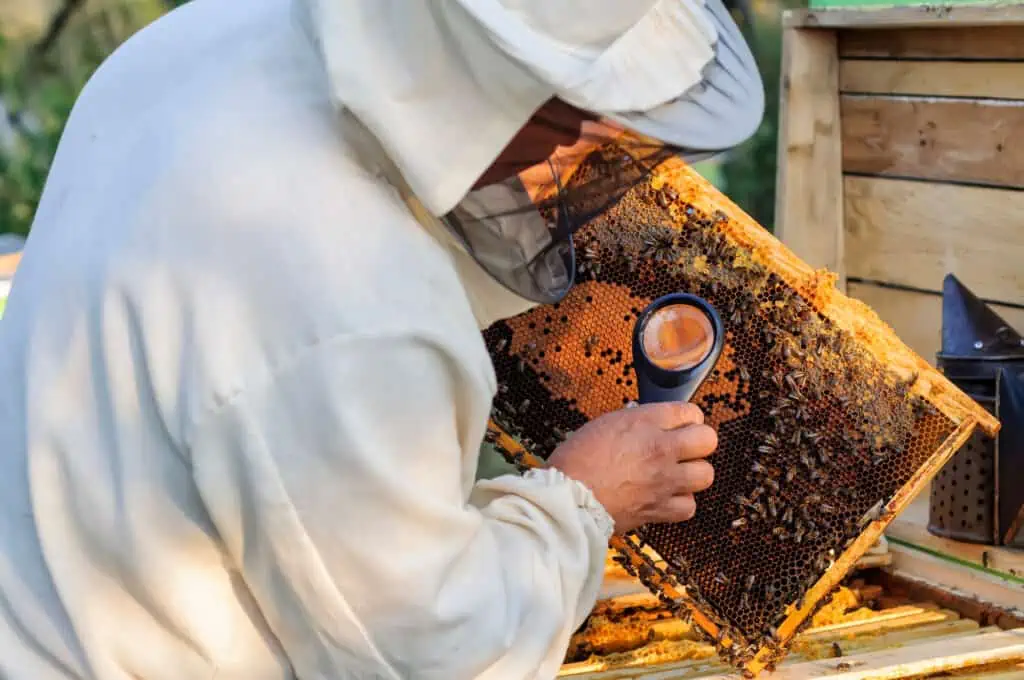
- Inspect the hive: Open the hive and check the brood pattern. Healthy brood should have a solid pattern with few gaps. Look for eggs, larvae, and capped brood. Also check for the presence of the queen or signs of her, like new eggs. If you can’t find the queen but see new eggs, it indicates she’s around.
- Look for pests and diseases: Varroa mites, wax moths, and hive beetles can infect hives, as can sicknesses such as foulbrood, chalkbrood, or Nosema. If you find signs of disease or high pest infestations, treat the hive before moving it.
Step 2: Choose the Best Location for Your Hive
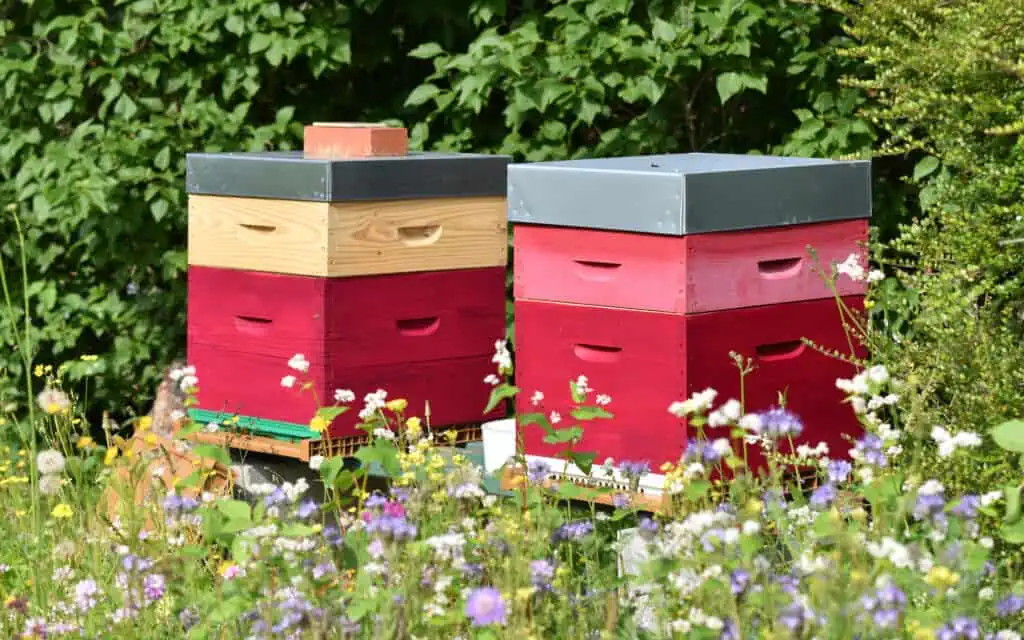
The ideal location for a beehive should include the following:
- Sunshine: Morning sunlight helps to get the bees active earlier in the day, and an earlier start means more time to travel, forage, and pollinate.
- Shelter from the elements: The spot should also be shielded from prevailing winds, especially in winter, to prevent the hive from tipping over or the bees from getting too cold. Ensure the ground is stable and slightly sloping forward to allow any rainwater to drain away from the entrance.
- A water source: Ponds, streams, or a bird bath can function as a drinking station for bees. If there isn’t one of those near enough, consider providing a shallow water dish with stones or twigs for the bees to land on.
- Flowering plants: This seems like an obvious one, considering bees need flowers to make honey. However, you should make sure that the nearby food is both plentiful and there’s something blooming in every season.
- Safe, quiet, and accessible: Be sure you place the hive in an area where it won’t be disturbed by pets, children, or regular human activity. But it should be easily reachable by you for inspections and general care.
- Within the law: Some areas might have regulations about how close you can place a hive to property lines or public areas. Always check local ordinances before moving a hive. You might also find it helpful to consult with your local beekeeping association for information on rules and regulations.
Step 3: Gather Your Tools
Once you have an idea of where you’ll be moving the hive, you can start preping your moving supplies. Obviously, this is going to entail specialized equipment, but you probably have most of it already. Be sure you have the following on hand:
- Beekeeping attire: A full-body suit with a veil to protect your face, plus gloves.
- Closed shoes: Preferably boots, to ensure bees don’t get under your feet or into your shoes.
- Ratchet straps: To secure hive boxes together, ensuring they don’t come apart during transit.
- #8 hardware cloth: Staple this over the hive entrance to prevent bees from leaving but maintain ventilation.
- Duct tape or masking tape: Handy for sealing small gaps or entrances temporarily.
- Hive tool: Essential for prying apart frames or boxes that might be stuck together due to propolis.
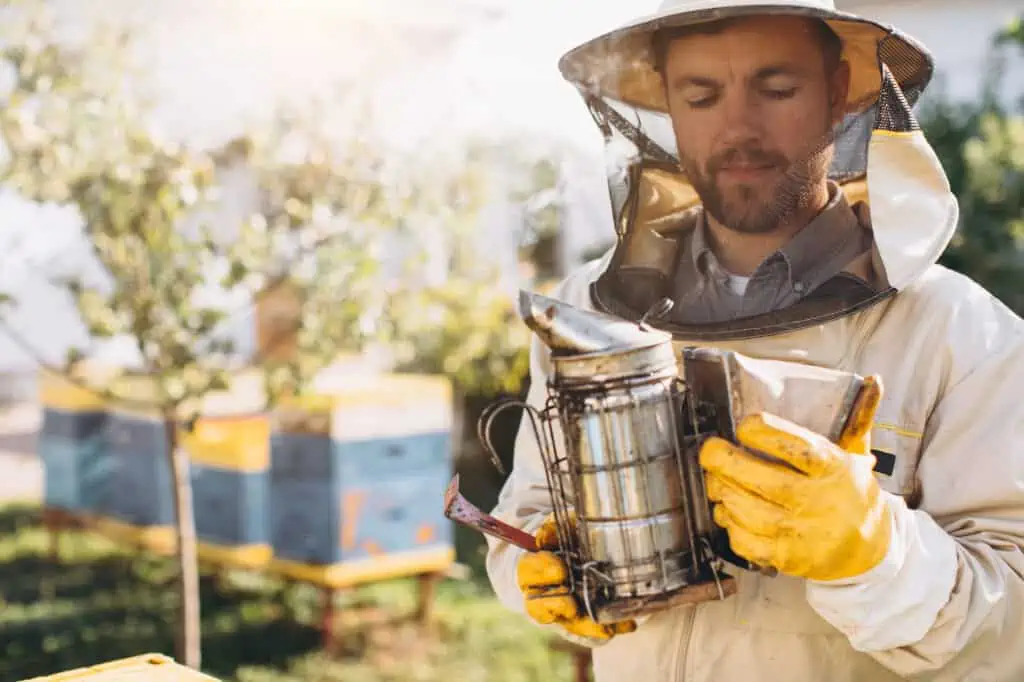
- Smoker: Useful for calming the bees. Ensure you have smoker fuel like pine needles, wood pellets, or burlap.
- Vehicle: Depending on the distance and number of hives, this could be a truck, trailer, or an extra car. Ensure the vehicle’s space is clean and free from strong odors.
- Hand truck or dolly: Useful for moving heavy hives, especially if you have multiple hives to relocate.
- Ropes or bungee cords: For additional security during transit.
- Small branches or leaves: If you’re moving the hive within a short distance (within the same property or a few miles), place these in front of the hive entrance to force bees to re-orient.
- Flashlight or headlamp: You should move the hive when it’s dark, so you’ll need a light source to see clearly.
- First aid kit: You may want to have a bee sting emergency kit on hand, which includes antihistamines or an epinephrine auto-injector, just in case anyone happens to be allergic.
Step 4: Move the Beehive
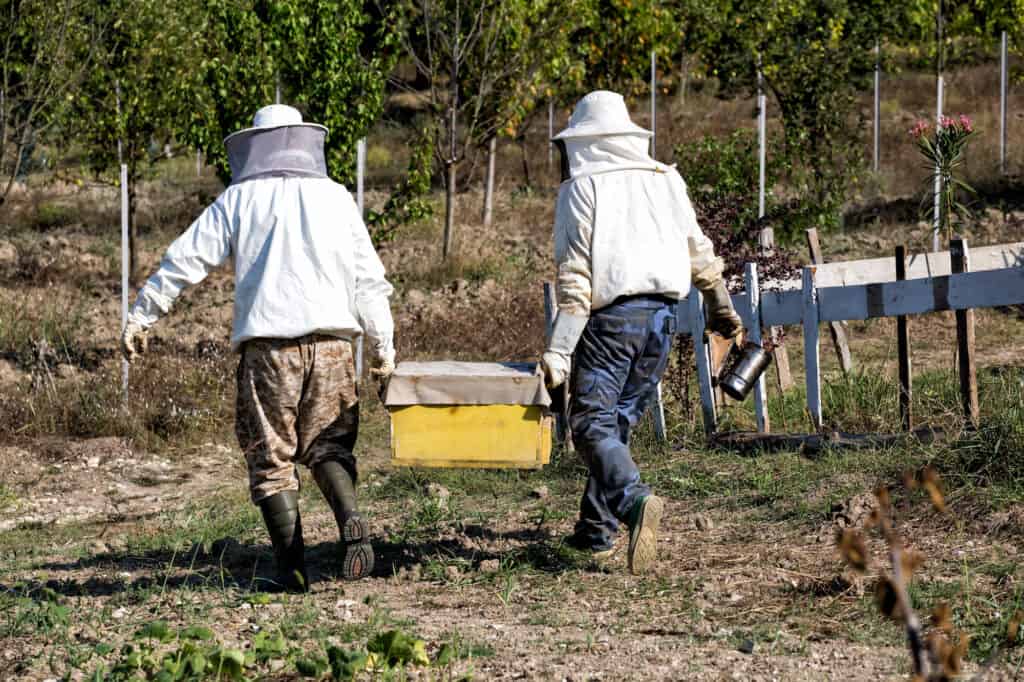
Once you’re all prepped and ready to go, you can begin the moving process.
Nighttime is the right time
The best times to move a hive are during dusk or night when bees are less active. If you move the hive in the middle of the day, you risk leaving forager bees behind. A calm, dry evening is ideal—avoid rainy or stormy conditions.
Suit up and smoke the hive
Before starting prep on the hive, wear your full beekeeping suit, gloves, closed shoes or boots, and ensure every opening is securely closed. Light your smoker and gently puff some smoke at the hive entrance and under the lid. This helps to calm the bees and reduce their aggressive response. Don’t over-smoke, as this can be stressful for the bees.
![]()
See prices for local moving labor. Read real customer reviews. Easily book your help online.
Seal and secure the hive
Gently place your cloth over the hive entrance to close it off. A foam strip or mesh also works, just be sure there’s some ventilation so the bees don’t suffocate. If the hive has other openings, seal them with duct tape or a similar material.
Use hive straps or ratchet straps to securely bind the hive boxes together. Ensure the lids and bottom boards are also secure. If you’re using a hand truck or dolly, gently lift and place the hive on it for easier transportation.
Transport
Move the hive to your vehicle. If using a truck or trailer, ensure the hive is on a flat surface and level. Secure it with ropes or bungee cords to prevent it from moving during transit. It’s not recommended that you transport a hive inside the vehicle cab with you, as it could turn into a dangerous situation if the bees get out while you’re driving. It’s also a good idea to keep your smoker on hand while transporting in case the bees start escaping.
Drive slowly and avoid sudden stops, turns, or bumps. If you’re moving the hive a long distance, ensure the area where the hive is located remains ventilated, especially in hot weather.
Step 5: Unload the Beehive
Once you arrive at your destination, gently place the hive in its new location, making sure it’s stable and slightly tilted forward for drainage.
“Always check local ordinances before moving a hive. You might also find it helpful to consult with your local beekeeping association for information on rules and regulations.”
If you moved the hive within a short distance (within the same property or a couple of miles), the bees might try to return to the old location. Placing obstacles like branches at the entrance can help force them to re-orient. Some beekeepers also suggest closing the hive for 24 hours (with adequate ventilation) and providing sugar water inside. This can help reset the bees’ internal GPS.
Once the hive is open again, ensure there’s a water source nearby.
Step 6: Monitor the Hive
For the next few days, monitor the hive’s activity from a distance. You should see bees performing orientation flights.
If all seems well after a few days, perform a more thorough inspection to ensure the queen is active and laying. Also make sure they have enough food, especially if the move occurred outside of the primary nectar flow. Moving can be stressful for bees, making them more susceptible to disease or pests, so be on the lookout.
Remember, bees are adaptable creatures. With a bit of time and the right conditions, they should settle into their new home. It’s essential, however, to regularly monitor their health and activity, especially after a significant change like relocation.