How To Load a Moving Pod
Posted in: Loading & Unloading Guides, Moving ContainersMillions of people move every year. Around 25 million, at last count. And every year, more and more of them are using portable moving containers instead of trucks.
For good reasons, too! Moving containers offer a convenient, versatile, cost-effective way for you to move your stuff down the road or across the country.
If you’ve already booked a moving pod (or if you’re considering getting one), you can either hire a couple of pros to load it up for you or you can roll up your sleeves and try to fit everything in there by yourself.
We’ve got you covered if you want pros to handle your belongings. But if you’d rather DIY it, read on and see how to pack your moving container the safest and most efficient way possible.
Before You Start Loading
Like always, preparation is key. Here are some steps to take before you load the first box into your pod. It’ll help make the whole process even easier!
Disassemble what you can

Taking apart your furniture before loading makes everything lighter and easier to carry. It also saves valuable space in your container so you can fit more, and lessens the chance any delicate parts will break off in transit. Here’s what you should disassemble:
- Take apart bed frames
- Remove table legs
- Take apart dining chairs if feasible
- Take unattached shelves out of bookcases, curios, etc.
- Remove anything else that sticks out of a piece of furniture or could fall out and break, like dresser mirrors or TV stands/bases
Pro Tip: Movers keep a small cardboard box called a “parts box” on hand to hold all the hardware from the items they disassemble. Use (and label) Ziploc bags to keep all the nuts and bolts and screws for each piece of furniture separated.
Wrap things up in furniture pads
Furniture pads keep your things (and the walls and floors) safe from damage as you haul it all out of your home. Pads also keep your furniture protected against the moving and shifting that will occur as your pod is taken to your new place.
You can usually rent them from your moving container company or buy them in stores or online — and possibly sell them online when you’re done.
Pro Tip: When wrapping furniture pads around your china hutch, curio, or any other item with a glass surface, add some extra protection by placing a piece of cardboard big enough to cover the glass over the part of the pad that is hiding the glass. Then, tape or shrink wrap the cardboard in place.
Clear the Way
For safety’s sake, you want to keep a clear path all the way to the door and out to your container. From rugs to stray rolls of tape, make sure there is nothing on the floor that can make you slip or trip.
Also, pay attention to what’s above you: the height of a doorway, the slope of the staircase ceiling, light fixtures, fuse boxes, smoke detectors, and anything else sticking out of the walls and ceilings. You don’t want to knock your couch or dresser into something important!
How to Load a Moving Pod: The Basics
Now that you’ve made preparations, it’s time to start loading up the container. There’s a definite method to the madness of trying to fit everything you own into a box — even a box as large as a pod. Here are some helpful terms and concepts that will give you the proper know-how to get started.
Tiers
These are vertical layers (basically walls) of furniture and boxes that reach clear up to the roof of your pod. Our aim is to build up tiers, one at a time, using a mix of furniture and boxes in each one.
Base
The foundation on which each tier is built. The pros always start their first tier with some base, which is usually made up of stout pieces of furniture like a dresser or a desk. On top of this will go boxes and items of medium size and weight. Then, you finish off each tier with light stuff.
![]()
See prices for local moving labor. Read real customer reviews. Easily book your help online.
Weight Distribution
This term refers to the balance in your load, both side to side and front to back. Remember that things in your pod will shift in transit, so too much heavy stuff in the back or on one side can mean your lighter stuff gets knocked into and broken.
Density
This refers to how much room is available and is crucial for safety. Just like a half-empty cardboard box will tend to get crushed, empty space in a loaded pod has room for everything to move around and, quite possibly, end up damaged.
“A great way to avoid [the door getting stuck] is to strap off your last tier…Better yet, use a mattress or a couple of large bookcases (or whatever other large items you have) for your final tier.”
Table legs and shelves (wrapped and padded, of course) can fill these spaces. In a pinch, stick sofa cushions, rolled-up blankets, and even sleeping bags into empty areas to make your tier more dense while adding extra protective padding. You’ll probably still have some space at the top of your load, and that’s okay. Just keep it tight side to side and front to back.
How to Load a Moving Pod: Expert Level
Now that you’ve got the basics down, let’s go through all you need to know to load your pod like a pro.
Start with some base
You may be tempted to begin by stacking a bunch of boxes neatly in the back corners of your container. But movers always build their first tier with a foundation of a large, solid base, using things like long dressers and stout desks. Stacking some boxes on top of that base, with some loose items to fill in up top, will make for a stable first tier.
Don’t build a wall of boxes
Stacking boxes is easy — until you run out of them. Then you’ll have to build tiers of furniture and garden tools and all that stuff in the garage. This is a recipe for disaster. Build each tier with a mix of furniture, boxes, and loose items.
Keep it loose up top

All those items in the garage — folding chairs, garden tools, sports equipment, bicycles — have to go somewhere. The best place for such items is on top of your tiers, where density is least critical.
Add strength front to back
Tall bookcases, entertainment centers, refrigerators, and mattresses can serve as walls, placed between tiers throughout the pod, making your load more stable, safe, and secure. Mattresses can also be placed against glass surfaces common in items like china cabinets and curios.
Get creative with large, flat items
Headboards and padded dining table tops can be loaded against the side walls, perpendicular to your tiers. Mirrors and large picture frames (so long as they’re packed safely in flat cardboard cartons) can fill in spaces in tiers with items of varying widths.
Stand your sofa on end
You don’t want to start piling stuff on top of your sofa cushions or the frame underneath. So unless your couch is super light and you can put it on top of one of your tiers, stand it upright on one end. Use furniture pads to create a pillow underneath so that the end at the bottom doesn’t get crushed.
Tier down

Remember that density is critical for a secure, safe load? You don’t want any empty floor space between your last tier and the door of your pod. If there is, everything will come crashing down into that empty space while in transit.
In all my years of moving, I’ve never had a load fit perfectly into a moving pod (or a truck for that matter), but we always had to make sure our last tier rested right up against the door to keep the load stable.
Furthermore, each tier needs to be tall enough to support the tier behind it. It takes some foresight, but the top of your load should slope gently downward towards the door, each tier a little shorter than the one behind it.
Pro Tip: Pods, like moving trucks, normally have vertical rows of cleats inside for attaching straps that can hold your load in place. If your belongings will not take up the entire pod, placing large items like mattresses and tall bookcases against your last tier and strapping them firmly in place is a great way to keep everything secure.
What To Do If Your Moving Pod’s Door Is Stuck
A moving pod will have a roll-up door that can get jammed if the load inside shifts and ends up leaning against it. If this happens, push on the door and try to edge the items inside away from the door. This may require some time and patience, not to mention a bit of elbow grease, but the alternative is to call your container company and hope they can come out and help.
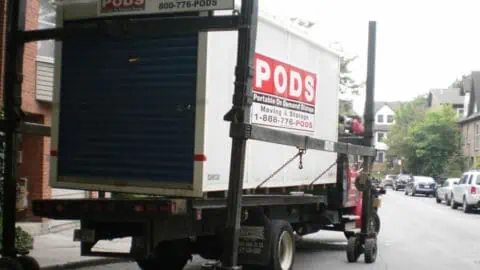
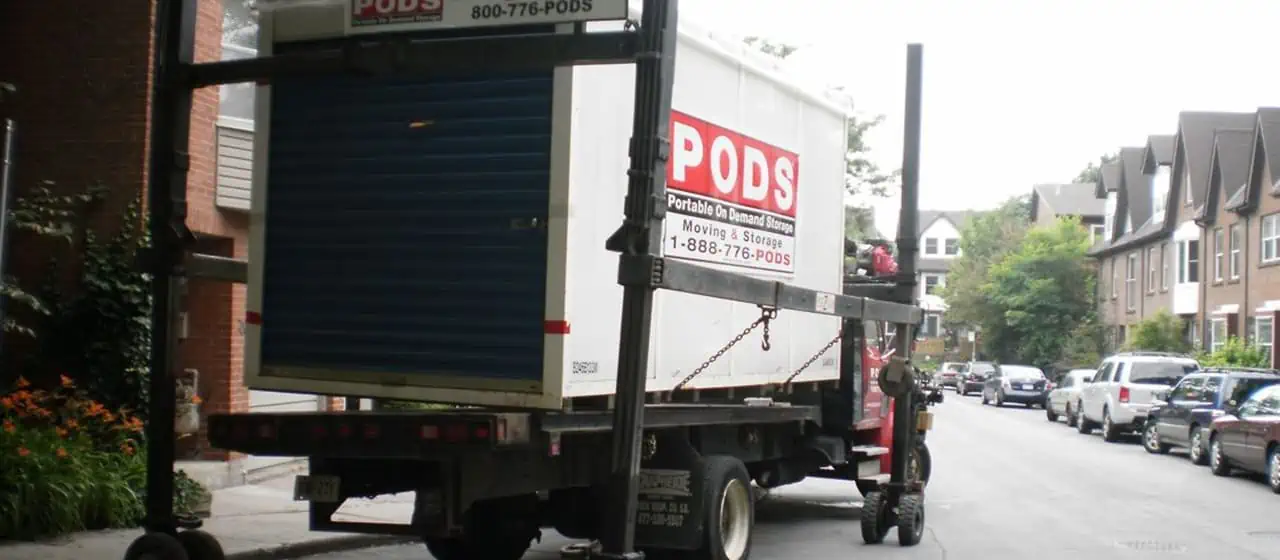
“…the equipment and the trucks carrying loaded pods have weight limits for the combined weight of the pod and its contents. Since a larger pod weighs more, there is less leftover weight capacity for what is inside.”
A great way to avoid this scenario is to strap off your last tier to keep everything from shifting and falling against the door. Better yet, use a mattress or a couple of large bookcases (or whatever other large items you have) for your final tier. Large items are much easier to strap in place.
How Do You Pack a Couch in a Pod?

As mentioned above, it is not advisable to set your couch flat on the floor of your pod. Stacking things on top of it will damage the cushions, the frame, or both. Instead, follow these steps to make sure your couch comes through the move in one piece.
- Shrink Wrap Your Couch: Shrink wrap not only keeps your furniture pads firmly in place, but it also keeps dust and dirt off the upholstery. However, don’t use it on wood, leather, or vinyl — the shrink will damage those materials. And make sure you leave a few open spaces for ventilation to avoid mold.
- Use furniture pads for support: Placing one on the floor underneath your sofa serves as a cushion. If the end of your couch is not flat, add extra pads so the entire end of your sofa is supported.
- Orient your sofa properly: The back of your couch should rest against the tier behind it to keep everything back there in place, and the legs should be against the side wall.
What Cannot Be Moved in a Pod?
As with moving trucks, there are quite a few things that are prohibited from being transported in a moving pod. Most of these items present a fire hazard, but there are other potential problems involving things like mold, pests, and legality. To avoid these issues, refrain from loading up the following:
- Matches
- Oil and gasoline
- Fireworks
- Paint and paint thinner
- Car batteries
- Aerosol/pressurized cans/containers
- Propane
- Perishable foods
- Plants and/or soil
- Firewood and untreated wood
- Animals, alive or dead
- Household cleaning products
- Lawn chemicals and fertilizer
- Explosives and ammunition
Your moving pod company may have additional items on their “no-go” list. Check if you have any uncertainty about anything you are thinking of loading.
![]()
See prices for local moving labor. Read real customer reviews. Easily book your help online.
How Much Weight Can a Moving Pod Hold?
Good question! Moving pods are built to carry a heavy load, but they do have their limits, and so does the equipment used to drop off and pick up moving pods.
The weight limits for a common moving pod company’s pod sizes are:
- 5,200 pounds for an 8-foot pod
- 4,700 pounds for a 12-foot pod
- 4,200 pounds for a 16-foot pod
Looking at these numbers, you might think something is wrong. Why do the larger pods have lower weight limits? Because the equipment and the trucks carrying loaded pods have weight limits for the combined weight of the pod and its contents. Since a larger pod weighs more, there is less leftover weight capacity for what is inside.
Inquire about specific weight restrictions with your chosen moving pod company.
What Happens if My Pod is Overweight?
Maybe nothing. At least one moving pod company out there does not charge any extra fees if you go over the weight limit for your pod. However, there is a chance that if you are over the weight limit, you’ll have to rent a second pod.
If you are concerned your load might go over the weight limit, rent another pod.
What Fits in an 8-Foot Pod?
An 8-foot pod is generally large enough to accommodate a studio apartment or a lightly-furnished one-bedroom apartment. The interior dimensions of an 8-foot pod are roughly eight feet high, eight feet long, and seven feet wide, which is typically enough for:
- Large bed
- Dresser
- Small sofa and coffee table
- Dining table and chairs
- TV/entertainment center
- Bookcase
- Smaller household items
- 10-20 boxes
For a clear visual of how much space your belongings will take up, use masking tape to mark a seven-foot by eight-foot square on your floor. Then, try to fit some of your larger pieces of furniture inside that square. If it starts getting tight, you might consider getting a larger pod.
What Fits in a 16-Foot Pod?
A 16-footer will hold three or four rooms of furniture and belongings. Of course, everyone’s home is different. But here is an average breakdown of what will fit:
- King or queen-size bed
- Two twin beds
- Two dressers
- Sofa with coffee table and end tables
- Dining room table and chairs
- Washer/dryer
- TV/entertainment center
- Two bookcases
- Various small items
- Several dozen boxes
Place Your Container In the Right Spot

When you call to reserve a container, you’ll need to be able to assure the container company you have a suitable place for them to drop it. Check the following before you call.
- Level surface: It’s imperative to have your portable container placed on a flat, level surface. If a slight incline is unavoidable, like in a driveway, have the back of the container (the side furthest from the door) sit lower so your tiers lean toward the back wall and not your head.
- Solid ground: Empty containers are heavy, and loaded containers can sink into the dirt or mud. Secure a spot on a paved or cement surface.
- Room to move: It’s not just your container that needs some space. The truck that will come to drop it off and pick it up will need room to maneuver, too. When you call the container company, ask them how much space they’ll need to get your pod in and out. While you’re at it, take note of any wires and tree branches that might get in the way.
- Check the rule book: Contact your municipality or HOA head for any rules and restrictions on placing a temporary container, whether on your property or the street. If you rent, check with your landlord before putting your container on the premises.
The Best Way to Load Your Pod
Success in loading your pod means fitting everything in at the start and getting everything back intact at the end. It means using base, building solid tiers, and keeping all that weight distributed — just like the pros.
And if it all seems like too much, HireAHelper has your back. We can connect you with professional movers who can get the job gets done right, leaving you with a successful start in your new home.