Oil paintings are notoriously delicate, with thick paint, brittle varnish, sensitive surfaces, and fragile frames, making them especially vulnerable during transit. So when moving with one, you have to be careful and well-prepared. Even light pressure or the wrong packing material can crack paint or leave a permanent texture imprint.
At HireAHelper, we know what works and what doesn’t. After so many years in the business, we’ve seen movers successfully transport everything from heirloom portraits to gallery canvases and museum-style frames. In this guide, we’ll walk you through how to pack an oil painting for a move, using the best practices learned from professional art handlers and moving pros.
Supplies Needed to Pack an Oil Painting Safely
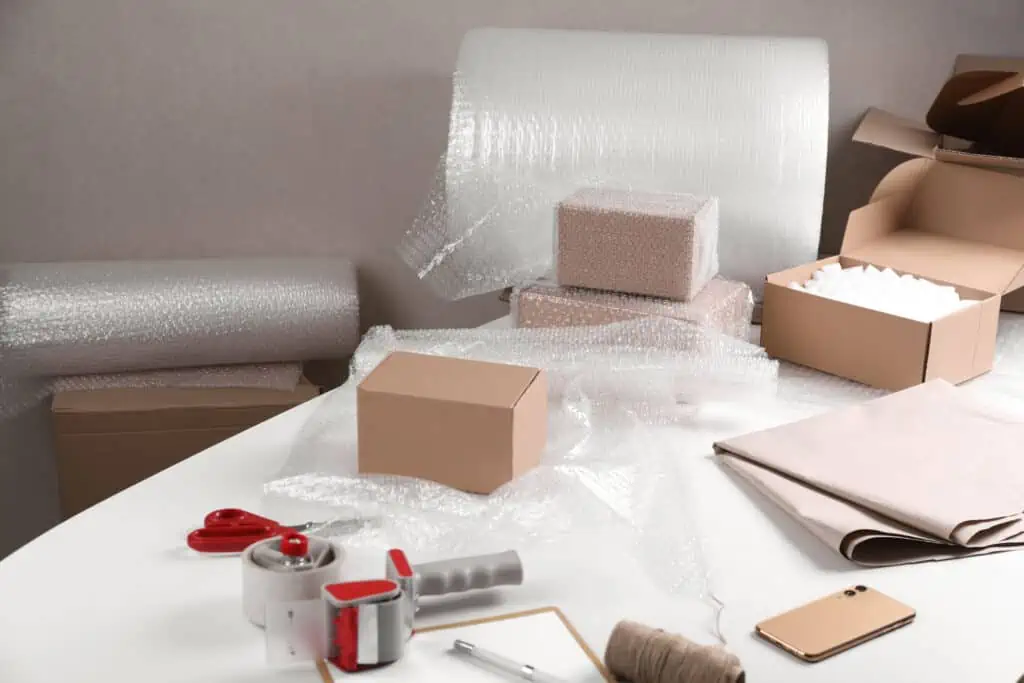
You don’t need a museum’s shipping department to safely move an oil painting, but you do need the right materials. Here’s what to gather before you get started:
- Glassine paper: A smooth, acid-free paper that won’t stick to oil paint. Use it to create a breathable, non-abrasive barrier over the painted surface.
- Corner protectors: Foam or cardboard sleeves that guard vulnerable corners from dents and pressure. You can buy them online or make your own with folded cardboard.
- Foam boards or cardboard sheets: Used to sandwich the painting and prevent punctures. Look for boards slightly larger than the artwork.
- Acid-free tissue paper or packing paper: Provides additional padding. Avoid newspaper, glossy inserts, or standard paper, which can leave marks or discoloration.
- Bubble wrap: Offers cushioning. Only use it on top of a paper-wrapped painting and never directly on the painted surface.
- Plastic stretch wrap: Holds layers together and keeps protective boards snug during transport.
- Packing tape and painter’s tape: Painter’s tape is ideal for securing paper layers without leaving residue or damaging finishes.
- Moving blankets or towels: Add an extra buffer around the box once it’s loaded, or line awkward vehicle spaces.
- Markers and fragile labels: Clearly label the box or use a color-coded system so it’s treated with care from the moment it’s picked up.
You can find most of these materials at art supply stores, hardware chains, packing retailers, or through online marketplaces. For additional packing tips for oil paintings, ask your movers how they deal with these items and what equipment they’ll bring.
Step-By-Step Guide on How to Pack an Oil Painting for a Move
Unlike framed prints, posters, or glass-covered art, oil paintings are sensitive to touch, pressure, temperature, and moisture. So it takes patience to pack them. Let’s look at how to protect your painting in just 6 easy steps.
Step 1: Set Up Your Workspace and Inspect the Painting
Lay the painting flat on a clean, dry surface. If it has glass, place two strips of painter’s tape in an X across the front to contain shards in case the glass breaks. Check the frame, back hardware, and any hanging wires for issues, tightening screws or removing hooks that could catch on packing material. If the painting is unframed, inspect the canvas for tears, warping, or protrusions.
Remember that oil paint must be dry to the touch before packing. Freshly painted pieces should be left to cure completely, which can take weeks or longer depending on the conditions.
Step 2: Wrap the Front of the Painting in Glassine
Cut a sheet of glassine paper slightly larger than the artwork. Lay it over the surface, gently smoothing it down. If the canvas is unframed, wrap the paper around the edges. Use painter’s tape to secure the paper to itself or the back of the stretcher — never tape it to the painted surface, the frame face, or decorative trim.
Step 3: Add Corner Protectors and a Rigid Support Layer
Slide foam or cardboard protectors onto each corner. Then, place one foam board over the front and another against the back, creating a rigid, flat shell around the painting. Wrap the entire thing in stretch wrap or use painter’s tape to hold it all together.
Step 4: Cushion the Painting with Bubble Wrap
Add two or three layers of bubble wrap around the protected painting, keeping a barrier between the painting and the bubble wrap. Wrap horizontally, then vertically, then around the edges to cover all angles. Finally, secure the wrap with tape around the outermost layer.
Step 5: Pack the Painting into a Fitted Box
Choose a mirror or picture box that’s slightly larger than the wrapped painting. Add a few inches of crumpled packing paper, foam, or folded towels to the bottom for extra padding. Slide the painting in upright, not flat. Then, fill any side gaps with more crumpled paper, soft foam, or loose bubble wrap and close the box before sealing all edges with packing tape.
“If the painting has experienced extreme cold or heat, allow it to reach room temperature before opening to prevent moisture condensation and potential warping.”
If the painting is oversized, especially fragile, or high-value, consider using a wooden crate instead of a box.
Step 6: Label the Box Clearly and Visibly
Use bold lettering or pre-printed labels to mark the box. Add arrows and phrases to indicate the correct orientation, i.e., “THIS SIDE UP”. Label each side of the box so that, regardless of how it is handled, the warnings are immediately visible.
How to Transport an Oil Painting Safely
Even the best-packed box needs thoughtful handling on moving day. Always keep your oil painting upright, just like it hangs on the wall, to avoid pressure damage or canvas sagging. Wedge it between soft items like mattresses or cushions, adding a blanket on each side for stability.
Don’t stack anything on top of it, even lightweight items! If temperatures are extreme, use a climate-controlled vehicle, or load the painting last and unload it first.
Unpacking and Reassembling an Oil Painting
Once you arrive at your destination, you might want to get your precious artwork on the walls as soon as possible to make the place feel like home, but resist the urge to unpack quickly. Follow these tips to finish the move on a strong note:
- Let the box sit: If the painting has experienced extreme cold or heat, allow it to reach room temperature before opening to prevent moisture condensation and potential warping.
- Cut with care: Use a sharp blade or scissors to slice through the tape on the box flaps. Keep your cuts shallow and angled away from the contents.
- Remove layers slowly: Take off bubble wrap, boards, glassine, corner protectors, and tape in stages.
- Peel off the glassine: If it sticks, wait a few more minutes for the materials to settle. Once removed, check the painted surface carefully.
- Inspect for damage: Look for surface blemishes, cracked varnish, flaked paint, or bent frame corners. If anything seems off, pause and consult a local art restorer before handling further.
- Rehang in a safe spot: Choose a location away from direct sunlight, moisture, fluctuating temperatures, or high-footfall areas.
After all that care, it’s satisfying to see your oil painting back on the wall — safe, intact, and perfectly placed.
Learn more on our How to Pack Hub.
Frequently Asked Questions About How to Pack Oil Paintings for a Move
What if my oil painting is fragile or oversized?
Oversized or antique oil paintings require special handling. In addition to padding and board support, consider crating the piece. A common method is to wrap the painting fully and place it in a snug box. Then, add foam or blankets around that box inside a second, larger box to create a floating buffer zone and reduce shock.
Can I move an oil painting myself, or should I hire professionals?
Yes, you can move an oil painting yourself, as long as you’re comfortable packing it with the right materials and steps. However, for large or valuable paintings, it may be worth hiring professional packing help. The experts know how to handle and load fragile items, so your belongings, including paintings, will get on and off the truck safely.


 How to pack


 What to watch out for