If you’re planning to move home gym equipment soon, you need a solid plan to avoid injury and keep your gear in top shape. Building a home gym is an investment in your health, but moving those heavy weights can feel like a workout you didn’t sign up for.
Whether you have a simple bench or a massive power rack, getting it to your new home requires more than just muscle. In this guide, we break down every step of the process. We’ll show you how to protect your floors, secure your gear for transit, and reassemble everything properly.
Moving Your Home Gym: A Step-by-Step Guide
Moving your fitness gear takes some planning, but we break it down into simple steps: check your setup, clear out extras, clean, protect floors, plan your path, and load the equipment safely.
1. Assess Your Current Home Gym Setup
When moving to a new home, it’s important to evaluate whether it’s worth the effort and expense to transport your heavy gym equipment or if investing in new equipment at your new location might be a better option. Consider factors such as moving costs, current equipment condition, and the availability of space in your new home.
Start by taking stock of your equipment. Set all your stuff up in front of you, big or small, as though you plan to use every piece of it in a single day. Then, take a close look at each item’s size, weight, and complexity to move. A set of dumbbells is easy to carry, but a treadmill or squat rack may need more planning. Heavy or bulky gear often requires extra hands, special tools, or even disassembly before moving.
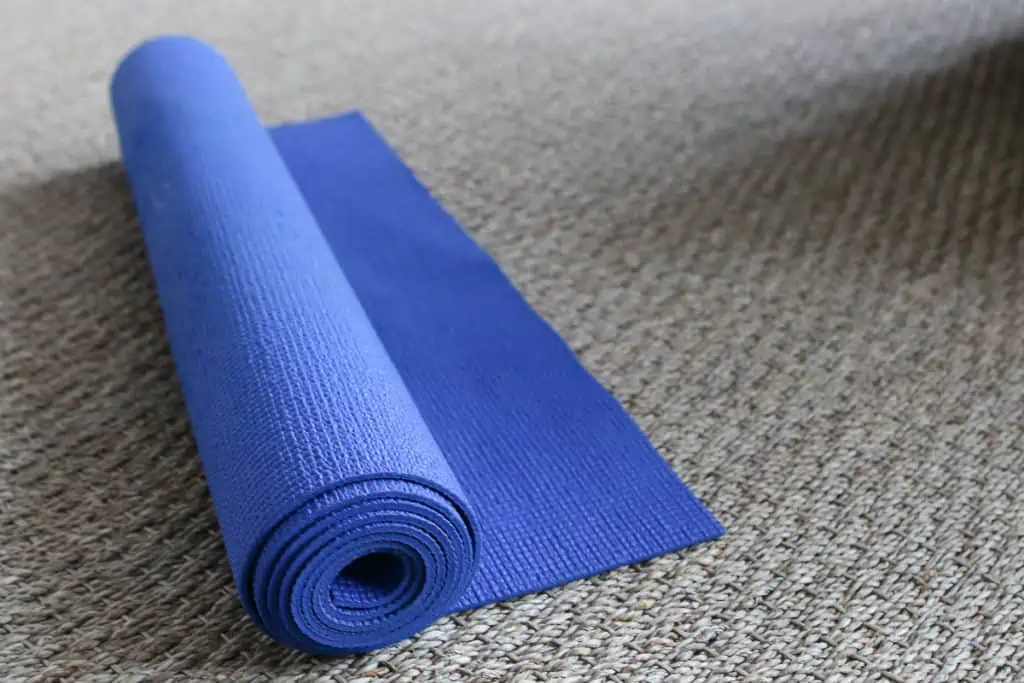
If you have a lot of large, delicate, and heavy equipment, but don’t have the extra help on hand or don’t plan to hire movers to assist you, then it might not be the best idea to try moving it all. Moving equipment can break or cause serious injury if moved improperly, so unless you’re moving just yoga mats and a dumbbell set, it’s best to get help.
2. Sell, Donate, or Toss Unwanted Equipment
If you have decided you’re moving your home gym, the next step is to evaluate your equipment. Separate all of it into two simple piles:
- Stuff you simply can’t do without
- Equipment you barely use or never use
Consider each piece and ask yourself how many times you’ve used it over the past month, or whether it’s worth the effort to clean, pack, lift, load, unpack, and set up again. If you don’t need it, put it in the “get rid of” pile.
Your moving expenses depend on factors like the weight of your load and the mileage of your rental truck, so it pays to offload anything you don’t use, especially if it’s something heavy and bulky.
“Moving gym gear is a lot like heavy furniture moving, so your loading order into the truck matters. Place your heaviest items, like weight plates and dumbbells, on the floor of the truck near the cab.”
If you want a little extra cash, look up exercise equipment consignment businesses in your area. These shops can help you quickly sell big pieces, such as stationary bikes, regular bikes, treadmills, and gym sets. Online marketplaces like Craigslist and Facebook can also be an efficient way to sell gym equipment if you have the time and know-how.
If selling isn’t up your alley, consider donating it! Check your local charities to see if they could use any of your gently used gym equipment for their programs.
And you definitely should throw out anything damaged and unusable. Check with your local recycling depot or landfill to see if they will take electronic equipment like treadmills and rowing machines.
3. Clean and Sanitize Equipment
The next step is to clean and sanitize your home gym equipment properly. Bacteria can easily cover gym equipment, and even if it doesn’t make you physically ill, it can cause skin irritation and bad odors if not sanitized. Don’t bring that to your new place!
When you’re cleaning, always follow the manufacturer’s instructions, as some materials are sensitive to harsh chemicals and can degrade. Remember that vinegar and bleach can damage rubber mats, resistance bands, and rubber parts like O-rings.
You can clean most of your equipment with a solution of warm water and a small amount of mild soap or commercially available gym wipes. Be careful with electronics, like the digital displays on stationary bikes.
Also, make sure to let everything dry completely before packing it up to prevent moisture damage, mold, or mildew.
4. Protect Floors & Plan Your Path
Heavy equipment can easily scratch hardwood or crack tiles. To avoid costly damage, you should use the right tools to shield your surfaces. Floor sliders are great for shifting heavy racks across smooth floors. For carpeted areas, temporary plastic runners or plywood sheets help the gear glide without snagging.
Protective rubber mats are also a smart choice. These mats help spread the weight of your equipment so it doesn’t leave deep dents.
But your floors aren’t the only parts of your home you should protect. Before the movers arrive, check these items off your list:
- Measure every doorway and hallway along your path.
- Check if your gear fits in the elevator or around tight stair corners.
- Buy thick moving blankets to wrap around sharp metal edges.
- Ask your landlord or HOA about specific moving day rules.
Planning your path is just as important as the heavy lifting. Walk the route from your home gym to the loading area to look for tripping hazards. If you live in a building with a freight elevator, make sure to reserve it for a specific time to avoid delays.
Also, when you’re loading, think about weight distribution. Don’t stack all your heavy plates in one corner of the truck. Spread the weight evenly to keep the vehicle stable during the drive.
5. Pack & Secure Equipment for Transit
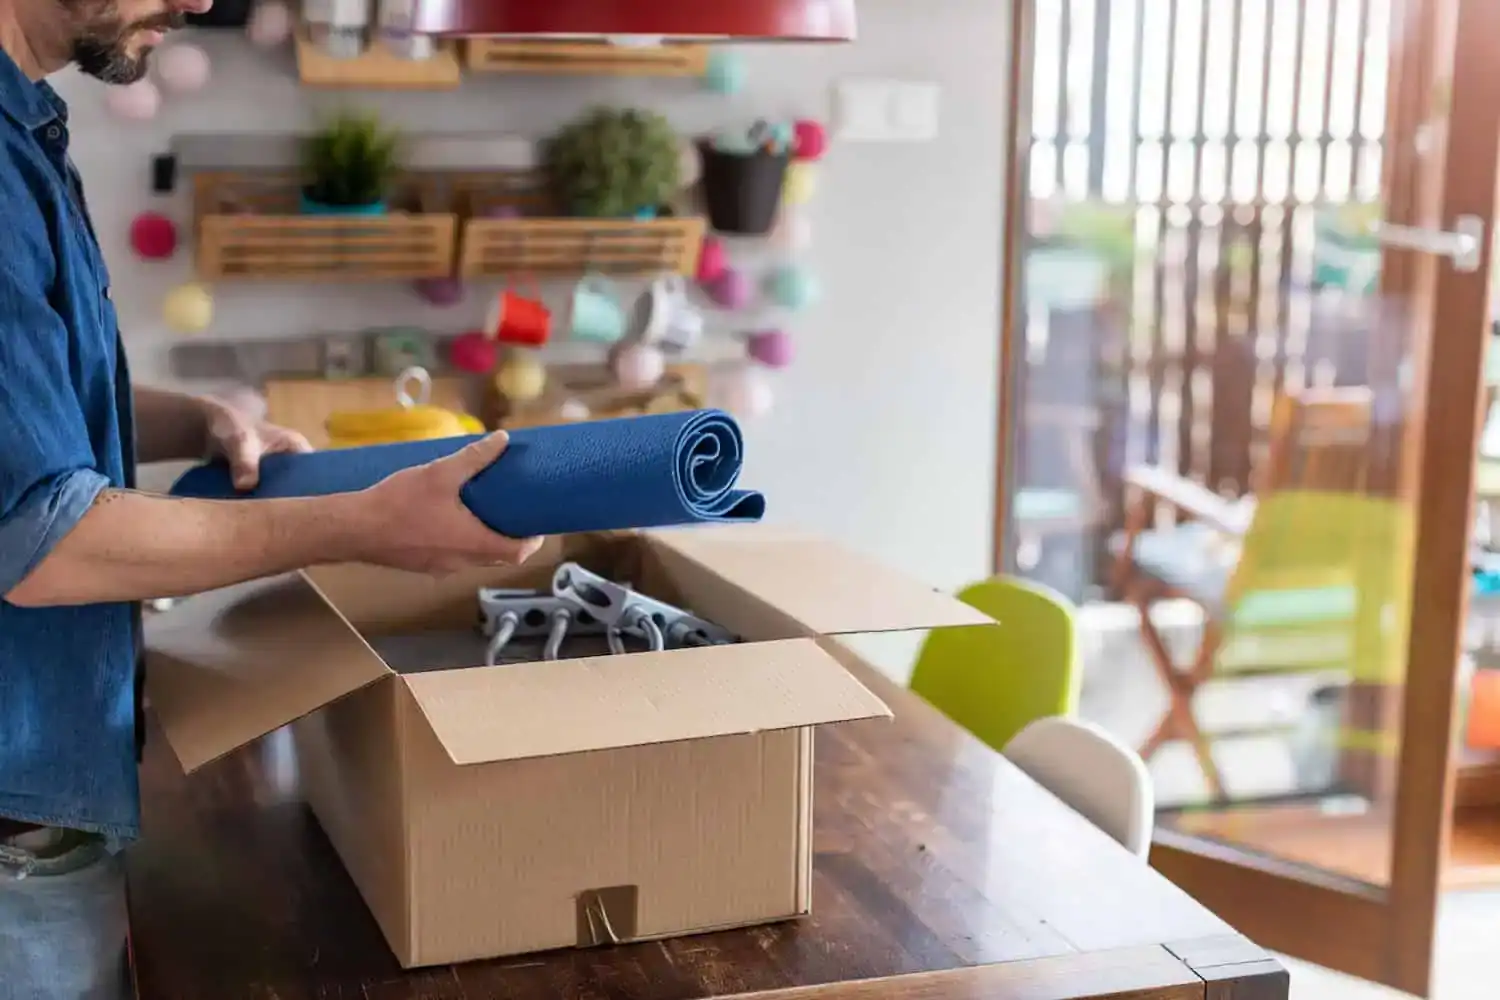
Before you lift anything, grab your toolkit. Disassembling large machines like power racks or ellipticals makes them much more manageable. As you take things apart, put small bolts and pins into plastic bags. Then, use painter’s tape to stick these bags directly to the equipment so you don’t lose them during the drive.
Stretch wrap is good for keeping moving parts from swinging open, and for delicate screens on bikes or treadmills, wrap them in moving blankets for extra cushion. It’s also a good idea to add padding around sharp edges or glass parts. For weights, stack them in sturdy boxes or bins that can handle the load.
6. Load Your Equipment Safely
If you don’t have a labor-only or full-service move booked, then loading your equipment is all on you.
Moving gym gear is a lot like heavy furniture moving, so your loading order into the truck matters. Place your heaviest items, like weight plates and dumbbells, on the floor of the truck near the cab. This keeps the vehicle stable. Lighter gear, like mats or bands, can go on top. Use tie-down straps in a crisscross pattern to lock everything in place.
Always double-check your straps before you close the truck door. A secure load means your equipment arrives in one piece and your truck stays balanced on the road.
But if you’re not keen on wrestling with your rowing machine, consider hiring a moving team. They’re pros at making sure your truck is loaded efficiently and securely.
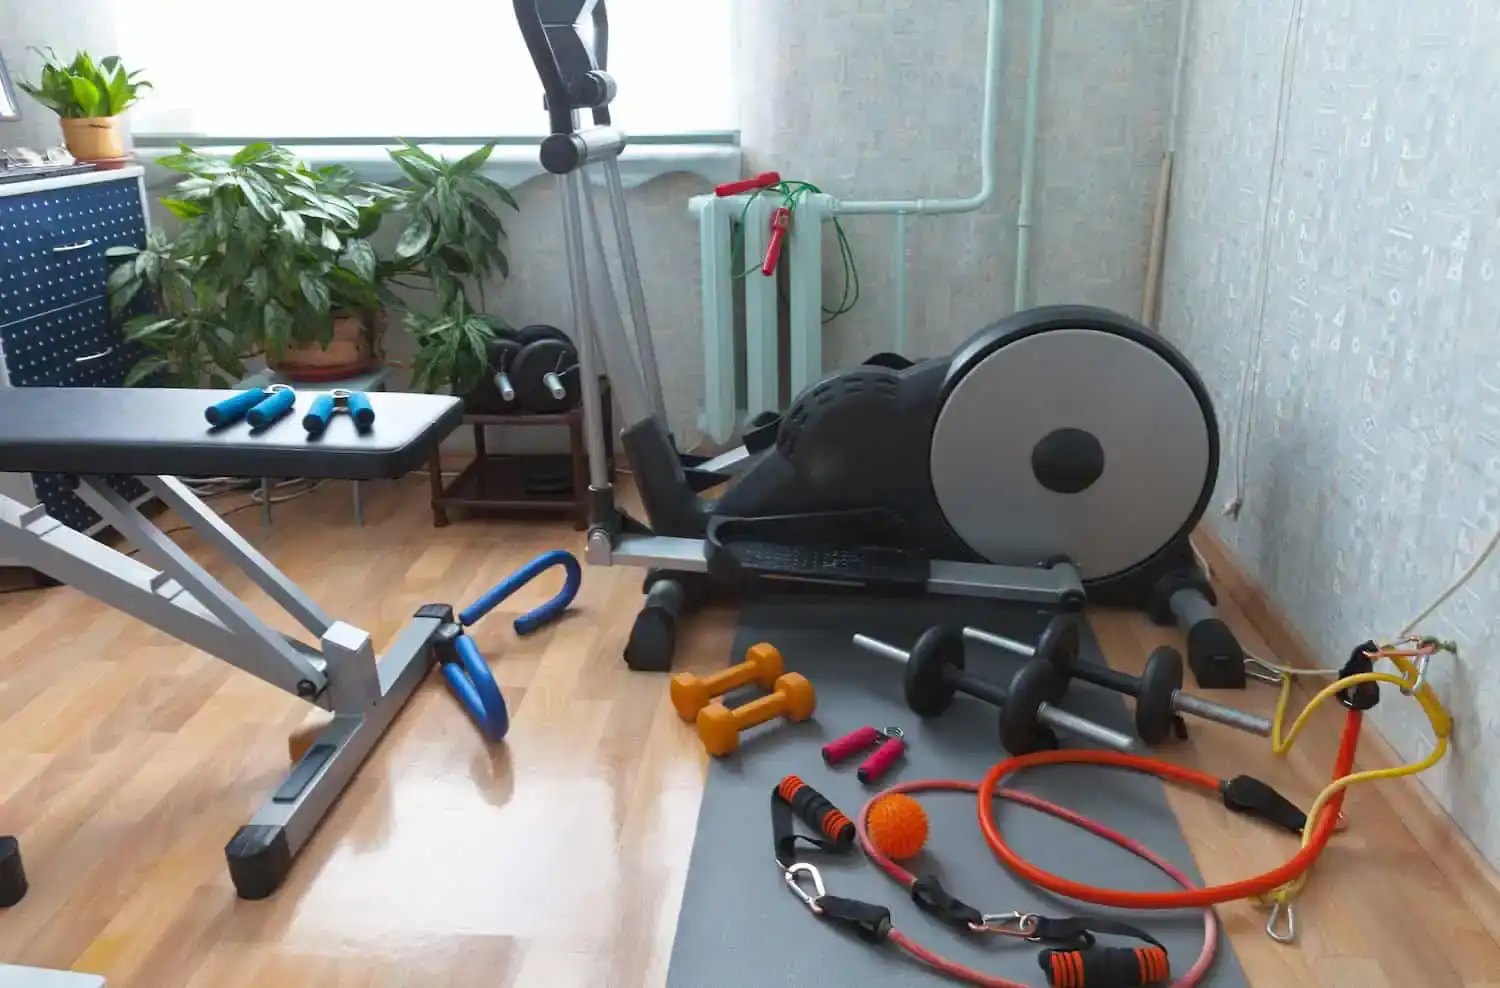
Equipment-Specific Move Guides
Every piece of gym equipment has its own quirks. Some are heavy and awkward, while others have sensitive electronics. These quick guides will help you handle each piece of equipment and machine with care. This way, you can avoid damage to your gear and your new home.
Treadmills & Cardio Machines
Treadmills are usually the heaviest items in a home gym, so be careful when moving one. Start by removing the safety key and folding the deck, if possible. If the frame doesn’t fold, you may need to take off the upright consoles instead. Always wrap the power cord and tape it to the frame so no one trips over it while lifting. Once everything is disassembled as best as possible, follow the rest of the steps:
- Protect the belt: Wrap the walking deck in plastic to keep dirt and oil out of the motor.
- Secure the screen: Use thick blankets or bubble wrap to cover the digital display.
- Lock the deck: Use a heavy-duty strap to ensure the folding deck stays upright during the move.
- Balance the weight: Keep the motor end (the heaviest part) toward the front of the truck.
- Secure moving parts: Use tape to hold pedals or wheels in place.
Ellipticals & Rowing Machines
Ellipticals have many moving parts that like to swing around, so be sure to use zip ties or stretch wrap to lock these parts to the main frame. For rowing machines, it’s often best to separate the long rail from the fan housing. This makes the unit much easier to carry through tight hallways. In addition to those tips, follow these steps to make sure your elliptical or rowing machine arrives safe and sound:
- Manage wires: Unplug any internal wires carefully before you pull the frame apart.
- Remove stabilizers: Take off the wide floor bars to help the machine fit through standard doorways.
- Padding: Wrap the flywheel and handle to prevent dents and scratches.
- Store vertically: If the rower is designed for it, store it upright in the truck to save floor space.
Cable Machines & Bench Racks
Cable machines are tricky to move because of the tension in the lines. You should always lower the weight stack to the bottom before you start, and if you can, remove the cables entirely to avoid kinks. If the cables stay on, tape them down so they don’t jump off the pulleys. Here are other steps to take:
- De-tension cables: Release all tension so the wires don’t snap or pull during transit.
- Protect pulleys: Wrap the plastic wheels in foam to prevent them from cracking.
- Mark your bolts: Use a marker to label where each bolt goes for faster setup later.
- Torque specs: Save your manual so you know how tight to turn the bolts when you rebuild.
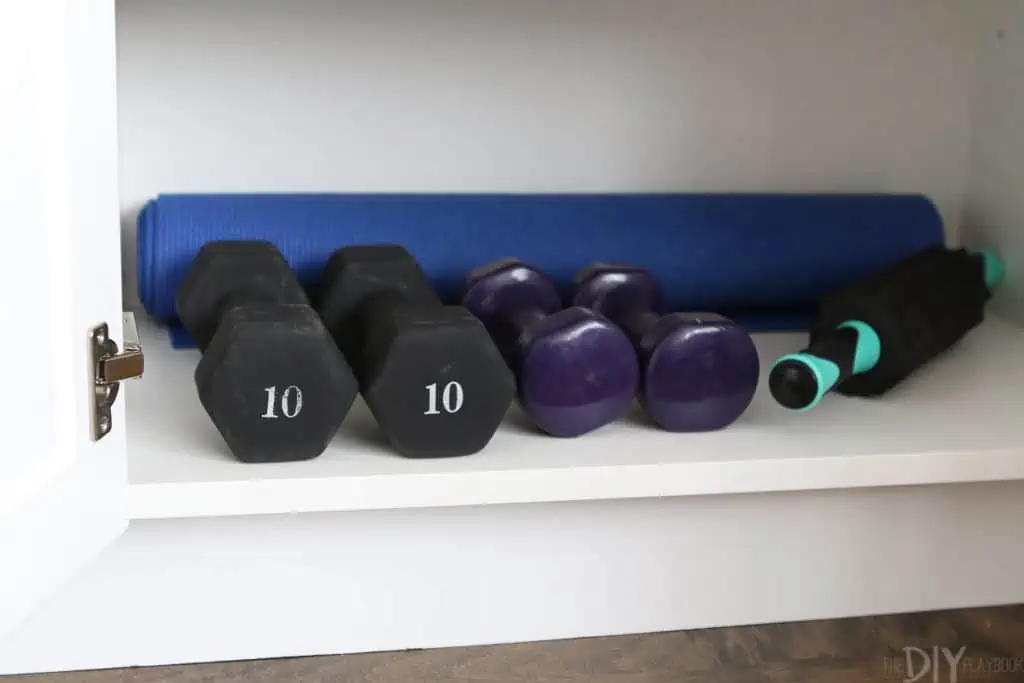
Free Weights & Racks
Free weights are small but very heavy, so you should never pack dumbbells or plates in large, deep boxes, as the bottom will likely fall out. Use small, sturdy bins instead. For large storage racks, it’s usually best to take them completely apart so they lie flat. Here’s what else to do when packing and moving your free weights and racks:
- Collapse racks: Take down the steel frames to prevent them from bending or scratching other items.
- Stack plates: Place plates in sturdy bins or boxes that can hold the load. These should be flat on the floor of the truck. Don’t stack them too high.
- Crate your dumbbells: If you can, use small wooden or plastic crates to keep hand weights from rolling around.
- Barbell protection: Wrap the ends of your barbells in towels to protect the floor and other gear.
- Secure transport: Strap bins and racks tightly so they don’t slide.
Unpacking, Reassembly & Inspection
Getting your gym equipment into your new home is only half the battle. Now, you need to put everything back together safely so you can get back to your routine. Taking your time during this stage ensures your machines work correctly.
Carefully check each piece of gear as you bring it inside. Look for any loose parts or damage that might have happened during the move. Use your manual and the labeled bags of hardware you made earlier. This will make the rebuilding process much faster.
- Prep your floors: Before setting down heavy racks, lay down rubber mats or foam tiles. This protects your flooring from scratches and dents. It also helps dampen the noise when you drop weights. Make sure the area is clean and dry before you place the mats down to prevent slipping.
- Level your racks: Use a leveling tool to make sure your squat rack and benches are perfectly flat. If your floor is uneven, your weights might slide, or the rack could wobble. This is dangerous for your joints and your safety. Adjust the feet or use shims until everything is steady.
- Rethread your cables: Carefully pull your cables back through the pulleys on your machines. Check that the wire sits deep in the groove of each wheel. When ready, test the movement with a very light weight first. This ensures the cable doesn’t rub against the metal frame, which can cause fraying.
- Tighten hardware: Use a wrench to tighten every bolt and nut. And don’t just guess how tight they should be! Check your owner’s manual for torque specs if you have them. Loose bolts can cause a machine to collapse, while over-tightening can snap the metal or strip the threads.
- Calibrate electronics: Plug in your treadmill or exercise bike and check the digital screen. You might need to recalibrate the speed or incline settings after the move. Follow the steps in the settings menu to reset the sensors.
- Final safety checks: Before your first full workout, do a “test set” with no weight. Listen for any weird squeaks, clicks, or grinding noises. Check that all safety pins are in place and that the emergency stop clip on your treadmill works perfectly. It’s better to find a loose part now than later.
If the heavy lifting feels like too much work, you can hire a professional team through HireAHelper. Our platform connects you with local pros who can handle the lifting and setup, so you can get back to training stress-free.
Post-Move Testing & Calibration
Once your gear is in place, you should test everything before your first workout. Start by checking the electronics on your cardio machines to ensure the screens and heart rate monitors still work. Use a level on your weight benches and racks to make sure they sit flat on the floor. If a bench wobbles, it can lead to bad form or an injury. Check all cable machines for proper tension so the weights move smoothly without any jerking.
Also, verify that the feet of your heavy equipment are stable and not sliding on your new floor mats. If something feels off, don’t use the machine until you find the cause. Use these tips to fix common issues:
- Unstable racks: Tighten floor bolts or adjust the leveling feet on the base.
- Friction in cables: Ensure the wire is seated deep in the center of the pulley wheel.
- Incorrect treadmill speeds: Run the calibration mode found in the machine’s digital settings menu.
Setting Up for Long-Term Home Gym Success
When setting up in your new space, you’ll want to make a gym that lasts and stays quiet for your neighbors. Start by choosing thick rubber mats that can handle dropped weights. These mats protect your subfloor and stop your gear from sliding. Plan your setup around these key factors:
- Noise control: Use vibration pads under treadmills to soak up sound.
- Space planning: Leave at least two feet of open space around every machine.
- Budgeting: Save a little extra for yearly tune-ups and new lubricant.
- Lighting: Make sure you have bright lights so you can see your form and where you’re moving clearly.
You should also think about your safety and protection. When you book labor-only help through the HireAHelper marketplace, you can choose providers with liability coverage. This gives you extra peace of mind if a heavy machine gets bumped during the move. Having professionals handle the heavy lifting reduces the risk to your equipment and your new home.
Frequently Asked Questions
Is it hard to move a home gym?
It’s definitely harder than a couch or other common furniture. Moving a home gym is a big task because the items are heavy, oddly shaped, and sometimes have delicate electronic interfaces. It requires a lot of physical strength and the right tools to do it safely. You have to take things apart and put them back together correctly. If you don’t have a plan, it can feel very overwhelming.
The best way to make it easier is to organize your move early. Start by gathering your tools and cleaning your gear a week before the big day. When you have a clear plan, the heavy lifting goes much faster. You won’t have to scramble for lost bolts or wonder where the treadmill fits.
How much does it cost to move a home gym?
For a small home gym, you might spend between $300 and $1,000 for professional help. This price can change based on your location and the number of heavy items you have.
The total weight of your gear and how far you are moving play a big part. It also depends on whether you need help taking machines apart or just need muscle to load the truck.
To get a clear idea of your costs, use the calculator on HireAHelper’s platform for a quote tailored to your specific move.
How do I move a home gym to another room?
Use furniture sliders under heavy racks to protect your floors. For cardio machines, check if they have wheels on one end that you can tilt and roll. Always clear the path first so you don’t trip over cords or small weights while moving the big stuff.
What tools and materials do I need to secure equipment during transit?
You need the right supplies to keep your gear from sliding around in the truck. Using these items correctly helps prevent damage to your expensive machines and the vehicle. Here are the tools and materials you should have:
- Ratchet straps: These heavy-duty belts lock your gear to the walls of the truck. They’re much stronger than rope and keep heavy steel frames from tipping over during sharp turns.
- Load bars: These metal poles clip into the sides of a moving truck. They act as a fence to keep your weight plates and dumbbells from sliding toward the back door.
- Padded blankets: Use these thick blankets to wrap around screens and benches. They provide a soft layer that helps prevent scratches, dings, and chips during the bumpy ride.
- Stretch wrap: This clear plastic film is great for keeping moving parts tight. You can use it to bundle loose bars together or to keep power cords tucked neatly against the machine.
Is it better to hire professional help or move my home gym DIY?
Choosing between DIY and hiring help depends on your gear and your path. If you only have a few dumbbells and a yoga mat, you can likely do it yourself. However, if you have a 300-pound treadmill or a tall squat rack, the risk of injury is much higher.
If you want to save money, hiring labor-only help through our marketplace is a great middle ground. You provide the truck, and experienced helpers handle the heavy lifting. It also ensures that the hardest part of the move is handled by people who move heavy items every day.
How do I reassemble cable machines and squat racks safely?
Start by placing your rack exactly where you want it and use a level to check the floor. Once the frame is straight, tighten the bolts according to the manufacturer’s instructions. Using the right torque settings ensures the bolts are tight enough to hold weight but not so tight that they snap.
For cable machines, carefully thread the lines back through the pulleys. Check the tension to make sure the cable doesn’t feel loose or jump off the track. If the cable is too tight, it can wear down the plastic coating quickly. Always do a few light reps to test the range of motion before you add heavy plates to the stack.
What should I include in my home gym move timeline and budget?
Plan for at least a full day to move a standard home gym. Disassembly often takes two to four hours, and reassembly can take even longer. You should also set aside money for each phase. A professional team will charge $50 to $200 per machine for disassembly, while reassembly ranges from $75 to $300.
Your transit costs will depend on the distance of your move. For short moves, base fees usually stay between $100 and $300. If you’re moving across the country, expect to pay over $1,000 for transport. Always allocate an extra 10% of your budget for surprise needs, like new floor mats or extra hardware.