Buying a new home can be exciting, but it can also be a prelude to spending money on things you weren’t expecting. From experience, this is typically where a house’s wiring comes up.
Not many young homeowners realize the importance of proper electrical wiring in a new home. It might be because electricals (e.g., wires, plugs, outlets, etc.) aren’t as obvious as the rest of the problems you may encounter.
I’ll explain the telltale signs of common electrical problems that will tip you off that your prospective new home has faulty wiring, and then what to do about it.
Bad Outlets
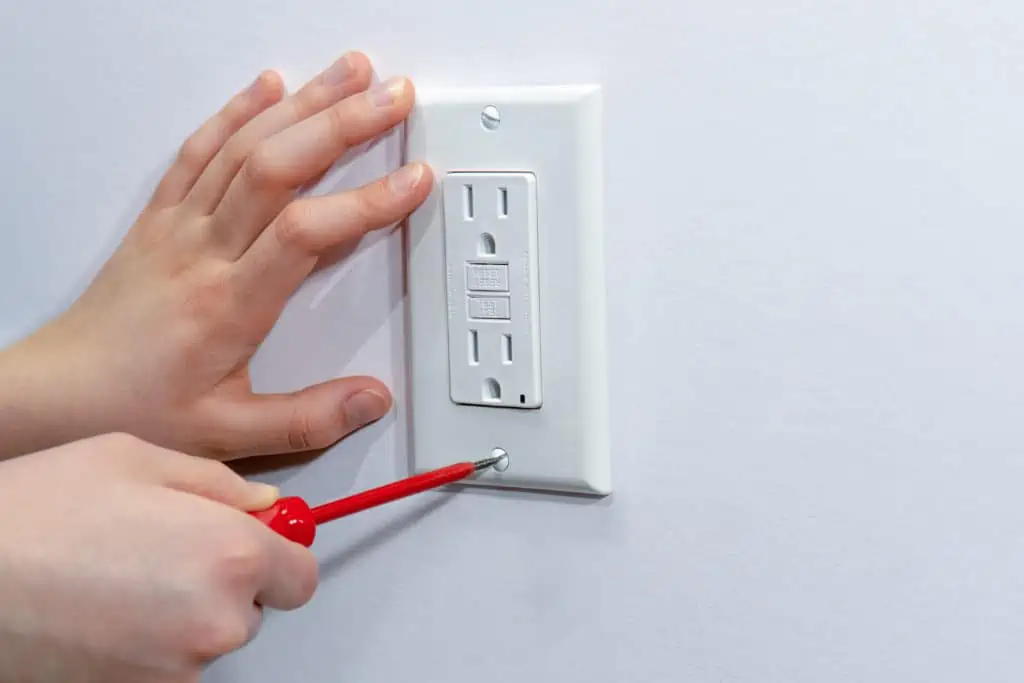
The most straightforward checks to perform when visiting a potential home is the electrical outlets. Ideally, they should be pristine, with no cracks within the plastic housing. They should also have a ground, since ungrounded outlets may present a fire hazard.
Grounded outlets are the ones that have a third prong (or hole). They act as a way to discharge excess electricity to the ground.
If you’ve ever plugged in an appliance or device into a two-prong outlet and seen sparks jump out, you’d realize why they’re so dangerous! Electricity takes the easiest path to ground, and the grounded outlet gives electrical currents a simple, safe way to travel to earth. Ungrounded outlets do not have this extra safety precaution and could potentially lead to fire and injury in older homes.
How can I tell an outlet is bad?
Besides cracking, faulty outlets stand out because there may be a smoky smell hanging around them.
This could be hidden by home sellers. How can you tell? The walls around the outlet may be lacking paint or might be newly painted and not match with the rest of the wall. When this happens, the repainting is usually done to cover a blackened wall which resulted from an electrical fire.
If these signs are present in one or two outlets, consult a professional electrician because it may be possible to fix the issues. However, if you see these signs in a handful of outlets, it’s a clue that the building’s wiring may be at fault. Cracked or broken wall plates may be replaceable, but it’s important to note that these may be signs of a larger problem. But being aware that the problem exists early on prevents potential long-term issues.
Word of caution: Replacing ungrounded outlets is not a DIY project. Enlist the help of a qualified electrician to run a ground wire to the electrical panel. Simply replacing a two-prong outlet with a three-prong outlet does nothing to fix the problem, and trying to ground a wire yourself is very hazardous.
Please use extreme caution when dealing with electrical wires.
How much does it cost to replace an outlet?
You can expect to pay anywhere from $100 to $200 to replace 2-prong outlets with 3-prong outlets. If the electrician needs to ground the wiring, then the costs will at least double.
Obsolete or Outdated Wiring
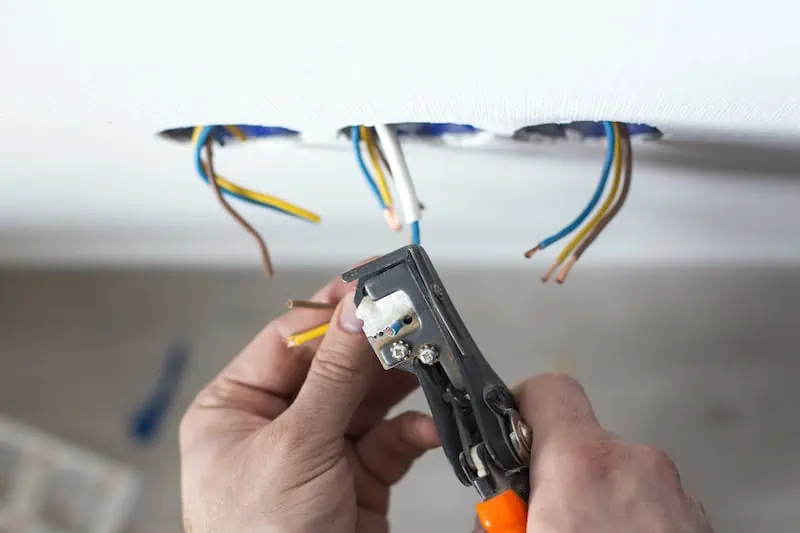
Some buyers see older houses as attractive antiques. However, from an electrician’s standpoint, older housing means older wiring. Old wiring has seen its share of use and is likely to be heavily weathered. Old wiring can be dangerous since they don’t follow the strictures of modern safety practices.
While you can plug your modern electrical appliances into sockets connected to older wiring, you’re taking a chance by doing so.
Knob-and-tube wiring
Believe it or not, there are still homes all over the US that use knob-and-tube wiring, which fell out of fashion in the 1930s. Knob-and-tube wiring is easy to spot because of the tell-tale ceramic spool-like knobs and the tubes that support single-strand wiring through joists. Knob-and-Tube wiring is considered to be an obsolete and unsafe method of wiring for residential properties. As the wires age, they tend to deteriorate, creating fire hazards throughout the house. Knob-and-Tube wiring also doesn’t typically support grounding, so they present a significant risk of electric shock.
Aluminum wiring
Alternatively, some relatively newer homes still use aluminum wiring, which was the norm in the ‘60s and ‘70s. While aluminum wiring doesn’t present a safety hazard when it’s been properly installed, when the wires age, they start to deteriorate, leading to similar problems that could become dangerous if left unchecked. Aluminum expands more than copper and the constant heating and cooling of the wires sometimes force them out of the screws used to connect them, leading to short circuits and risk of an electrical fire.
How can I tell if there is outdated wiring?
If you’re simply doing a home visit, keep your ears out and listen for potential buzzing noises. Older wiring may also release sparks from switches or outlets, so maybe try and plug something in (safely). If the person showing you the home notes that the property occasionally suffers from blown fuses or tripped breakers, it’s another clue about the wiring.
You can spot aluminum wiring by checking the electrical panel. If the wires are labeled with “AL”, “ALUM”, or “ALUMINUM,” you’re dealing with this type of wiring.
How much does it cost to upgrade electrical wiring?
If the wiring is obsolete, getting an electrician to rewire the house to current standards would be your only recourse. On average, you may have to pay anywhere from $1,500 to $10,000 (depending on the square footage of your home) to replace the old wiring. For some new homeowners, the expense just isn’t worth it.
Bad Electrical Panels
Electrical panels (or “breaker boxes”) are the heart of a home’s electrical system. Every electrical appliance in your home gets its power distributed through the electrical panel. Asking to see the breaker box can help you to gauge whether you’ll need to invest in repairs.
How do I inspect an electrical panel/breaker box?
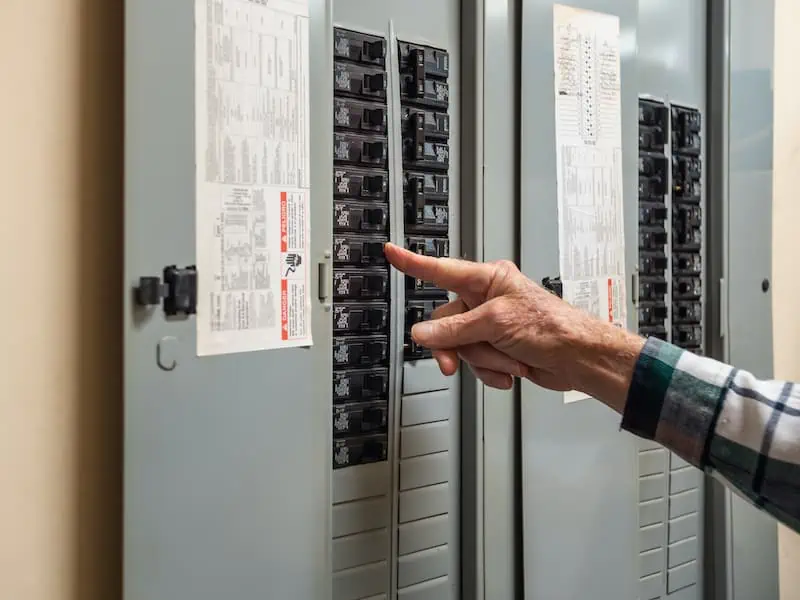
Ideally, the breaker box should be arranged neatly, with wires in their proper place. It should be easy to trace where they’re leaving the panel. If you find stray wires within the box, that’s a bad sign. Stray wires can lead to shorts, which may damage your electrical appliances.
Additionally, you should check that the lights are being appropriately supplied. If you find that the little lights inside the box are flickering, it may be a sign that the breaker box doesn’t have the right amperage. What does this mean? Amperage simply means the strength of the current in the circuit, and different homes have different needs when it comes to how much amps they can support. Modern homes that have 60-amp breakers need an upgrade since that’s too small a load to support modern appliances. Typically, newer homes would go for 100-amp or 200-amp installations.
Old houses primarily relied on lower amperage for distribution. The rest of the world moved on, but those breaker boxes still use lowered amperage for their electrical needs. If the breaker box demonstrates fuses instead of circuit breakers, it’s definitely time for an upgrade.
How much does it cost to upgrade a breaker box?
Upgrading a panel is a simple process, but might be time-consuming and take you off electrical supply for a few hours, at the very least. It could potentially cost you anywhere from $500 to $4,000 to upgrade or replace an electrical panel. This cost includes the cost of labor and depends on whether the box needs rewiring or if just a circuit or two needs replacing.
Safety in Lights and Switches
Electrical safety could save your life. Electricity is still a wild force, and while we’ve tamed it to a certain extent, we still have to be wary of its impact on our lives.
How can I tell the house is using electricity safely?
You should keep an eye on the lights as you walk through the house for flickering. As I mentioned before, this might be due to a breaker box problem with amperage. However, it might also be due to any number of other unsafe electrical practices because of the original wiring.
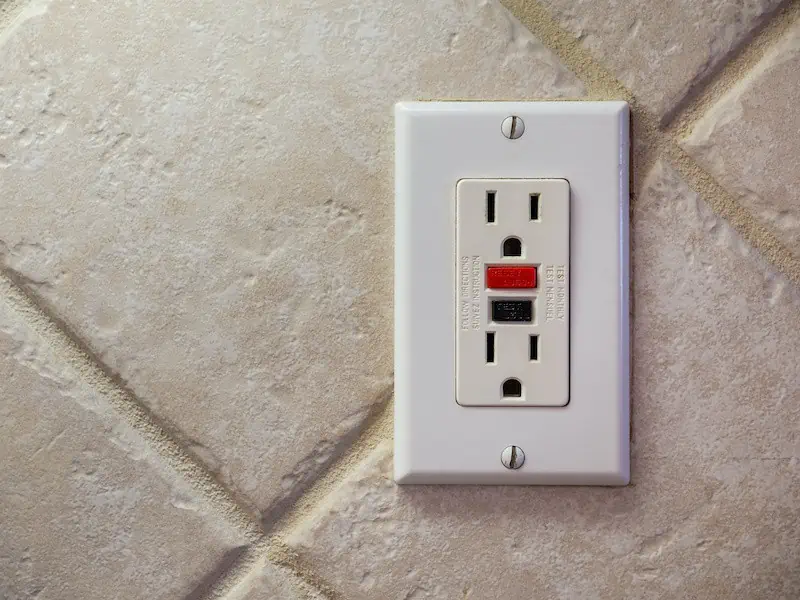
Electrical outlets are also a huge tell. Listen for buzzing at electrical sockets, and take a whiff to see if there’s a burning or bleach-like scent. Either one could suggest bad wiring or that the wires on the inside are damaged and need to be replaced. Additionally, you should check to see that there are “Ground-Fault Circuit Interrupter” (or “GFCI”) outlets installed at appropriate locations. These outlets are designed to break a circuit if there’s a short, ensuring that you don’t accidentally become electrocuted. Lack of these sockets is a sign that the building probably isn’t up to code.
Hiring an electrician to trace those problems is the only way you’ll figure out what’s causing it. The flickering may be subtle and isolated to one room or bathroom, but if it is extremely apparent (such as flickering in multiple or all rooms), then the problems with the electrical system may be dire.
How much does it cost to rewire a home?
Figuring out the amount it would take to upgrade the building and get the inspection certificate may lead you to decide not to invest in the home. On average, homeowners may expect to pay as much as $4,000 to rewire a 1,500-square-foot home. It may be a wise choice since poor electrical safety is a breeding ground for fires.
Still Unsure of the Soundness of the Home’s Electrical Work?
If you’ve performed these inspections while walking through a prospective home and you’re still wary about the condition of the home’s electrical work, contact a local electrical contractor. The electrician can assess the safety of switches, outlets, and lights and can determine whether wires are grounded or outdated. An on-site inspection completed by a professional electrician can save you thousands of dollars in the long run.
As a professional electrician, I’ve had the privilege of helping a lot of people rewire their new home purchases. Several of my past clients have raised the property value of their home by upgrading their electrical wiring. Not only does it make for more secure (and safer) circuitry, but it ensures that they can have peace of mind that their house won’t catch fire due to a power surge or a misplaced wire.
And If you’re intent on buying an older home, being aware of these issues before you sign on the dotted line is crucial. It’s also a great help to your electrician to let him or her know where to start fixing.


