Renovating a bathroom is no small task. But upgrading your outdated bathroom is often a worthy investment, especially if you’re looking to increase the value of your home.
According to U.S. News, investing in a bathroom remodel results in a 62% return on average.
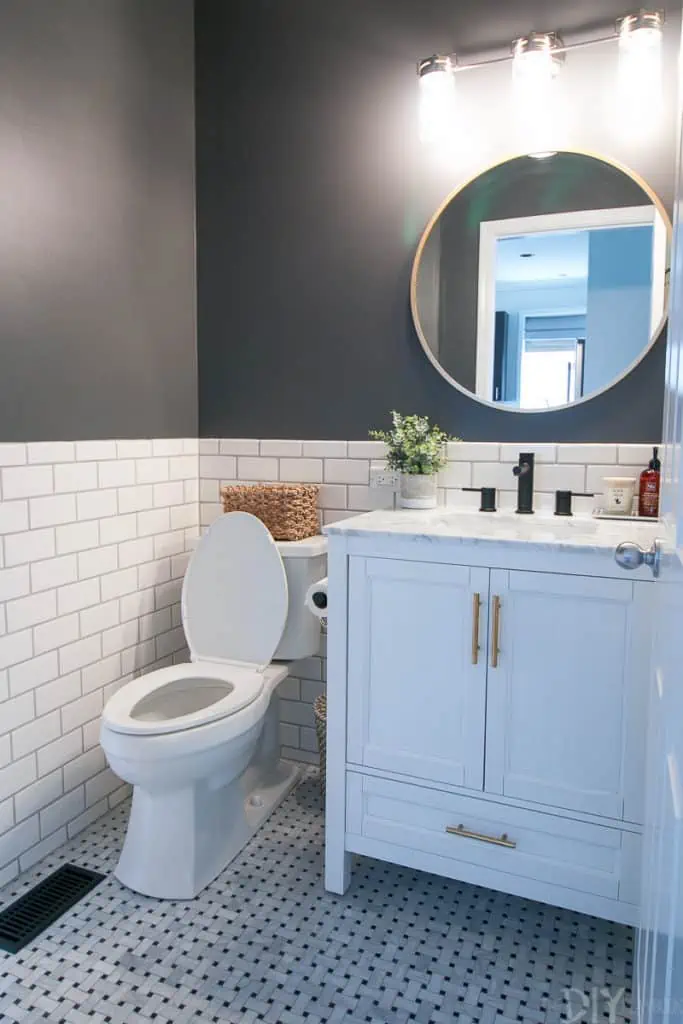
My husband and I recently tackled our own bathroom renovation all by ourselves. (Well, mostly by ourselves … we did hire out a few advanced tasks.) While it was a difficult and time-consuming job, we lived to tell the tale and we now have a gorgeous new space that undoubtedly increased the value of our Chicago condo.
We learned a lot along the way. A lot of preparation goes into planning a bathroom renovation. So before you whip out that sledgehammer, here’s what you should do to start your bathroom renovation off on the right foot.
Write Out a Detailed Wish List For Your Bathroom Renovation
When you buy a home, you often go in with a “wish list” of items (3 bedrooms, 2 bathrooms, a large backyard, etc.). There are some items on the list that are non-negotiable, and others that “would be nice to have…”
You need to make this exact same type of list for your bathroom renovation.
Spend an hour inside the space you’re renovating writing down “wants” and “needs”. It’s pretty important that you and your roomie/spouse/partner are on the same page from the start on what you want for the space, so make sure you do this step together if applicable!
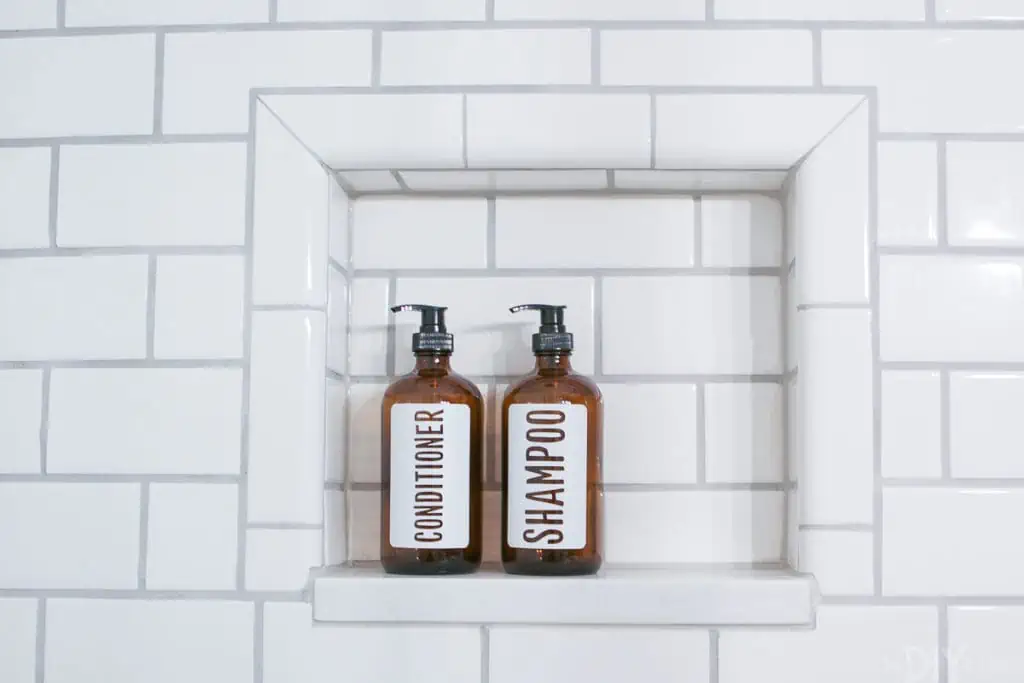
For our bathroom renovation, we decided that removing our outdated tub and replacing it with a standing shower was our number one objective. Ideally, we also wanted to build a shower niche to hold all of our shower accessories, but that item was on the “would be nice to have” list.
Learn What to DIY vs. What to Hire Out
Renovating a bathroom yourself can definitely save you money because professional labor is often the most expensive part of any renovation. However, if you don’t have the time (or skills) to DIY, this will not be the best option for you. My advice? Make a list of every single task that you think needs to be done in the space … all the way from the demolition to installing the final light fixture.
Some of the small tasks can definitely be done by yourself, even with little to no DIY skills. We had never tackled a bathroom renovation before but figured out each step along the way. (We watched plenty of YouTube tutorials, which we highly recommend!).
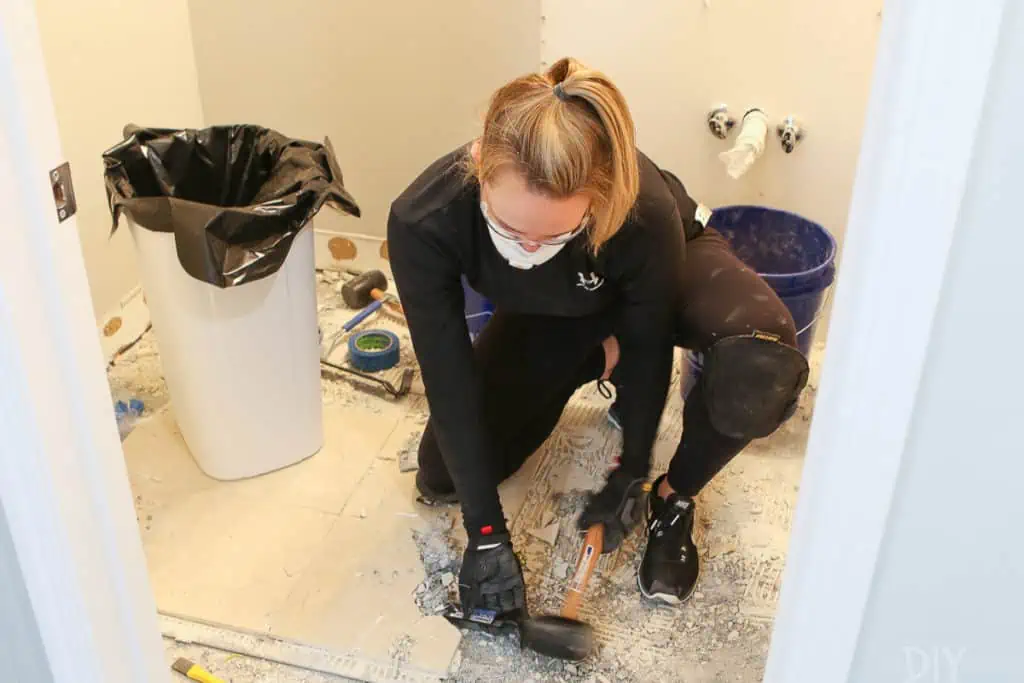
The number one task we’d recommend doing yourself is the demolition of the space.
As long as you wear the proper safety gear, you can gut your bathroom in a weekend (here’s how we demoed our space!). We ripped everything out down to the studs, and this ended up saving us at least a few hundred dollars in labor.
Other (more advanced) tasks are often best left to the professionals. These things include:
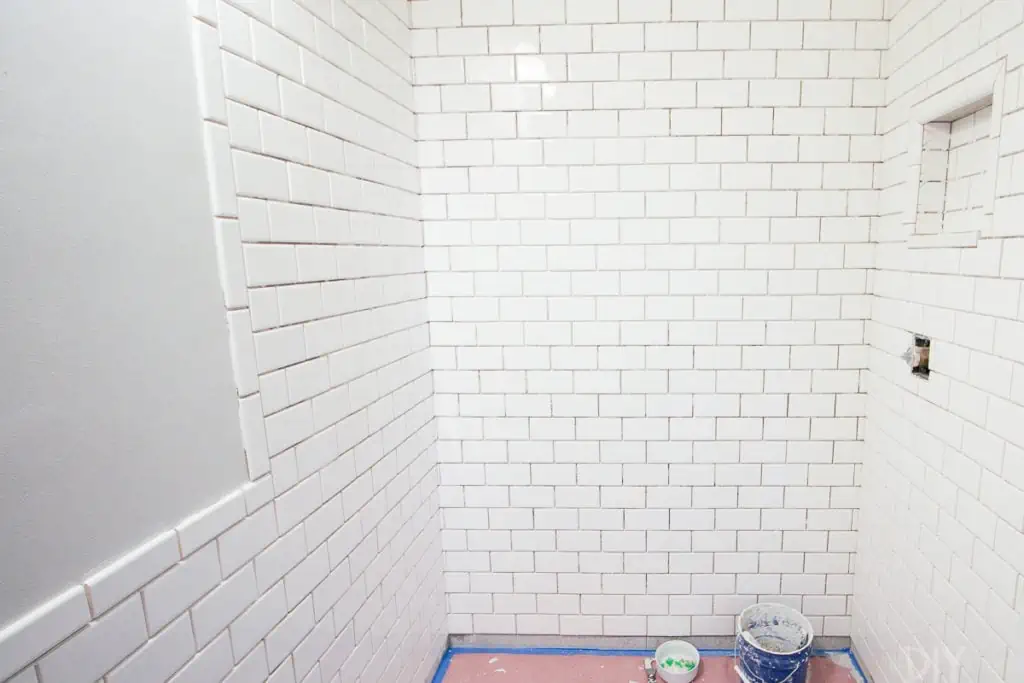
- Waterproofing the shower
- Moving plumbing fixtures
- Moving lighting fixtures
This stuff ended up being too advanced for us. We both knew that we would need to find a pro to get those important tasks done correctly.
Consider Hiring a Designer to Finalize the Floor Plan Before You Touch Anything
If you plan to move plumbing and electrical fixtures, you may want to consider hiring a designer to help plan the layout of the space. Yes, this comes at a cost, but it may save you headaches and expensive mistakes down the line.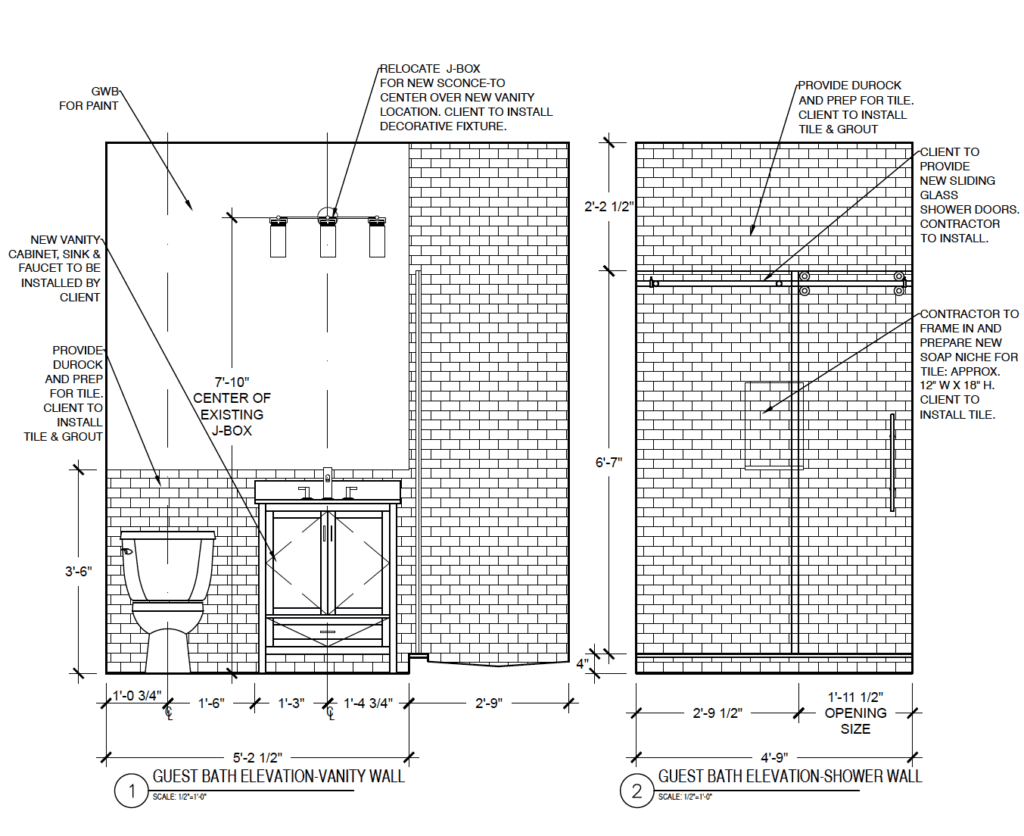
I used Angi to find a designer to help with the layout of our bathroom. For $400, she:
- Measured our space
- Made suggestions on placement of items
- Provided a detailed rendering of the final plan for renovation
For our budget and what we got out of it, it was worth every penny. A designer can also help you source items and figure out the style and look of the space they’re tasked on. We were happy to handle that stuff ourselves, so we didn’t need to pay for additional services. Also, our designer also provided us with a few recommendations for contractors. Which brings us to…
Find and Hire a Contractor
Finding the right contractor is no easy feat. You want someone who is reliable, trustworthy, and will do a good job. We received recommendations from our designer, but you can ask neighbors, friends or check out a review site like Angi. I recommend meeting with at least two to three potential contractors to get in-person estimates.
Here are some questions we learned to ask when interviewing for a contractor:
- What will this project entail?
- How long will it take?
- Do I need to be home?
- Can you break down the cost of labor and materials?
- Are the materials included?
- When can you start? Is that date firm?
- Do I need a building permit?
- How will payment work?
- How will you protect my home?
- What are the next steps?
It’s important to over-communicate with your contractor and make sure you’re on the same page from the start. If you’re DIY-ing some tasks of the renovation, you’ll want to discuss this with them ahead of time to make sure they recommend that. We outlined exactly what we needed our contractor to do and what we would be handling ourselves, so ours was “in the know” from the start!
Set the Budget and Order Your Bathroom Renovation Stuff Now
Once you find a contractor that’s the right fit, you’ll get an estimate from them for the project. Understand what they will be providing for the renovation and what you will need to buy yourself.
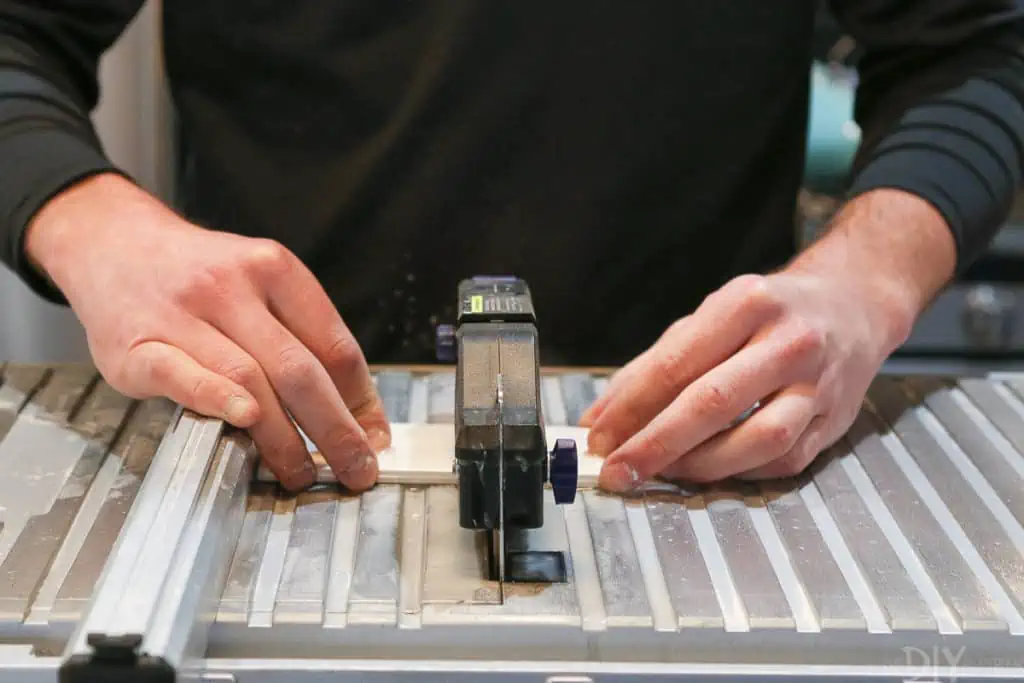
Which means if you are DIY’ing portions of the project, now is the time to gather your tools and supplies to get the job done. Look up each task and make a list of the tools you will need. You may need to rent a few power tools (like a wet saw for tiling), so keep those rental costs in mind. Or see if you can borrow some of these larger tools from friends or neighbors. When it comes to DIY supplies, local home improvement stores are your best bet. Our advice? Go in with a detailed list and try to visit on a weeknight when the store will be less crowded and you can get one-on-one attention from an employee.
As for the new bathroom products, now is the time to place your order. While you can certainly hit up the big box home improvement stores, we’ve found a lot of success with online retailers.
Here are some of the spots we recommend for the major bathroom products:
- Tile: Houzz, Wayfair, Overstock (Protip: be sure to order 10-15% more tile than you need!)
- Hardware: Rejuvenation, CB2, Build.com
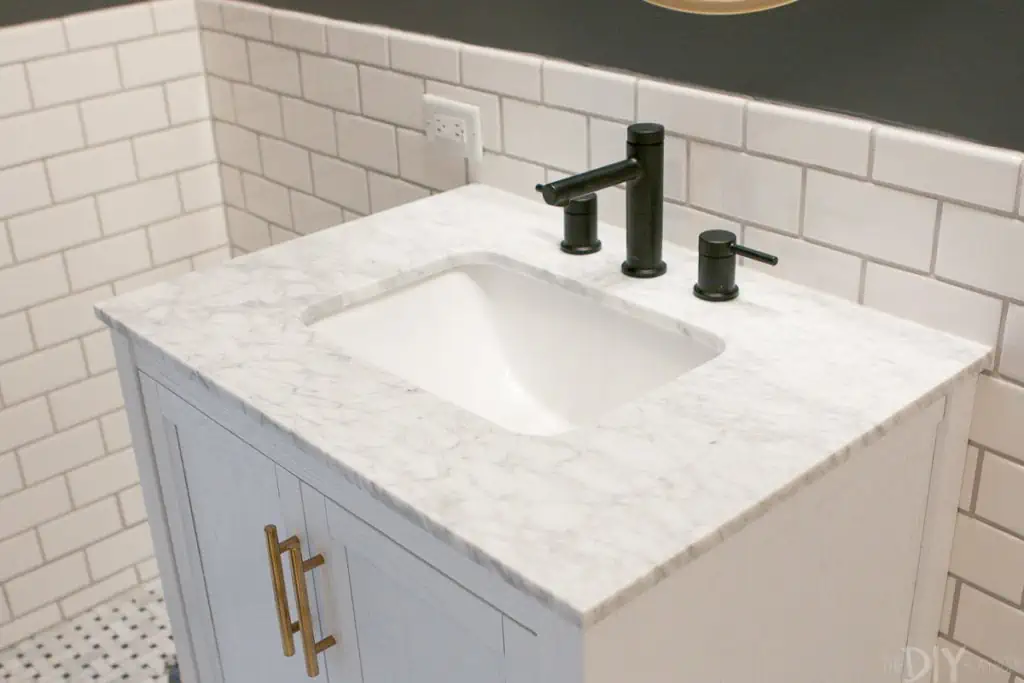
- Vanity: Overstock, Hayneedle, AllModern
- Lighting: Lamps Plus, Shades of Light, Wayfair
- Toilet: Signature Hardware, Build.com
 If you take away one piece of advice from this entire article, I hope it’s this next part: Order all of your products now and do not start your renovation until everything has arrived.
Sometimes you can place an order for a vanity or shower hardware, only to find that it’s back ordered for six weeks! You don’t want your entire renovation on hold because of that, so order everything and get it delivered before the project physically starts!
Make a Timeline
 Now that all of your product is ordered (and arriving soon!), you can create a bathroom renovation timeline. Communicate this timeline with everyone involved in the project … your contractor, designer, spouse, family members, etc.
Because we were DIY-ing a good portion of our bathroom, I reserved every weekend for a month on my calendar (as well as my husband’s). That way we didn’t book anything during that time, and we could focus on getting the job done. But even though you have a timeline, know that it will probably change. I anticipated that we could get our renovation done in 4 weeks, but it ended up taking about 7 weeks. Go in with a plan, but be flexible because you’re always going to run into problems!
Have a Physical Place to Survive During Renovations
Chances are you’ll be living in your home throughout your bathroom renovation, so it’s important to have a plan on how you’re going to continue to live amongst the dust and chaos. We live in a small condo and once our demolition started, our entire place was a disaster zone. Right then and there, we decided that we wouldn’t let any of the mess trickle into our master bathroom or master bedroom. Instead, those were our “sanctuaries” away from the chaos of the renovation.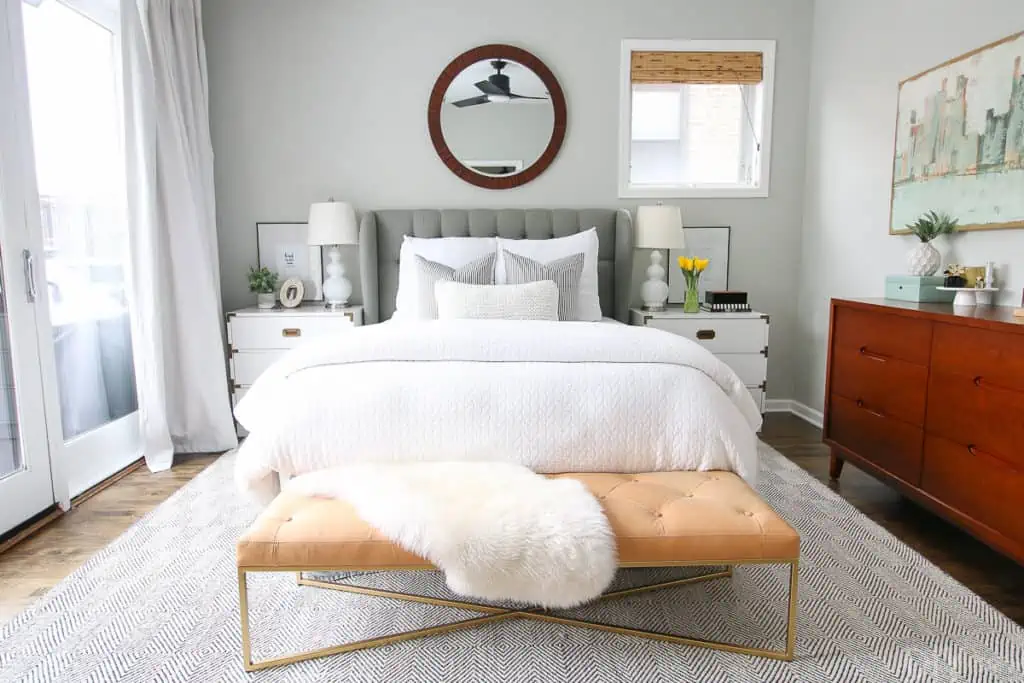
Create these safe zones ahead of time and vow to keep those areas clean and free from any of your bathroom mess. Trust me, you’ll need those retreats when you’re living through a renovation.
I know you may be eager to start smashing away your outdated bathroom to get it looking fresh, clean, and modern. But it’s important to do work upfront before you get started. That way you have a clear idea of the amount of money and time you’ll need to create the bathroom of your dreams!