Moving long-distance across the country is already a juggling act. You have to get transportation, find movers, and pack up everything — and then there are your beloved plants to think about. You’ve spent years nurturing that towering monstera deliciosa and tending your English rose garden. At this point, your green friends are basically family! They’ve gotta come with you, right?
The good news is that moving plants cross-country is difficult but doable. And while the task is daunting, it’s possible with the right prep work. Let’s dig (pun intended) into everything you need to know about how to move plants cross-country.
Here’s a quick overview of how to move with plants:
- Understand legal regulations and moving company rules.
- Decide which plants to move.
- Prepare your plants.
- Choose a transportation method.
- Pack the plants.
- Care for plants on arrival.
Know the Rules: Legal & State Regulations
The transportation of plants is carefully regulated in many parts of the United States. The first step in figuring out how to move houseplants all the way across the country is to look into legal restrictions and moving company rules.
Can Movers Move Plants?
Unfortunately, most moving truck and shipping container companies don’t transport plants. Plants are usually not allowed on a moving truck due to certain state laws and possible liability. At the end of the day, it’s just too much of a hassle for the movers to handle living things.
And don’t try to get sneaky and hide your plants among your other belongings, either. Doing so could void your contract with the long-distance movers and would invalidate any protections if the plants lead to a mess that damages your things.
That said, it’s still possible to move your plants long distances. It just requires proper planning and execution.
Moving Plants Cross-Country: The Legal Lowdown
You may not think moving plants across state lines comes with legal pitfalls, but it definitely does.
States that rely heavily on agriculture — specifically, California, Texas, and Florida — are very wary of allowing in any pests or invasive species of plants that could destroy crops. Several have strict regulations around bringing in plants from out of state. California, for example, doesn’t allow you to bring any type of citrus plant from another state. Florida also prohibits citrus unless you have a special permit.
The United States Department of Agriculture even bans the transport of certain plant pests, including witchweed. If you really want to know all the rules, you can check out the USDA’s full list of regulated plants within all 50 states and U.S. territories.
“Once it’s time to dig those plants out of your old garden, you’ll want to be careful not to dig too near the base of the plant…[i]nstead, dig a ring around and a bit away from the main stem of your plant…[f]or larger plants, the ring should be at least 6 inches deep.”
Because the rules for each state are different, you’ll need to research which states you’re traveling through and ensure you don’t risk having your plants confiscated at border checkpoints. Some states allow you to bring in plants that exclusively grow indoors, but may require you to repot them with sterile soil before moving. Others may require a certificate of inspection or have you quarantine your plants before bringing them home.
Contact these departments for each state you’re passing through to check for the restrictions, permits, and inspections you may need when moving plants across state lines.
Here are a few best practices for moving plants cross-country, no matter the destination state:
- Get familiar with the restricted plants list specific to your destination. You can typically find this on the state government website, usually under the local Department of Agriculture branch.
- Inspect and clean plants to make sure they’re free of pests and soil-borne diseases.
- Repot plants in new, sterile soil.
Decide Which Plants Should Make the Trip
Once you figure out which plants you can legally move, it’s time to consider each one individually. After all, not all plants can or should be transported.
Here’s how to decide which plants should come with you to your new home:
- Check the destination environment. Only move plants that can survive and thrive in your new climate.
- Think about your new outdoor space. Is there a spot for the plant? Does it have the conditions — shade, sunlight, soil type, etc. — to survive?
- Evaluate plant age and health. For the best chances of survival, take only hearty and healthy plants. It may sting, but it’s a good idea to leave older or fragile plants behind.
- Consider the practicalities. Make sure you have the time and space to dig up, pot, and transport plants. It may not be feasible to bring large plants with you.
- Plan for seasonality. The best time to move plants is during the spring or fall when the weather is mild. If you’re moving in the summer or winter, take only the plants that can withstand extreme temperatures.
What do you do with the plants you can’t bring? No proud plant parent wants to say goodbye to their collection, but that may be what you have to do. Spend some time finding them a good home by donating them to friends and family, users on PlantSwap, or people on sites like Facebook Marketplace.
Prepare Your Plants for the Move
Once you’ve decided which plants are worth taking, it’s time to get them ready. A quick drive across town might not require much more than careful packing, but longer moves need a bit more preparation to keep your plants healthy and safe along the way.
If you’re planning a long-distance move, it’s important to prepare your plants properly:
- Water your plants a couple of days before the move. This means they’ll be hydrated but not waterlogged for the move. The last thing you want is a sloppy, muddy mess that gets everywhere inside your vehicle.
- Inspect your plants for pests or dead leaves, and prune them. Doing this will minimize the risks of damage during your move.
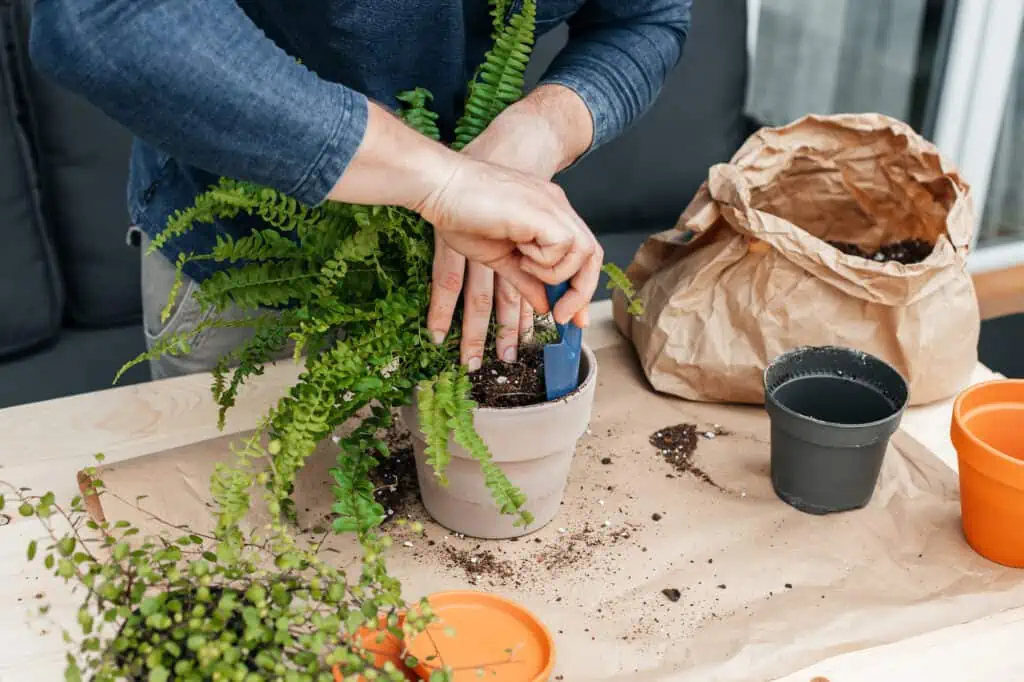
- Nestle smaller plants together in a box in their original planters. Use crumpled paper, dividers, or bubble wrap to prevent them from clinking together or moving around. Wine shipping boxes are also great for this — just be sure to leave the top open for adequate airflow.
- Use clean, sterilized pots, even if not required by law. This is good practice in general for the health of your plants.
- Pack fragile plants with plenty of room for airflow. This helps prevent traumatic experiences for your plant.
- Move larger plants to plastic pots. You’ll reduce weight and potentially avoid broken pots. Want to avoid plastic? Use a lightweight, eco-friendly planter. Consider covering the top of the planter with cardboard or a burlap bag to prevent the soil from spilling when things get jostled around.
- Transfer your plants to their containers a couple of weeks ahead of the move. You want to give them enough time to adjust to their temporary housing and ensure the moisture level is just right.
How To Move Plants From a Garden
If you’re relocating the plants you’ve grown in your own garden, you’ll need to do a bit of extra legwork. Transferring plants from the ground to containers can be a shock, so it’s important to prepare them for the trip.
Here’s how to prepare garden plants for moving:
- Allow for several days of generous watering. Be careful not to overwater. Too much water in the soil can prevent plants from soaking up critical oxygen through their roots.
- Dig around the drip line. Once it’s time to dig those plants out of your old garden, you’ll want to be careful not to dig too near the base of the plant. Tearing or shredding the flesh of the roots is unhealthy for the plant. Instead, dig a ring around and a bit away from the main stem of your plant, carefully paying attention to any roots you may find. For larger plants, the ring should be at least 6 inches deep.
- Maintain the original soil. Don’t shake or remove any soil from the root ball since this is some of the best protection for your plant during the move.
- Contain plants correctly. As you dig up and remove each plant from the ground, waste no time transferring them to the pots, buckets, or burlap you’ll be transporting them in. Remember that you’ll need to keep everything adequately watered, so a pot or tub will keep your burlap-wrapped friend from leaking all over your car!
Choose the Right Method of Transportation
Choosing a transportation method is an important part of figuring out how to move plants cross-country. The most common options are:
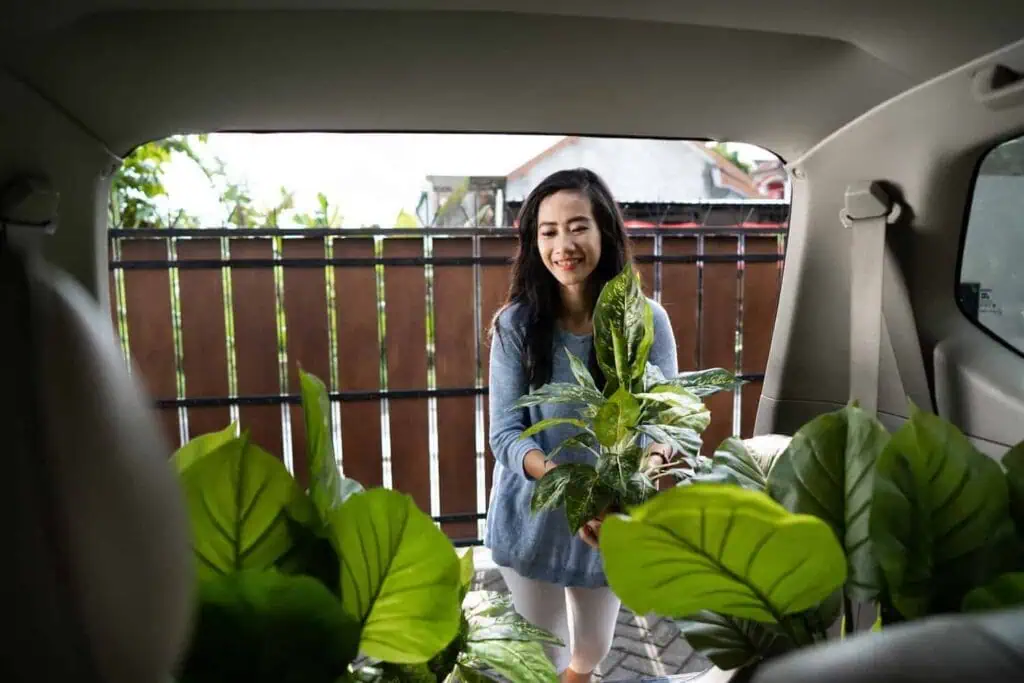
- Car. Put your plants in boxes, and place them on your car seats.
- Rental truck. Pack plants into the cab of your moving truck.
- Mail. It’s a little complicated to learn how to ship plants when moving, but it’s possible as long as you follow the carrier’s rules.
| Method | Pros | Cons |
| Car |
|
|
| Rental Truck |
|
|
|
|
Pack Plants Properly
As we stated, moving companies don’t usually transport plants (but it’s worth asking). So, in most scenarios, you’ll be moving them yourself.
How to Prep Plants for Different Vehicles
Here are some prepping tips, depending on how you’re getting to your new home, since the type of vehicle you use will impact how you pack and care for your plants along the way.
For Cars
- Pack with care: Don’t seal them in a box! They need space, especially for fragile or temperature-sensitive plants. In some cases, you may want to place them in front where you can control the climate. And be sure to keep them out of the trunk, where airflow is limited.
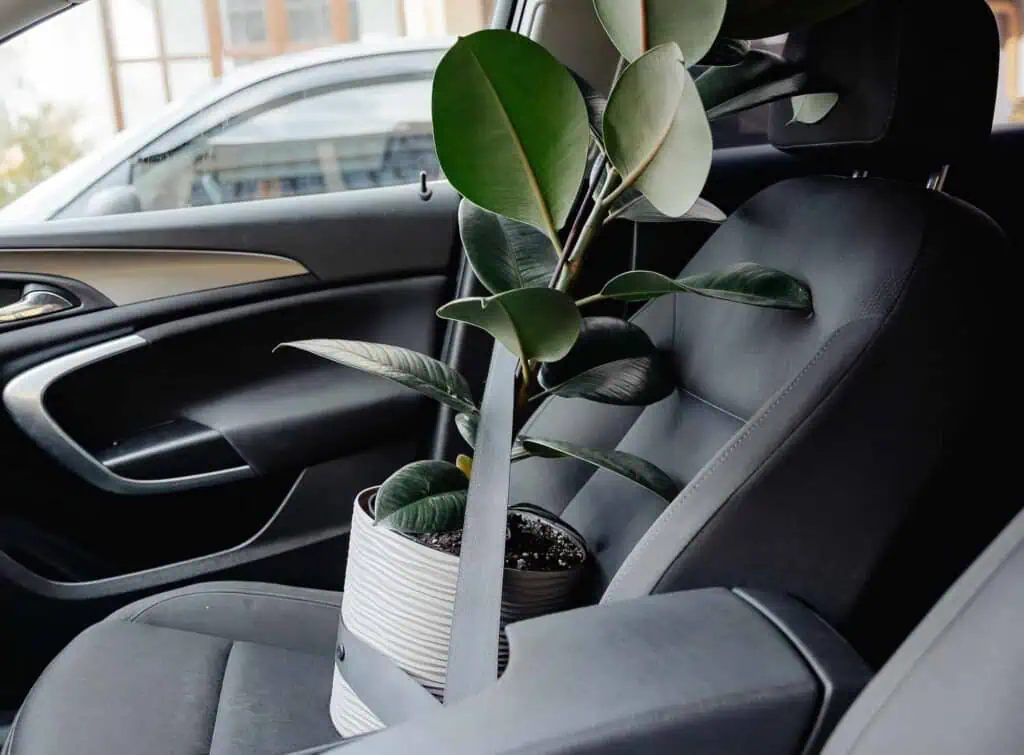
- Secure plants carefully: Again, you want to avoid much movement. Use seat belts to keep the plants in place. Or, if that’s not feasible, use ropes, string, or bungee cords.
- Avoid open vehicles: It may be tempting to throw ‘em all in the back of your truck, but heavy winds and bad weather can damage plants — especially over a long time. Do yourself a favor and keep them in a covered space.
- Consider your fragile or sensitive plants: Some of your green friends may be particular about temperature. They should go in the front, where there’s access to A/C or heat, and the driver can keep an eye on them.
- Keep an inventory: If you have a lot of plants, you may want to keep a list of them all. This makes tracking their needs and locations easier.
For Rental Trucks
- Store in the front cabin only: As you would in a car, place plants in the front cabin where they’ll get proper airflow and sunlight. Keep in mind that rental companies like U-Haul may even provide plastic bins to help contain any mess.
- Clean carefully: Remember that U-Haul, Penske, and Budget Truck Rental have cleaning fees if your plants leave a mess. However, U-Haul is a little vague with its cleaning fee policy, and Budget simply claims a “reasonable fee.”
How to Prep Plants for Shipping in the Mail
If it’s not possible to personally drive your plants to your new destination, you’re not totally out of luck.
Believe it or not, the second-best option when moving plants across the country is to mail them. It’s not ideal since you can’t directly control how they’re handled or allow them to get water and sunlight while in transit. However, you can take steps to minimize the risks.
First, choose a fast shipping option to reduce the time in transit, but not so fast that your plants arrive at your new home before you do. And be prepared for higher shipping costs.
Here’s how to pack plants for shipping:
- Remove the pot. Trim the roots, wrap them in a few wet paper towels, seal them with a plastic bag, and place them in a box. For longer trips, add a couple of teaspoons of polymer moisture crystals to water and apply this slurry to the roots before wrapping them in plastic. You can also loosely roll the plant in newspaper before packing it to help protect the stems and leaves.
- Pack securely. The box you choose should be sturdy but not too roomy, as you don’t want the plant to bounce around inside. You should fill every empty space around the plant with newspaper and bubble wrap to ensure it stays secure. You can also put a “fragile,” “live plant,” or “this end up” label on the box (even better, all three) so handlers know to be careful.
- Timing is key. Ship it at the beginning of the week. Much of the USPS doesn’t operate on weekends, increasing the odds your plants will sit in a dark room for a couple of days. Additionally, check the weather for the day of your box’s arrival so your beloved plant doesn’t freeze or wilt.
- Note any restrictions. The law is still the law. Be sure you’re following the regulations for shipping plants in the mail.
Care for Plants When You Arrive
As soon as you arrive at your new home, you’ll have a hundred things to do. But keep in mind, unlike your flat-screen TV or dining table, plants can wilt and die. It’s important to sort out your garden and replant as quickly as possible.
- Get planting spots ready: Be sure to have your plants’ new homes ready to go before you take them out of their old ones. The less time your flowers and plants spend in limbo, the better.
- Use enough soil for transplants: If you’re transplanting from smaller pots to bigger ones, put lots of soil at the bottom and have more on hand to fill in the extra space around the edges.
- Prep the ground properly: If you’re planting directly into the ground, make sure each new hole is big enough, and water it thoroughly before you pull anything from its pot. Pack the soil solidly, but not so much that the water runs off and away.
Water generously in hot weather: If you can’t help but exercise your green thumb in the heat of summer, douse your freshly dug holes with even more water before transferring those plants. The roots will need lots of moisture to mitigate the shock of being uprooted and exposed to the hot air and sun.
Pro Tips for a Smooth Plant Move
Ready to hit the road with your garden? Use these tips to keep your plant family happy and healthy during the drive to your new home:
- Use plastic bins and trays to prevent leaks. You’re going to want to water your plants during the move, and all that moisture has to go somewhere. Place your pots in plastic bins or trays to keep moisture off your car seats.
- Make a plant care kit. Be prepared to keep your plants safe on the drive by packing extra bubble wrap, a small pair of pruning shears, and plenty of water. It can’t hurt to bring some extra soil and a few extra pots in case of breaks or cracks.
- Time your drive carefully. Heat can stress your plants, so try to travel before noon or in the early evening to keep temperatures in check.
- Ventilate the car. Plants need plenty of fresh air, so consider cracking a window every so often. This is easy to forget, especially if you’re traveling in hot or cold weather, but it makes a big difference.
- Download apps in advance. Download a few plant-care apps to your phone to help you handle any issues during your trip. Great options include Planta, Plant Parent, and Pl@ntNet.
- Think before leaving plants in the car overnight. Staying at a hotel along the way? Bring your plants with you if you expect the temperature to change dramatically overnight. If the weather is consistent, crack two windows to allow ample airflow.
Learning how to move plants cross-country requires quite a few details, but it’s completely doable. By carefully choosing which plants to take and going the extra mile to prepare and transport them correctly, you can ensure they arrive safely in your new city. And with your new place filled with your old friends, it will start to feel like home before you know it.

