Moving Paperwork 101: How to Organize, What to Keep, Who to Contact

Author:

Publish Date:

Last Modified Date:

Category: Moving Checklists & Planning, Organization

Tags: Tags: , , , , , , , , , , , , , , , , , , , , , , ,

Listen, we are organized people.

At any given moment, our countertops are usually cleared of clutter, our files are neatly kept in labeled file folders, and our medicine cabinets are filled with colorful baskets of bathroom essentials. Organizing is our jam, mostly because we can’t take the stress that comes with living in a state of disorganization.

But recently when Bridget bought a new house and put her old house on the market, she became immediately bombarded with moving paperwork, emails and electronic files that quickly had someone who prides herself on her organization … feeling overwhelmed! All of the documents and information streaming into the mailbox and inbox were so important, yet it seemed like a whirlwind of information was getting lost in the shuffle. Not good.

With that in mind, today we’re diving into:

  • Who you can expect to hear from when you begin to move
  • What paperwork you need to keep tabs on, and
  • A few quick strategies that will help you keep track of your sanity (and those important docs!)

First, we go over the two different methods that helped me, then we get into the details about what you’ll be organizing (and with who!)

The Organization Must-Do’s

Create your official “Moving Binder” for the hard copies of paperwork.

No matter if you’re just moving, just selling, or possibly even both, the paperwork is bound to come streaming in right away. Heck, even when your home hits the multiple listings service (MLS) market or your name is given to a loan company, your address is often shared with businesses in the moving industry so they can start marketing to YOU. Some of these documents you receive in the mail are bogus and won’t really help you, but some coupons or information can be very helpful for your upcoming move. New furniture, carpet cleaners, deals on boxesyou name it and you’ll probably receive some type of paperwork for it. 

That’s why we think it’s important to set up a binder/folder system that will keep all of the hard copies of these important docs safe and together. You should immediately discard any information that is junk, but any paperwork that is important should be filed in this binder right away. We would also recommend adding a spiral or paper in the binder so you can take notes as you go. You can even add an envelope into the binder in order to save your receipts as you make purchases. Having this system in place before the paperwork gets out of hand is essential. Also keeping this binder out of the moving boxes and with you (even on moving day) will ensure you have access to paperwork up until, during, and even right after your move.

Start an official email folder for moving stuff.

Not only will your mailbox outside fill up quickly, so will your inbox! No one likes a cluttered inbox, yet sometimes it’s hard fielding all of these emails when they seem to never stop coming. Your lawyer, realtor and loan agency are going to bombard you with time-sensitive instructions for you to follow in order to move forward in the process. And if these emails get overlooked, you may have a serious problem!

We recommend starting a folder (at least one) in your inbox to start sorting out these important documents. You can always print the really important stuff to add to your binder, but also having the electronic copies of these items accessible and in one spot will be a lifesaver down the road!

But what exactly will you need to sort via email? Allow us to give you the heads up on which documents you’ll probably be receiving so you can have a better understanding of how you can manage your system accordingly.

Who Will be Contacting Me Before My Move?

The professionals that will be filling your inbox most frequently are your realtor, your real estate lawyer, your lender, and the insurance agent (and anyone from those respective teams of people). Although they will all eventually work on your behalf, communication with all of them is crucial for an on-time closing.

The Realtor

Right after the seller accepts your bid on a new house, you will most likely receive important documents from your realtorsuch as:

  • A copy of the home’s signed contract
  • Any correspondence about the property from the seller
  • A scanned copy of the receipt of earnest money
  • A timeline of the next steps (deadlines for the inspection, lender’s approval, home owner’s insurance, and written mortgage commitment)

Most of these documents can be saved and filed in the binder and/or electronic file folder. However, we would definitely suggest printing out the timeline for the upcoming deadlines. It’s imperative you meet the outlined deadlines so your closing isn’t delayed! Having these dates printed out and marked on your calendar will help you do this. We also want to remind you to ask your realtor about any questions you may have throughout the process because they are very familiar with this process and should act as your coach over the next 45-60 days. If your realtor is unsure of the answer, the next person on our list is the next best coach to guide you to your closing.

The Lawyers

Alongside realtor papers, you’ll probably simultaneously receive the following documents from your real estate lawyer and their team:

  • An introduction to the upcoming closing process, the timeline, and the fees associated with the attorney services
  • A request to sign and return a contract to work together throughout this deal
  • A request for you to send over additional information about the property including whether or not this is going to be your full-time home, the correct spelling of all buyers’ names as they will appear on the loan and/or title to the property, your current address, phone number, current marital status and your lender’s contact name/information.
  • Property Appraisal
  • Any negotiations that take place after the inspection with the seller
  • Any inspection problems that have been addressed by the seller (with receipts attached that identify proof of work)
  • Tax escrow information

Yep, it’s a lot! (That’s why you need to organize first!)

These steps need to be completed and returned almost immediately if you feel comfortable moving forward with this law firm. If you don’t, it is time to secure a new attorney immediately. You need this team right away, but you don’t want the time sensitivity of the process to force you to work with someone you aren’t comfortable with.

The Lender

While your lawyers are working closely with the realtor and the seller’s attorney, the lender is busy reviewing your finances in order to eventually approve your home loan. You can’t move forward with the contract on this property until your loan has been “cleared to close”, which is a process that can take up to (and even over!) a month. It’s a lot of stuff to cover, but here’s the information the lender will need over that month:

  • Permission from you to order the property’s appraisal (with fees associated, which is about $300-$500)
  • An itemized list of all of the updated documents he or she needs in order to update your loan and get that “clear to close” completed in time for your closing date. This paperwork will include (but is not limited to)
    • Copies of your 30 days most recent consecutive pay stubs
    • Copies of all of your W2 forms/1099 forms
    • Complete copies of your personal federal tax returns with all schedules/pages
    • Complete copies of your 2 months most recent consecutive bank statements for all assets
    • Copy of retirement funds
    • Copy of your most recent homeowner’s insurance renewal information, if you decide to purchase, non-contingent on the sale/close of your current home
    • Copy of Earnest Money Check
    • Proof of a homeowner’s insurance policy in the new home (needed two weeks prior to closing)
    • Copy of your Photo IDs for the Patriot Act
    • Signed and dated letter of explanation to confirm your intent to occupy the new property as your primary residence, if you are purchasing non-contingent on the sale/close of current home
    • Updated printout/activity of your bank account showing your Earnest Money Check clearing your account

Some of the paperwork you won’t be able to produce until right when the lender needs it (i.e., most recent paystubs, the Earnest Money Check, etc.), but some of this paperwork you probably already needed for the pre-approval process. We would advise you to put all of those documents into your moving binder system so they are easily accessible when your lender asks. This will save you tons of stress and will keep the process running as smoothly as possible.

The Insurance Agent

You’ll also need to provide proof of insurance on the new property around two weeks before your closing date. Therefore, you’re going to be in close contact with your homeowner’s insurance agent to secure this coverage.

You’ll need to send her the MLS information about the house. If you want to be considered for a few discounts, you may need to provide additional information (and proof) of the age of the roof or the home’s mechanicals. Make sure you ask your insurance provider about these opportunities so that you can save as much money as possible on your coverage!


Realtors, lawyers, lenders … oh my! The month before your move is a busy one that comes with a lot of paperwork, emails and new items on your to-do list. It can be overwhelming, even for an organized person like myself, so having a plan before the flood of information starts is key! Also knowing what to look for in your mailbox or inbox will help you get a better sense of how to stay organized and what you can have prepared in advance. The last thing you want is a delayed closing date because you missed a deadline. Use these tips so you avoid that at all costs.

The Important Things to Take Pictures of While Moving (and Why)

Author:

Publish Date:

Last Modified Date:

Category: Pro Packing Guides

Tags: Tags: , , , , , , , , , , , , , , , , , , , ,

Getting ready for the big move? Don’t pack that camera away just yet!

Besides getting those great social media shots (“I’m driving a U-Haul, everybody get off the road!”), taking pictures before, during and after your move can help protect your stuff – not to mention your wallet.

The main reason for taking pictures when you move might be obvious, but it is worth iterating. No matter how skilled, experienced and careful your movers are, accidents do occasionally happen. And if you don’t prepare, you may not be properly reimbursed for damage that occurs.

So before your movers show up, go around and take pictures of anything and everything you deem valuable. This means furniture, electronics, breakables and anything else you think would be difficult and/or expensive to repair or replace. Then when your move is complete and you find that something has been damaged, you will have proof that the item was in fact damaged in transit.


What Moving Insurance Actually Does

(And why it might not help you!)

This also means taking pictures of existing damage: a scratch on your kitchen table, a dent in your dryer, or a small crack in the corner of your mirror. Why? Because if you suddenly find a bigger scratch, a deeper dent or a longer crack, your movers can say “That was already there.” “Yes, but it’s much worse now!” you will cry. And you will lose.

Knowing all that, here are some crucial tips for everything you’ll especially need to take pictures of.

Take photos of your cleaned-out apartment.

Believe it or not, there are some crafty landlords out there who would love to pocket your security deposit. Taking pictures of your old place before you leave for good can help you defend yourself against false claims of damage. And if you did damage something? Take a picture of that too, so that same unscrupulous landlord can’t charge you hundreds of dollars for fixing a couple of nail holes.

Protip: Take pictures of the bathroom and the shower. Yours truly got nailed for leaving the toilet “a filthy disgusting mess” after moving out of his Boulder, CO apartment, even though it was sparkling and sterile when I locked the door for the last time. I don’t even want to know.

Likewise, take pictures of your new place.

Again, don’t just photograph any existing damage you may find. Photograph everything! Why? Because walls, doors and light fixtures (and door jambs and floors and ceilings) can suffer damage during the move-in process. Your movers might be a great bunch of professionals, but you probably won’t want to have to pay for the gash they accidentally put in the kitchen floor.

Protip: Also take pictures of your rental truck! Get shots of any existing damage, inside and out, as well as the general condition of the interior of the cab and the back where all your stuff will be going – especially if these areas are less than pristine.

Take a picture of the back of your TV, for reference.

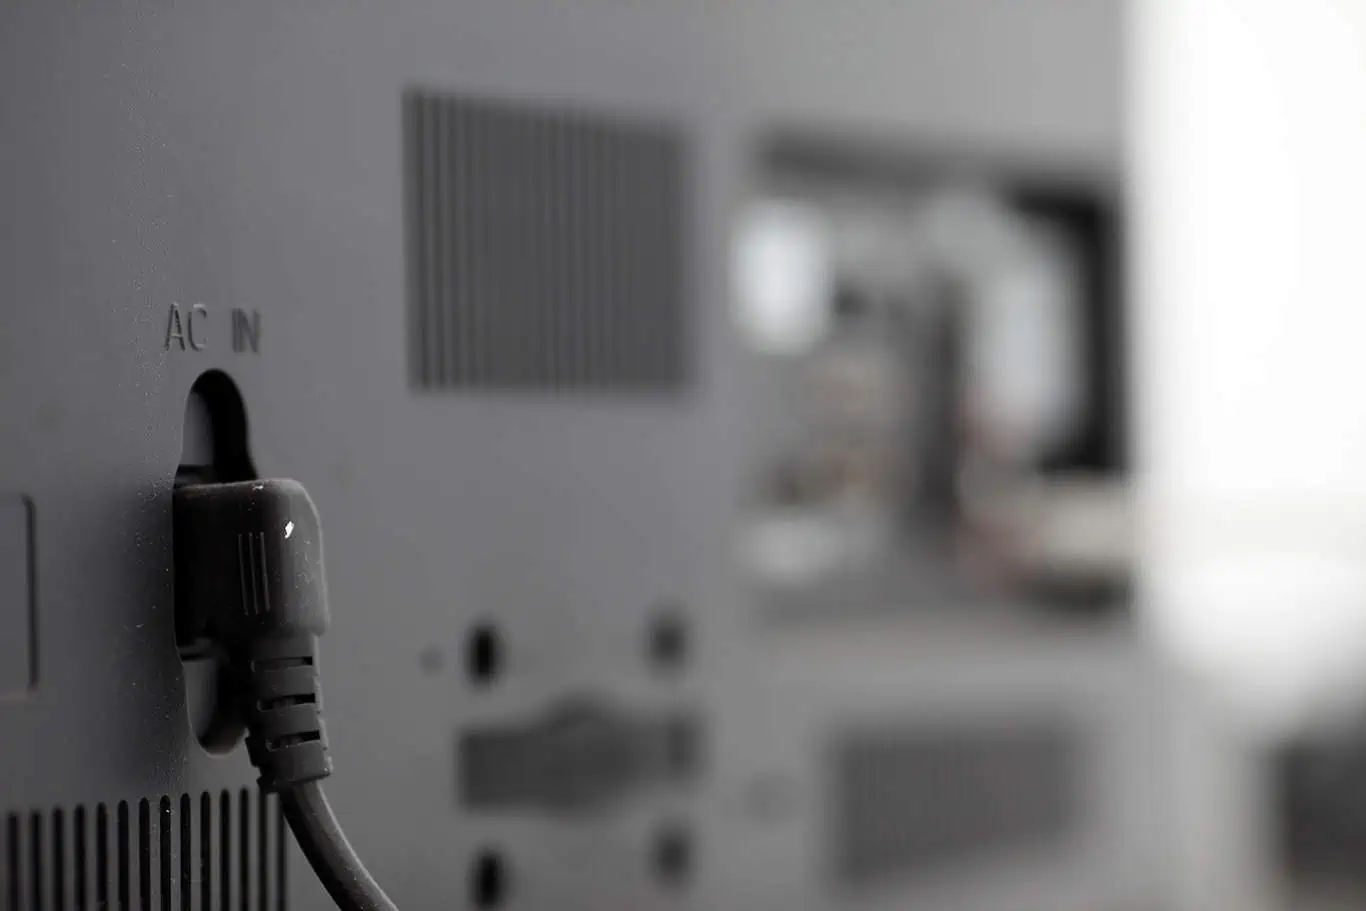
You know all those dusty wires back there? The ones to your surround sound system and your Blu-Ray player and your four different gaming consoles? It’s all going to have to be disconnected (and, probably, untangled). Having a photo of which wires go where can save a lot of time and aggravation when you are setting up your system at your new home.

Protip: Snapping a pic of the make, model and serial number of each of your electronic components can be a huge help in case you have to track something down – or, if something goes missing, to confirm that component’s age and value.

Take pictures of large, especially valuable or just unusual items.

This isn’t to highlight damage, but it’s simply a good idea to have pictures of things, from furniture to expensive décor to items that we’d rather not have to try to describe. Because if something goes missing, a picture helps A LOT in finding it. (Use your inventory sheets, people!)

True Story: A week or so after delivering a long-distance shipment we’d taken into our warehouse, I got a call from the customer. “I’m missing a chair,” she told me.

This was not very helpful.

We had literally hundreds of chairs on the 30-foot-high racks in our warehouse. Knowing that this chair was upholstered with a flowery fabric was only slightly better, and as the woman lived up in the mountains two hours away. She wasn’t about to come down and help me find the right one. “Let me fax you a picture of the chair,” she said. (Yes, this was a few years ago.) And even though the picture was black and white and a little blurry, I recognized it right away, saving me hours of searching during the already-hectic summer season and saving the customer from days, if not weeks, of inconvenience and uncertainty. (Not to mention a two-hour drive to our warehouse.)

Take photos of the water, electricity, and gas meters.

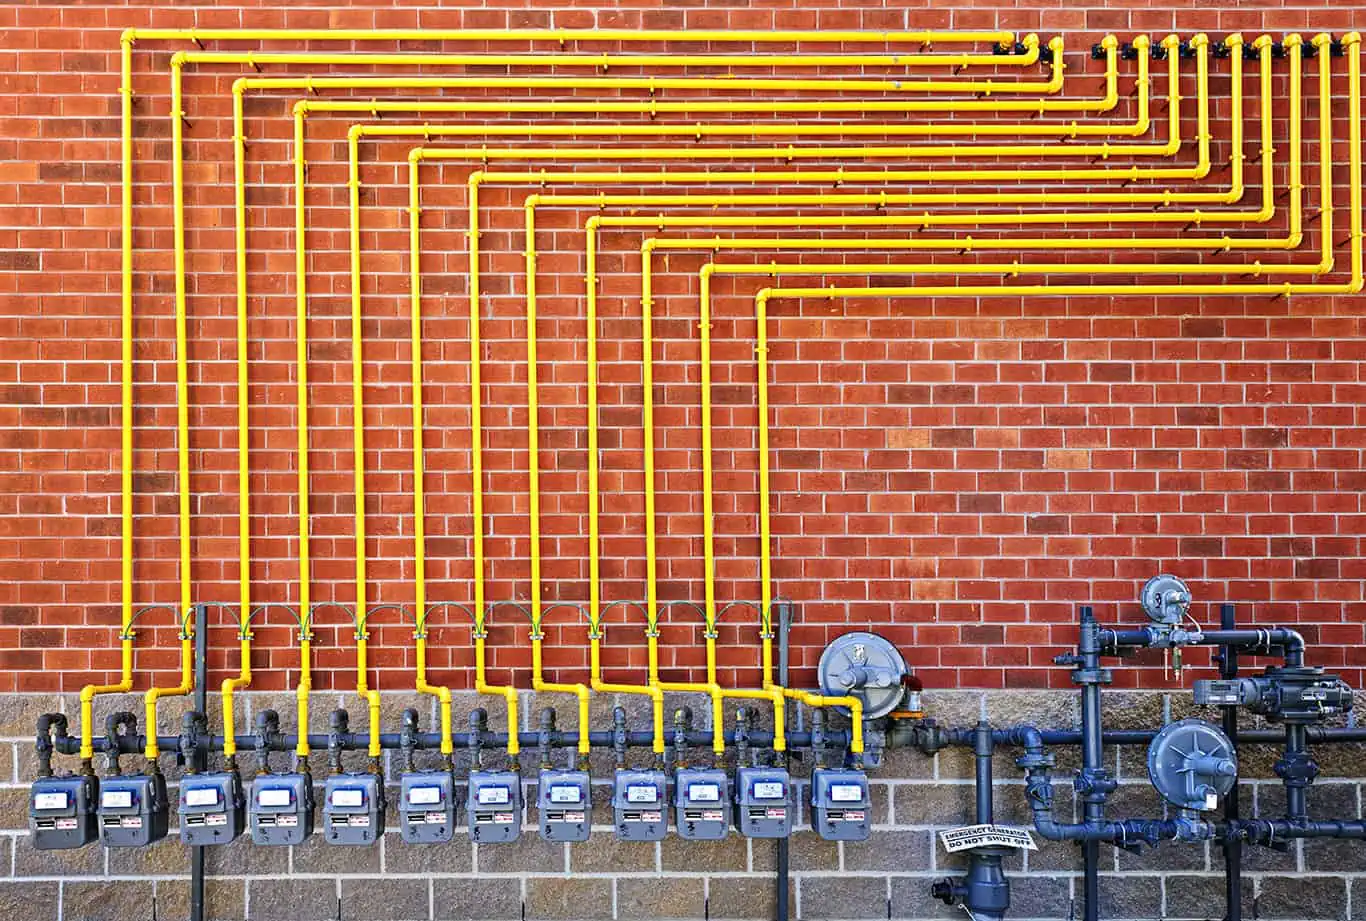
Do this both at your old place before you leave, then at your new one before you move in. Why? To protect against being charged wrongly for utilities. Not that the utility companies are out to scam you, but it’s quite common for them to charge based on usage estimates (which saves time and money on meter readers). If their baseline reading is off, then so is your estimated usage. There may also be a lag – or an overlap! – between customer accounts. Bottom line is, there are plenty of ways you can end up being charged for another resident’s utility usage. Taking photos of your meters can help immensely if such a situation comes your way.

Take a video of your electronics in action.

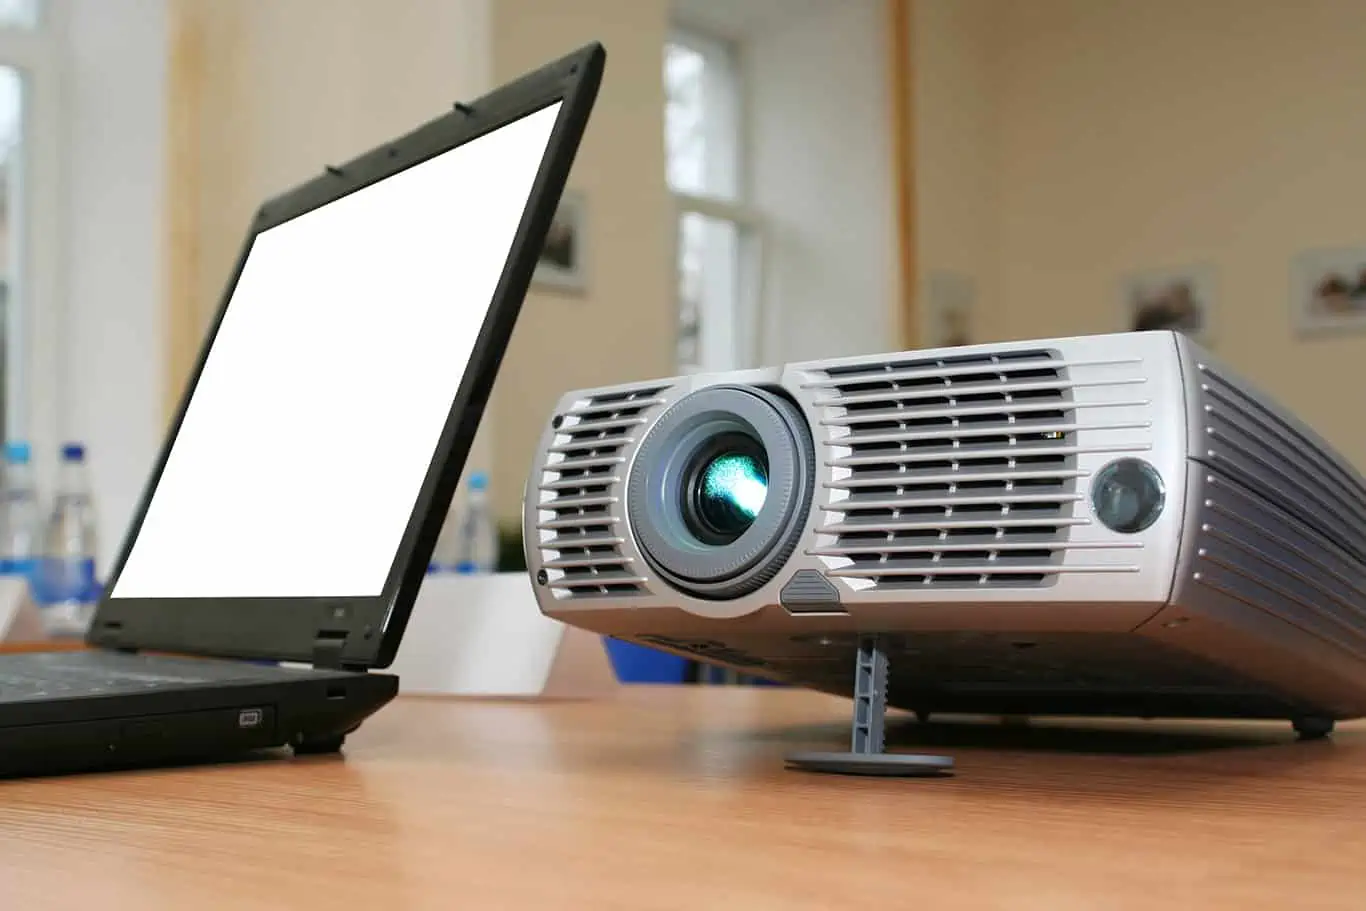
On their inventory sheets, movers describe anything electric, electronic or mechanical using the acronym “MCU” – mechanical condition unknown. This means they don’t know if something works. Which also means you can’t prove something was rendered inoperable during your move. Without proof, it’ll be difficult to get reimbursed for the flat screen that has suddenly gone to plasma heaven.

To guard against this, videotape your TV, stereo, air hockey table, pinball machine, lava lamp, or whatever to show that these things were indeed working properly before the movers showed up. 

And ALWAYS timestamp your photos!

Imagine having pictures showing that you left your old place in perfect condition, but then having your old landlord claim that you took them before you did the damage he is trying to charge you for. Or owning a picture of the damage the movers did to your new place, only to have them say “No, that was like that before we showed up.”

How do you answer that?

There are a few ways.

  • Set your camera so the time and date show up on your photos.
  • Email your photos to yourself as soon as you take them.
  • Make sure your time and date is correct on your phone’s camera roll.
  • Even print out the photos you take and snail-mail them to yourself.

Protip: It may be easy for someone to claim that you simply changed the time/date setting on your camera before you snapped those incriminatory photos. So keep them on your memory card, sandwiched in between other pictures you took along the moving process – or even in between photos from before and after the process – to prove your timeline if need be. Most people are reasonable.

Are we being too cautious?

After all, the majority of moves – and the vast majority of HireAHelper moves – are completed without a hitch. But remember: accidents happen. Taking pictures can save you a ton of time and aggravation – not to mention a bit of cash – if something does go wrong.

×

I'm Moving

Moving? Thinking about moving? Whether your move is off in the distance or you already have one foot out the door, you'll learn about everything you should expect through our useful how-to's, cool articles and much more. It's all specially curated for you in our "I'm Moving" section.
Explore
×

I'm a Mover

For rookies or veterans alike, our "I'm a Mover" section is filled with extensive industry news, crucial protips and in-depth guides written by industry professionals. Sharing our decade of moving knowledge is just one way we help keep our professional movers at the top of their game.
Explore