New homeowners tend to acquire quite the collection of tools when they first move in. Trips to local hardware stores, shower gifts, fixes that somehow require that single tool you don’t have in your collection all attribute to a random pile of tools.
Pretty quickly, I’m sure you feel like you have plenty, actually you probably think you have too many when the dust settles, but trust me when I say that this enormous collection of tools will mysteriously be hidden in every nook and cranny of your home in about a year IF you don’t get those bad boys under control with some serious tool organization right from the start.
According to us (very official), we are pretty sure society as a whole has this LOVE/HATE relationship with Pinterest going on. We LOVE Pinterest and all of the eye candy, inspiration and flawless beauty it oozes. If we’re putting it all out there, we’ll just say it- Pinterest is what dreams are made of and the magical place in the twenty-first century where fairytales are born.
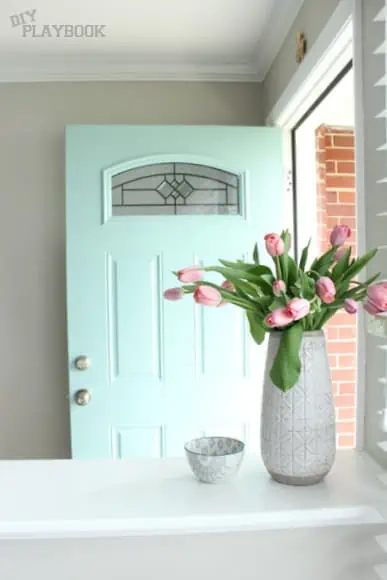
If you’ve opened up a home decorating magazine in the past year, peeked at Pinterest for more than 72 seconds, or driven anywhere near a trendy neighborhood… you’ve seen it. Yup, there’s no missing it these days, not a chance. And what is it, you ask?!
Well, “it” is the epidemic we call “the colored front door craze”. There’s no denying it, the colored front door craze is all the rage in the DIY & home decorating world- the more colorful and bold, the better! Painting your front door a bright and bold color is a way to make a statement, create a cheery little piece of property that makes you (& hopefully your neighbors) smile, while also giving your home’s threshold a little extra personality.
But the burning question that comes with this color craze, “What is the perfect front door color for me?” “What type of personality does my home have?!” “Have these DIY rookies officially lost their minds?” We’ll save you the trouble on that last one and answer: Yes, a long time ago. For the first two questions, only you can answer them but we are here to help guide you in the right direction.
Our theory on how to pick the perfect front door color for your home is actually very simply stated: (more…)
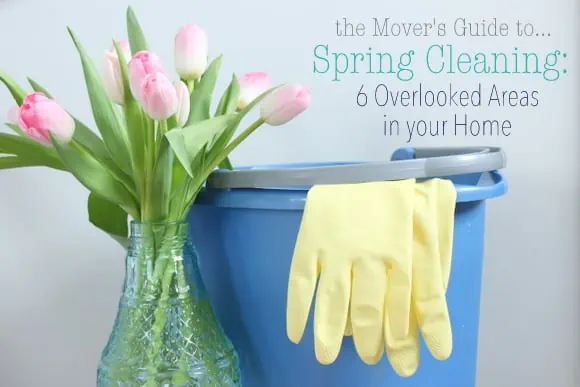
Spring DEEP Cleaning: 6 Overlooked Areas In Your Home
Now that it’s April, so many people have Spring Cleaning on the mind. Sure, it’s great to purge your closet, freshen up your linens, and clean those dirty windows… but let’s really dive into this and do a nice DEEP CLEANING of your home.
Here are some home areas that are often neglected during routine cleaning. So whether you’re doing an annual spring clean…or you’re moving into a new home, and you question the cleanliness of the previous homeowners…you may want to add these spots to your cleaning to-do list!
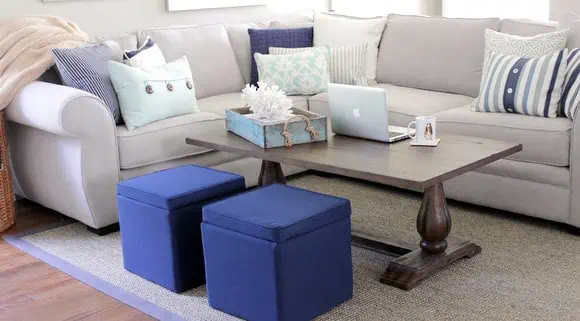
So you’ve decided you want to sell your house…congratulations! You have a lot of excitement (and hard work) ahead of you.
In today’s market, most homes are discovered and even sold over the internet, so that means you’re going to need a good set of photographs to showcase the spaces in your home. We don’t care if you have the coolest house on the block, if you have terrible pics that bad boy may be on the market for a long time. Today we’re here to help you with a few staging and photography tips.
This list will help you garner the attention of house hunters searching on the internet, and hopefully you’ll have some open houses in no time at all. So, without further adieu, here is how to stage and photograph your home to sell:
Welcome back to the DIY Corner. Today, Casey & Bridget wrote up an easy answer to, “How Do I Remember What Goes Where?”
Have you ever taken things off a shelf to dust and then totally forgotten how to rearrange the pieces to make it look just how you liked it before? Annoying right? Well, moving is that feeling but 500x worse.
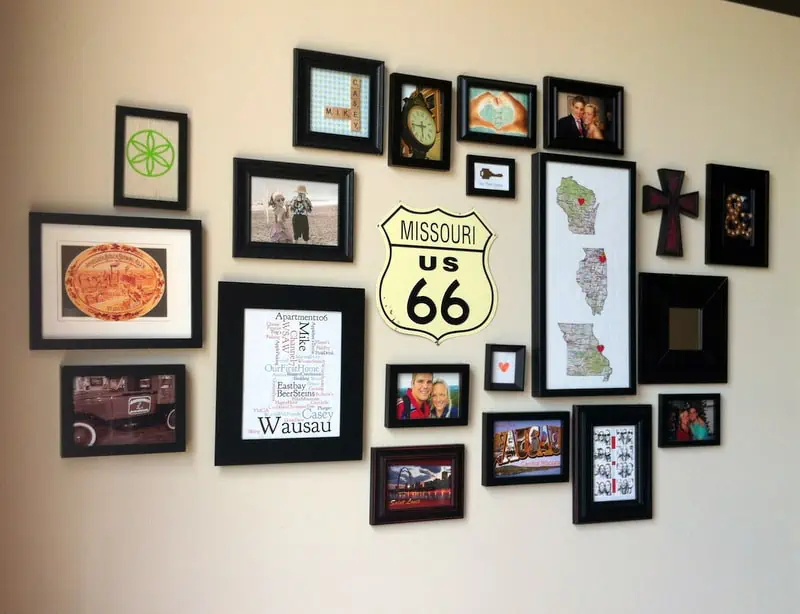
As you unpack that box of your favorite living room photo montage, you may think to yourself,
“Wait, I know these picture frames looked cute together at our old place, but I don’t remember how they were arranged.”
Sound familiar? Well, ladies and gentlemen, worry no more!
Simple solution: Take pictures of everything (and we mean everything) in your house before you start packing. Accessories on the shelves, gallery walls of pictures, pillow arrangements, cabinet organization – everything!
Today’s DIY Corner might actually put money in your pocket during your next move. If you’d love a real shot at getting your deposit back from your old landlord after moving out here’s a cheap and easy 3 step guide on how to repair holes in drywall. Have yourself a merry DIY Thursday!
See that gallery wall full of frames and hanging décor? Hidden behind all of that “art” are holes galore. Ouch. Back when we moved in, I wasn’t about to hinder my creativity when decorating our apartment. I wanted it to be homey and cozy. So, out came the hammer and nails, and up went the frames.
Before I knew it, we were moving out, and in order to get my security deposit back, I needed to patch those bad boys up… and fast! Here’s what I did to get that wall looking fresh and smooth. (more…)
Hey there thrifty-minded friends! I moved into my apartment a little over a year ago but am STILL trying to decorate each room. It just takes time to unpack, adjust and get a picture of what you want your new place to look like. I recently finished my living room am moving on to the kitchen area. Progress!
At the moment I have three core things I consider as I plot my decorating plan of attack. First, I have to consider cost because I’m broke! Second, I consider the fact that I live in a tiny apartment with very little space. I can’t be building and moving in new pieces of furniture or anything. Utilizing space is a must. And third, I want it to look good. I won’t just pick something out just because I can afford it. I err on the side of simple rather than quantity.
With those three things in mind, I’ve come up with FIVE simple ideas to use when decorating a new kitchen area (or re-decorating your old kitchen!).
(1) Make Tiny Changes
You know how buying a new shower curtain can completely change the look of your bathroom? The same thing goes for new towels and potholders in the kitchen. If you’ve just moved and are unpacking some of your old stuff, it’s likely that you’ve used the same things for years. If you can afford it, use those old things as cleaning rags and pick up a few new things! It makes more of a difference than I ever thought it could.
If you have a sewing machine, you can use old jeans or cheap material from Walmart to make your own potholders. You don’t have to be Martha Stewart to do this… if I can make them, so can you!
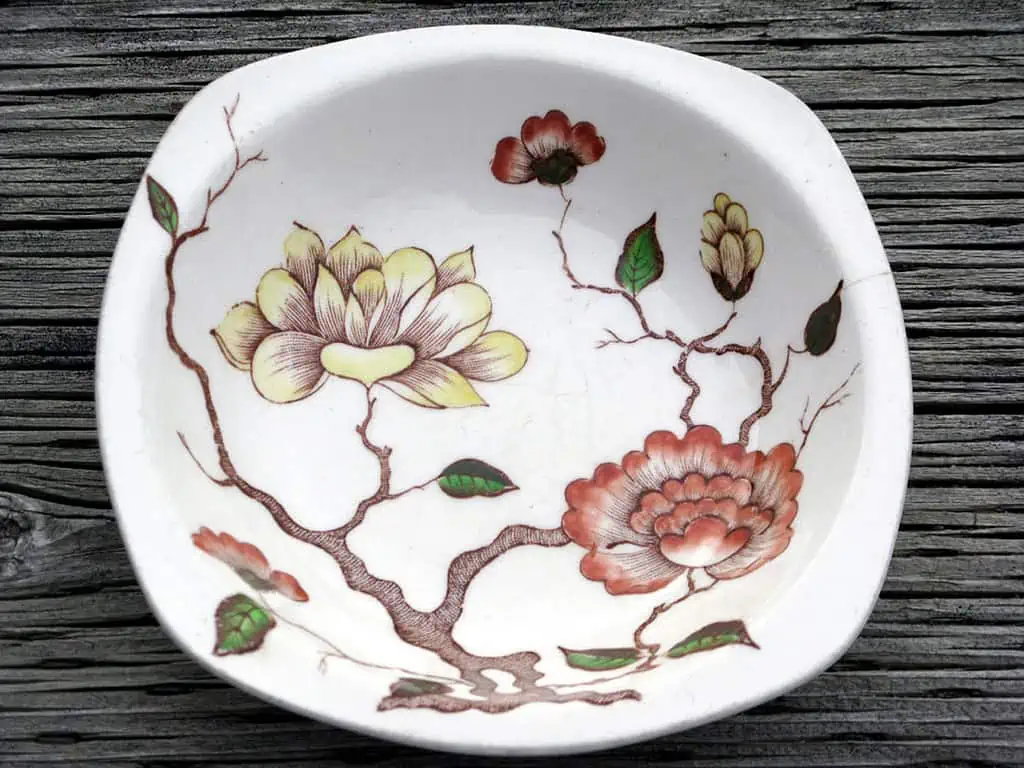
Another fun thing, now that it’s garage sale season, is to look around for a new-to-you fun and fancy dish. Use it to display your fresh fruit. Making stops at local garage sales is also a great way to get to know the different neighborhoods and people in your new city!
(2) Get Creative & Use What You’ve Got
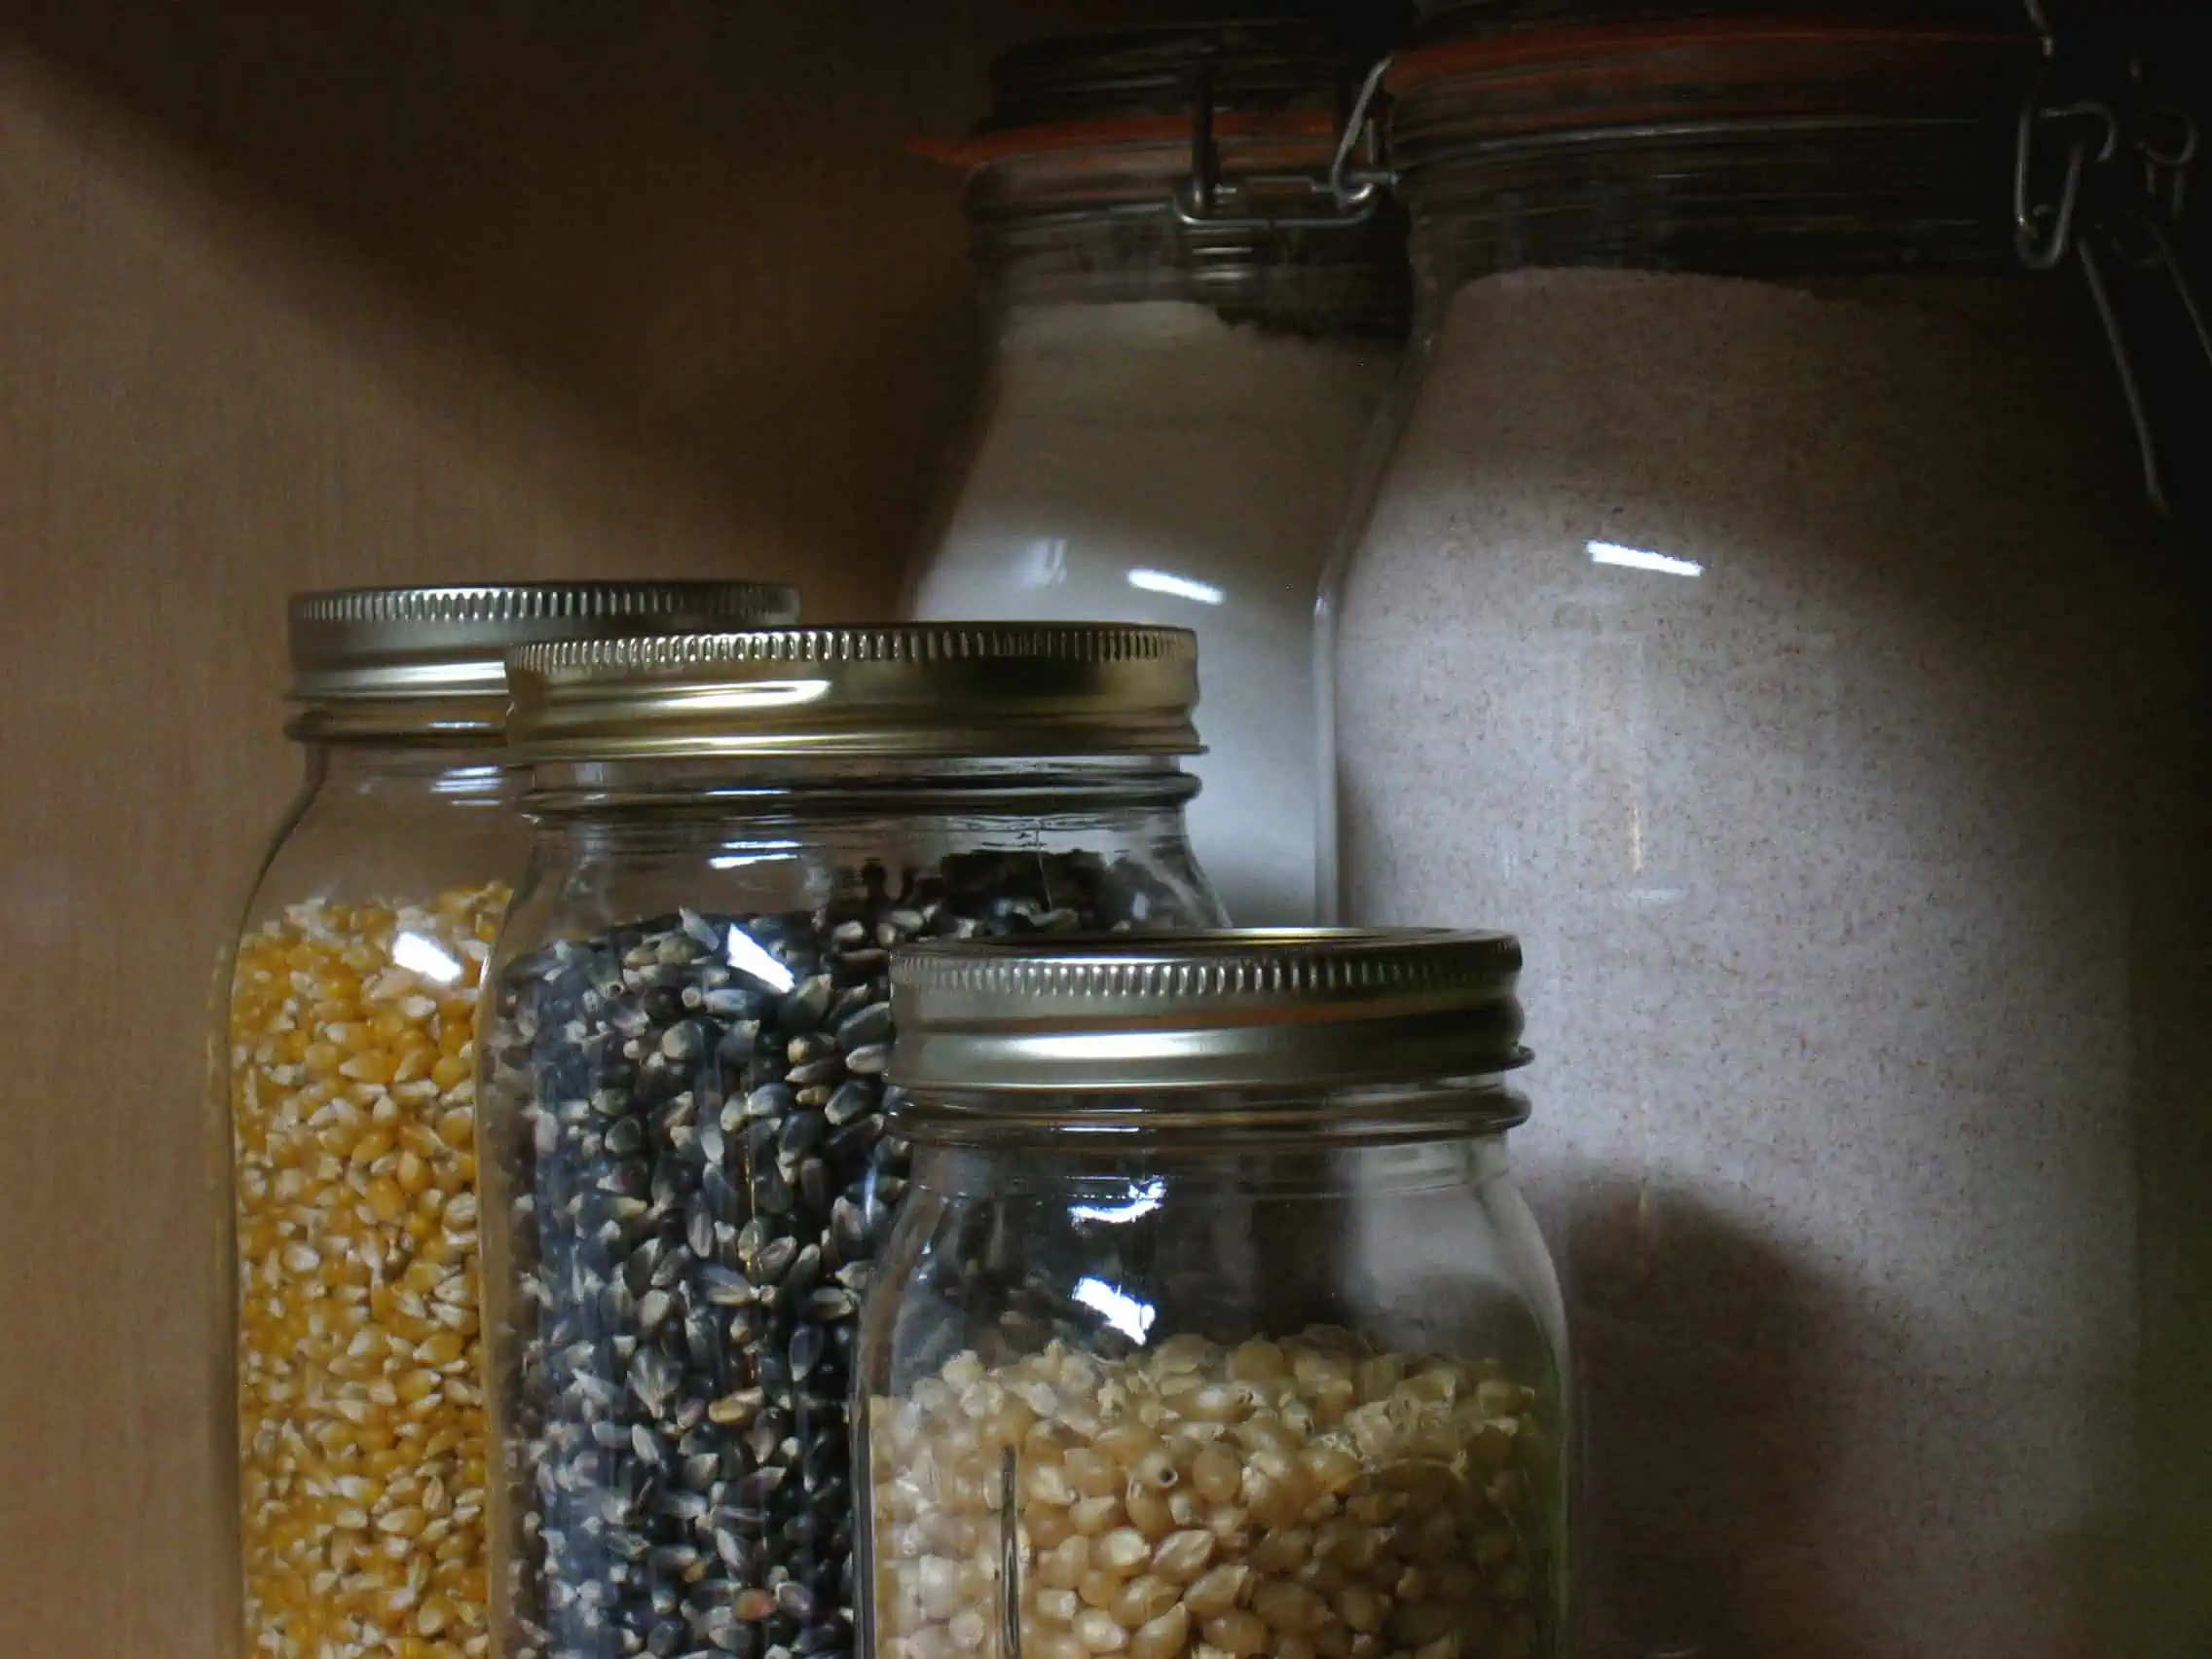
Something I’ve been trying to do is to make use of my food, utensils, and spices to decorate. I mean, you’re going to have all those things in your kitchen anyway, you might as well make them look cool, right? For example, you may have bags of sugar, flour and popcorn in a cupboard. Instead of packing those away, put them into individual glass jars and display them!
Another thing that looks cool sitting out are spices and olive oil jars. Line them up above a cupboard or counter or find a sweet spice rack. If you’re feeling really crafty and have the room, you can even create individual spice jars with labels.
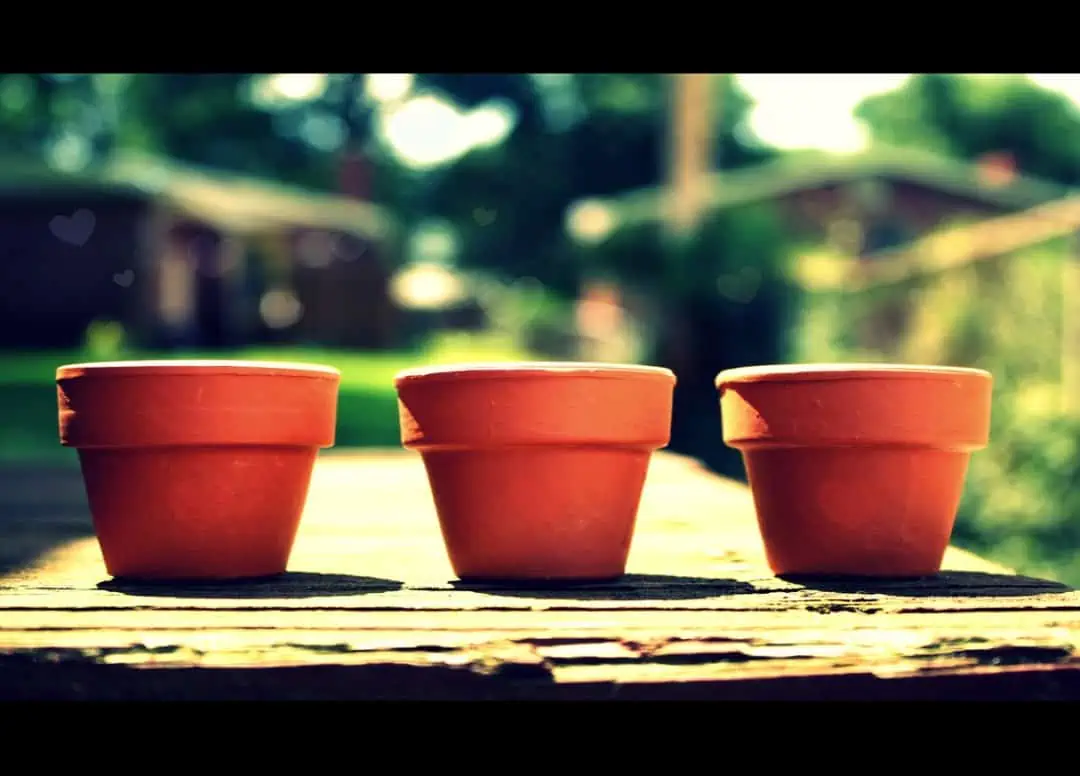
(3) Grow Your Own Fresh Herbs
Okay, don’t freak out. If you’re anything like me, attempting to keep a plant alive doesn’t have a great outlook for ya. However, herbs are the one thing I have actually been successful at keeping alive and well. I believe in you! They also take up very little space, which is a plus if you live in a shoebox of an apartment. The only thing you need besides a pot/jars and soil is a bit of sunlight. This is honestly one of the most rewarding projects for your kitchen. You can buy terra cotta pots for like a quarter each, seeds are only a buck or two and you don’t need much potting soil. And in a week or so, you’ve got fresh herbs! Your kitchen has a nice smell, looks fresh and you’ve got homegrown ingredients for some delicious recipes. I’ve already scouted a recipe for pesto because my basil is starting to come up.
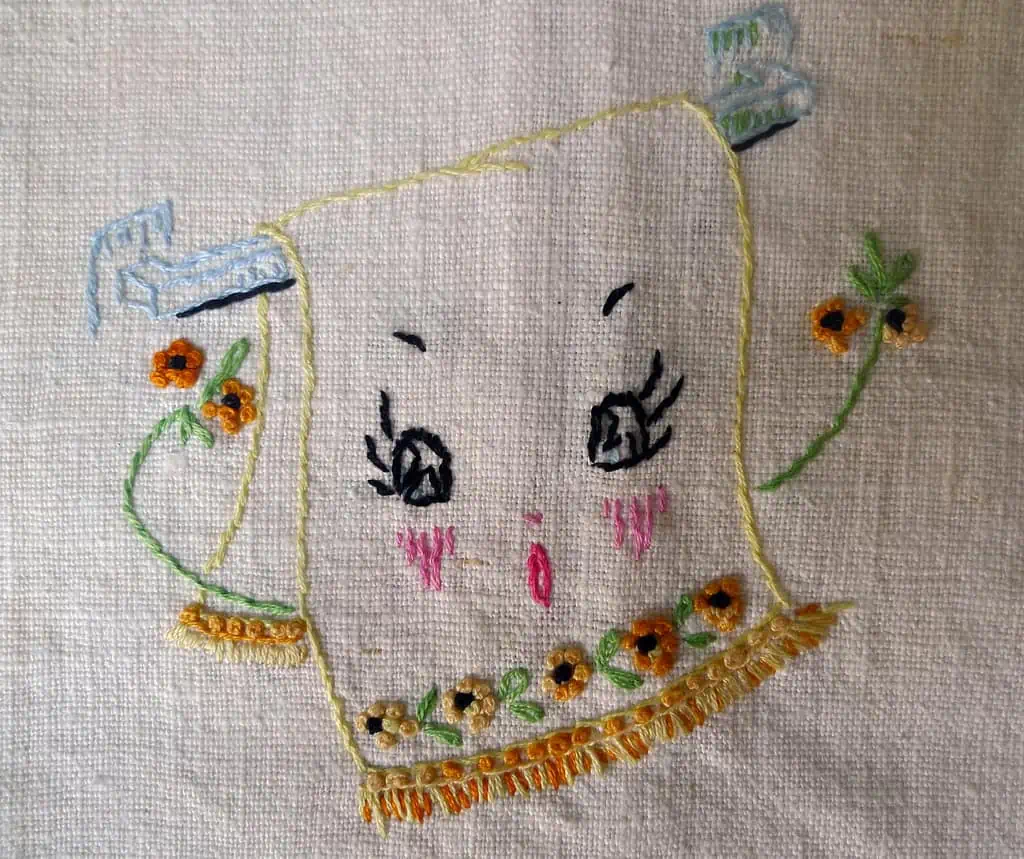
(4) Bring Back the Lost Arts!
After working out how to make my own potholders, I have slowly been learning a few other “lost arts” like embroidery and canning. The thing is, these types of things are seriously in vogue at the moment and places like Terrain charge an arm and a leg for them! You can make them yourself, for a tiny fraction of purchasing them. I bought my plain, white flour sack towels at Bomgaars for $2 a piece. If you don’t have Bomgaars, Amazon has them from several places and your local craft store will have embroidery floss and the other necessary supplies.
Another of these “lost arts” is canning. This is actually more involved, so if you skip to the next paragraph I don’t blame you! But even if you can’t muster the energy or desire to can for yourself, see if you can find a friend who does. They just look colorful and trendy!
(5) Repurpose
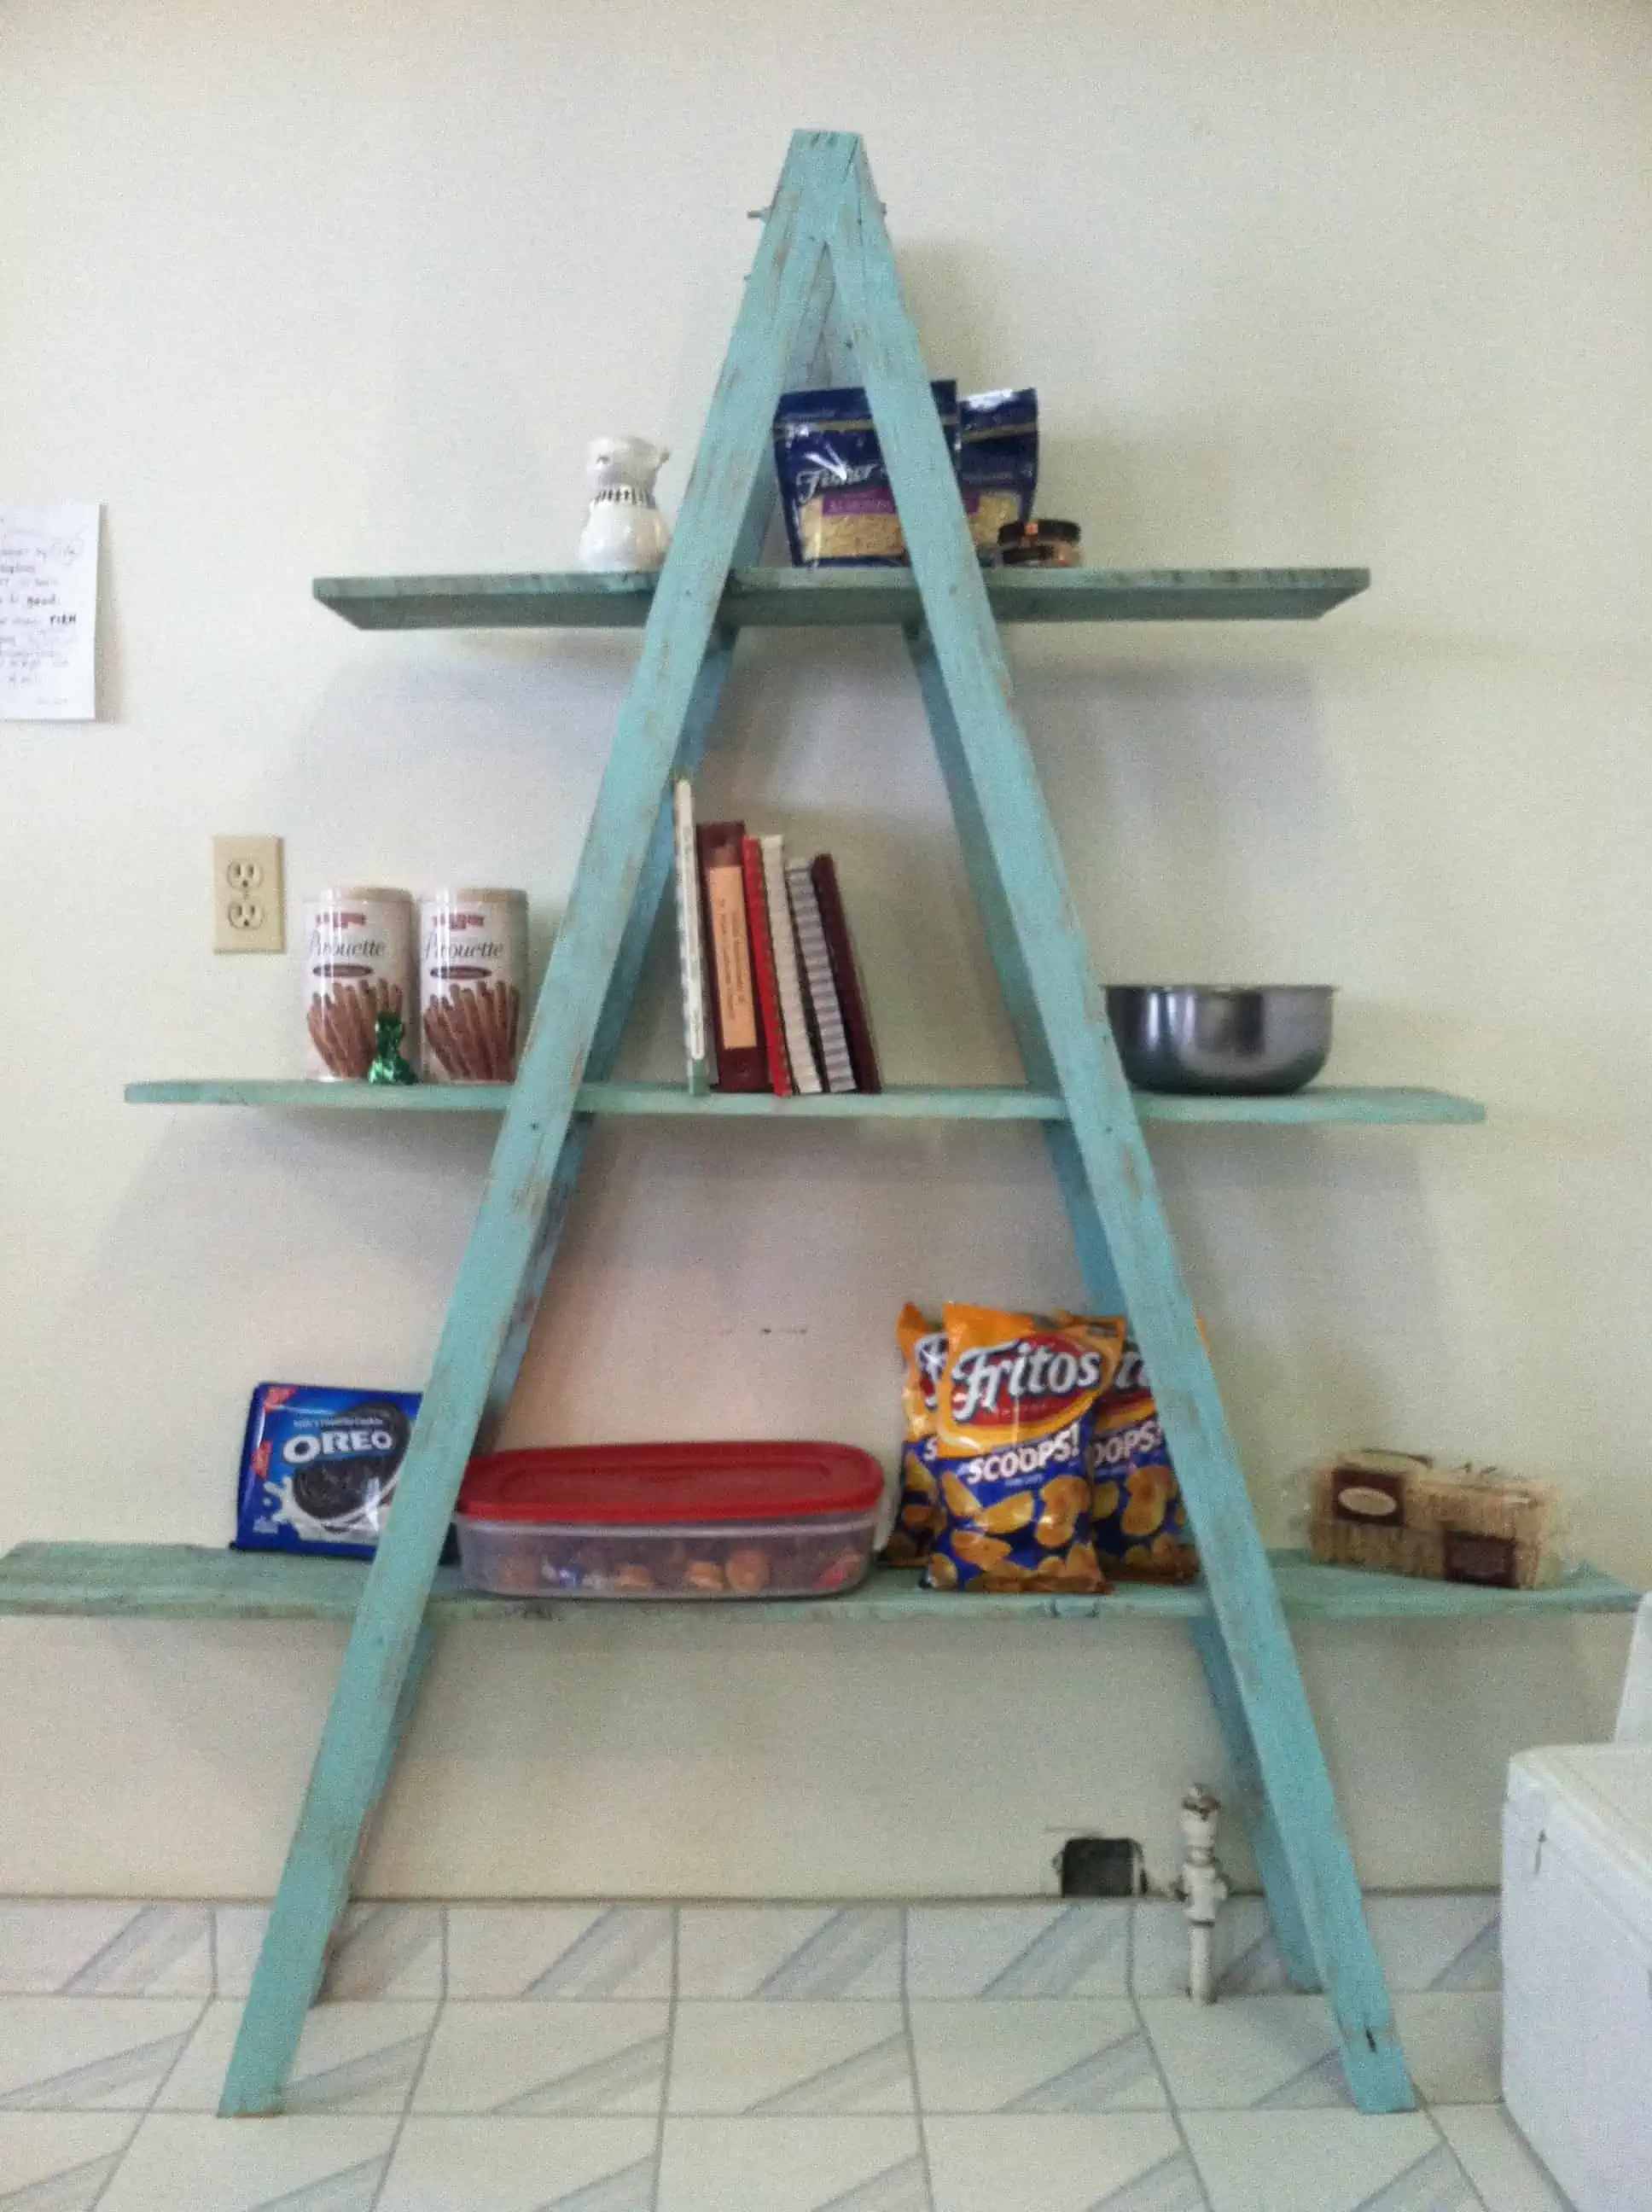
For this last thing, you can make it as simple or complex as you want. You can make something simple like a chalkboard to write your grocery list on or something more involved like making a pots and pans rack out of an old ladder.
If you want to make a chalkboard, all you need is a flat surface (i.e. anything glass, metal, plastic or even wood) and chalkboard spray paint in a can. Yeah, it’s that simple! Or if you want to go even more simple, you can make a dry erase board out of an old window by using the glass to write on. It looks rustic and shabby chic in a kitchen! All you need are the markers.
Another fun and easy thing, if you have wall space, is using a burlap coffee sack with an old bulletin board. I got several sweet burlap coffee sacks from a local coffee roaster for free. They have so many that they’re usually happy to give them away. Then just stretch the bag around the edges of the bulletin board and staple the bag on the backside. Boom. You can use it as art AND a bulletin board.
Shown above is a ladder shelf that my lovely cousins made for me. They literally used scrap wood and leftover paint from another project! I wish I still had room in my current kitchen for it but for now it will have to live at my parents’. I just wanted to share it because I love it so much!
Hopefully these ideas will get you started. What ideas can you share with me as I continue to transform my own kitchen?
About the Author: Victoria is a grad student in Nebraska and was once a champion mutton buster at the Days of 56 Rodeo. Yee haw! She currently works for HireAHelper.
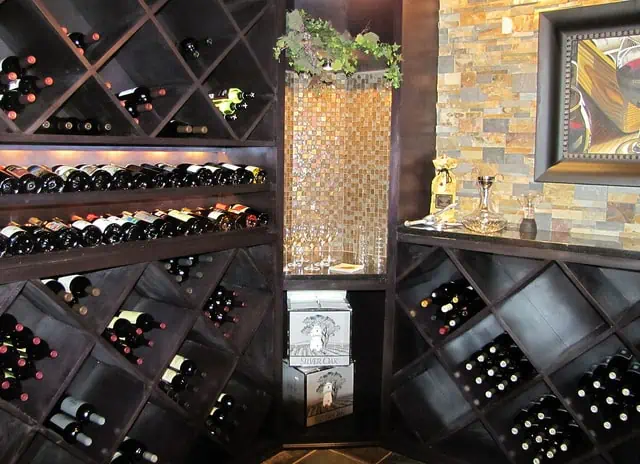
If you have an extensive wine collection, you may want to consider constructing a cellar in your home. Pantries and refrigerators are definitely not ideal places to keep wine, as the temperature and humidity levels can fluctuate and cause the wine to spoil. By using a self-storage finder you can locate a storage facility that specializes in wine storage, or if you prefer to keep your wine close by, you can build a home wine cellar.
Choosing a Location
When deciding where in the home to construct a wine cellar, it’s important to consider the temperature, humidity, and lighting. Basements, garages, attics, and walk-in closets are all good candidates. Ideally, you want the room to be 50 – 60 degrees Fahrenheit, slightly humid, with no sunlight. It’s very important to keep out sunlight, as this will not only raise the temperature of the room, but it can also spoil the wine and cause it to age prematurely.
Odors
You should not keep wine in close proximity to the kitchen, or any other room with odors, as these aromas can become lodged in the corks and spoil the wine. You also want the room to be well-ventilated, ensuring that any odors, mold, or mildew doesn’t linger.
Adjustments
If the room has carpeting, you will want to remove this, as carpets can become moldy at 50 – 60 Fahrenheit. Tile or concrete floors tend to work best. You will want to insulate the walls as well; if the room is already finished, you should use foam insulation over the drywall. If the room is unfinished, you can use standard insulation and hang drywall to cover it up. If the room has a door, you will want to remove it and replace it with a weather-stripped, insulated door to ensure that the temperature remains consistent.
Racks
Once you have all the technical elements down, you just need to purchase wine racks and assemble your collection. Depending on the size of your wine collection, you may want to organize the bottles by price, year, grape variety, vineyard, or region.
John Donegan is a writer at SpareFoot, the online marketplace where you can find and reserve a self-storage unit with comparison shopping tools that show real-time availability and exclusive deals. John lives in Austin, TX and occasionally directs videos for rap artists.
Moving? Thinking about moving? Whether your move is off in the distance or you already have one foot out the door, you'll learn about everything you should expect through our useful how-to's, cool articles and much more. It's all specially curated for you in our "I'm Moving" section.
For rookies or veterans alike, our "I'm a Mover" section is filled with extensive industry news, crucial protips and in-depth guides written by industry professionals. Sharing our decade of moving knowledge is just one way we help keep our professional movers at the top of their game.