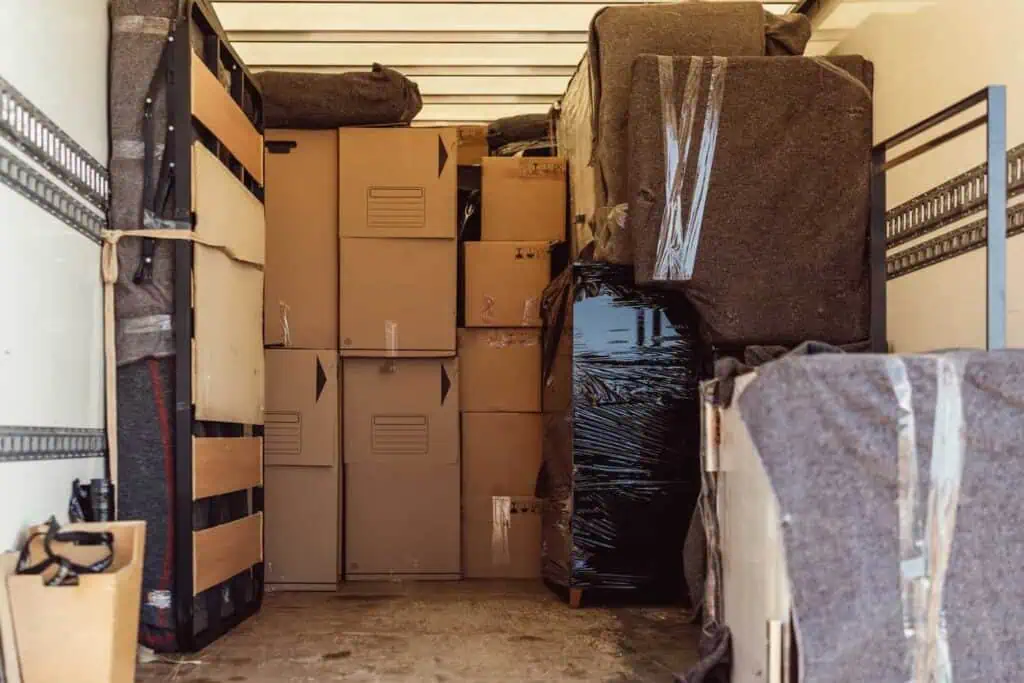
Packing up a home after losing someone you love is one of the hardest parts of grieving. A room once full of comfort might suddenly feel impossible to face. Even the smallest items can carry emotional weight, especially when you’re trying to make decisions while still grieving.
If you’re here, you’re probably navigating two tough transitions at once: mourning and moving. And that’s not something anyone is ever truly prepared for. We know how heavy it all gets, and we’re here to help make this part of the process feel a little more manageable.
We designed this guide to give you steady support along the way and take some of the pressure off. You’ll find practical ideas for how to approach packing after loss, along with a printable Memory Sorting Checklist. It’s a tool you can use to sort through belongings at your own pace, with room to reflect as you go.
Between 2.5 million and 12.5 million people in the U.S. lose a loved one every year. If you’re one of them, and you’re facing a move, you’re not alone. We’re here to walk with you, one step at a time.
Why Grief and Moving Are So Hard to Untangle

When you’re grieving, everyday tasks already feel heavier. Moving, which demands decisions, deadlines, and physical effort, adds another layer of emotional and logistical weight. Unlike other projects, this one often doesn’t feel optional. Keep in mind that it’s completely normal to feel stuck. Letting go of things that belonged to someone you loved can feel like letting go of them all over again. At the same time, keeping everything may not be practical. The result? An emotional tug-of-war that plays out in closets, basements, and storage bins.
“When it comes to things that feel personal, such as letters, notes, recipes, or handwritten notes, consider digitizing them. Scanning or photographing these pieces creates a permanent archive you can access anytime.”
If you’re feeling torn or overwhelmed, you’re not doing it wrong. There’s no roadmap for how to handle this part of grief, and there’s no single right way to move through it. But there are ways to make it easier, and you don’t have to figure them out alone.
Create Emotional Space
Packing while grieving can start with a pause instead of a plan, just long enough to set some intentions and make it easy on yourself. Remember:
- You might find that certain times of day feel easier than others: For example, early mornings can be quieter and less emotionally charged. Or, maybe late afternoons feel better because someone else is home. There’s no ideal time, only what feels doable for you.
- It’s important to ask for support: Some find comfort in having someone nearby, while others need to be alone. Both are valid. A friend sitting quietly in the next room or checking in via text can make a difference, even if they never lift a box.
- Starting small can help lower the emotional stakes: Think one drawer, one shelf, or one category of items at a time. Setting boundaries like these gives you permission to stop when you need to.
- Grief doesn’t always show up in tears: It might look like brain fog, dissociation, irritability, or a sudden urge to reorganize everything. Whatever you’re feeling, remember to go easy on yourself.
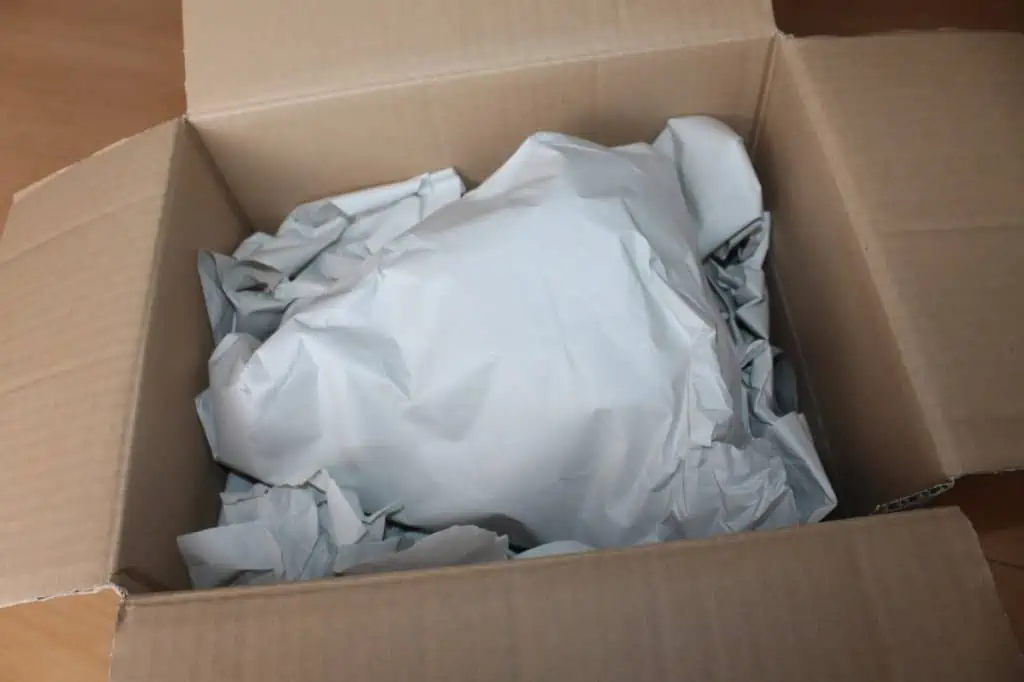
Start With the Easy Stuff

When you’re surrounded by a lifetime of belongings, even opening a closet door can feel like too much. That’s why it can help to begin in spaces that carry less emotional weight. The pantry, office, bathrooms, and laundry room don’t usually hold the same kind of memories as the kitchen, living room, and bedrooms.
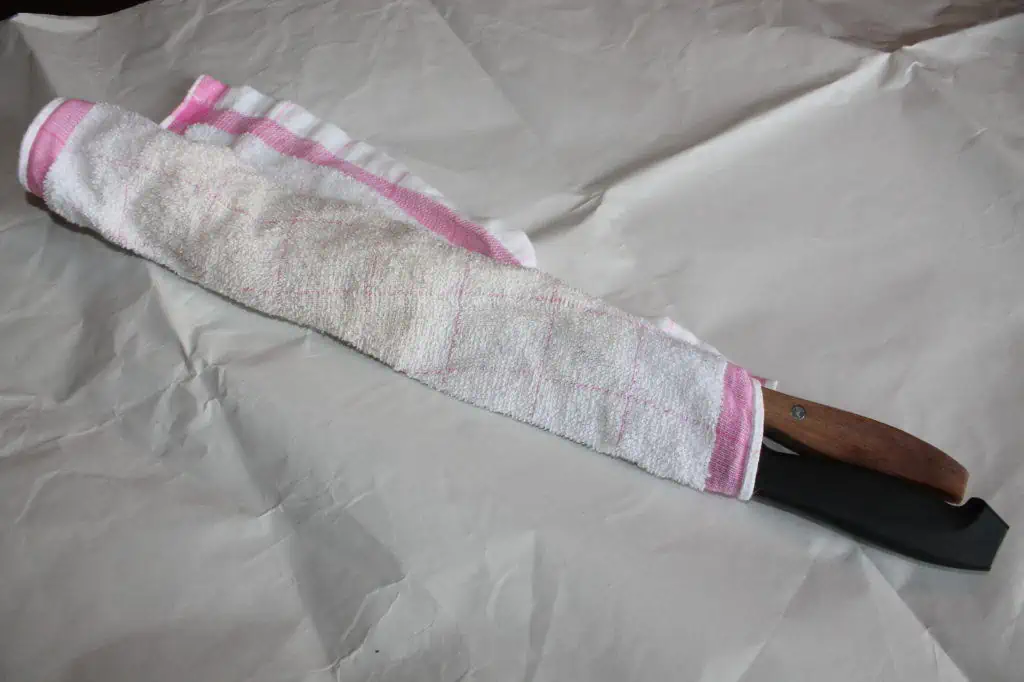
As you go, try thinking in terms of purpose. Some things might still serve a role in your daily life. Others might no longer be useful or relevant, and you may feel ready to let them go.
Moving doesn’t have to be stressful, but rushing can make it even more challenging. Often, it helps to take the time to name what something is and why it matters before choosing where it goes next. Choosing to take your time whenever you can will be one of the best decisions you make.
Approach Decision-Making Carefully

Grief has a way of making everything feel important. Even a receipt or a worn-out pair of shoes can suddenly seem untouchable. That feeling is real, and it doesn’t mean you’re being irrational. There’s no formula for deciding what to keep and what to get rid of, but asking the right questions can help create clarity when your emotions feel tangled:
Am I keeping this because it mattered to them, or because I feel guilty letting it go?
Grief can create a sense of attachment to certain belongings. But honoring someone’s memory doesn’t require holding onto everything they owned. Guilt often disguises itself as sentimental value. It helps to pause and ask how you truly feel about the item.
Would they want this taking up space in my future?
This question can help you see things from a different perspective. It offers a way to reflect on what your loved one might wish for you and how you want to feel moving forward.
What feeling does this bring up in me?
Rather than starting with practicality, try starting with emotion. Relief, warmth, tension, anxiety — these responses can be more revealing than the object itself.
“…it can help to begin [packing] spaces that carry less emotional weight. The pantry, office, bathrooms, and laundry room don’t usually hold the same kind of memories as the kitchen, living room, and bedrooms.”
If it brings you peace, keep it. If it creates heaviness, you may not need it anymore.
Is there a way to remember this without keeping the physical item?
Sometimes a photograph, a digital scan, or a handwritten memory in a journal can preserve what you value most about an object. Letting go becomes easier when the story gets to stay.
Do I want this to be part of my life going forward?
There’s no shame in keeping something because it brings comfort, or letting something go because it doesn’t fit anymore. Framing the decision in terms of your future honors both the memory and your right to move forward.
It’s okay if the answers take time. Some decisions settle in slowly, especially when memories are involved.
The printable worksheet included in this guide offers space for questions like these, with room to reflect and work through your feelings. Writing your feelings down can help shift the focus from what’s being packed to what’s being honored.
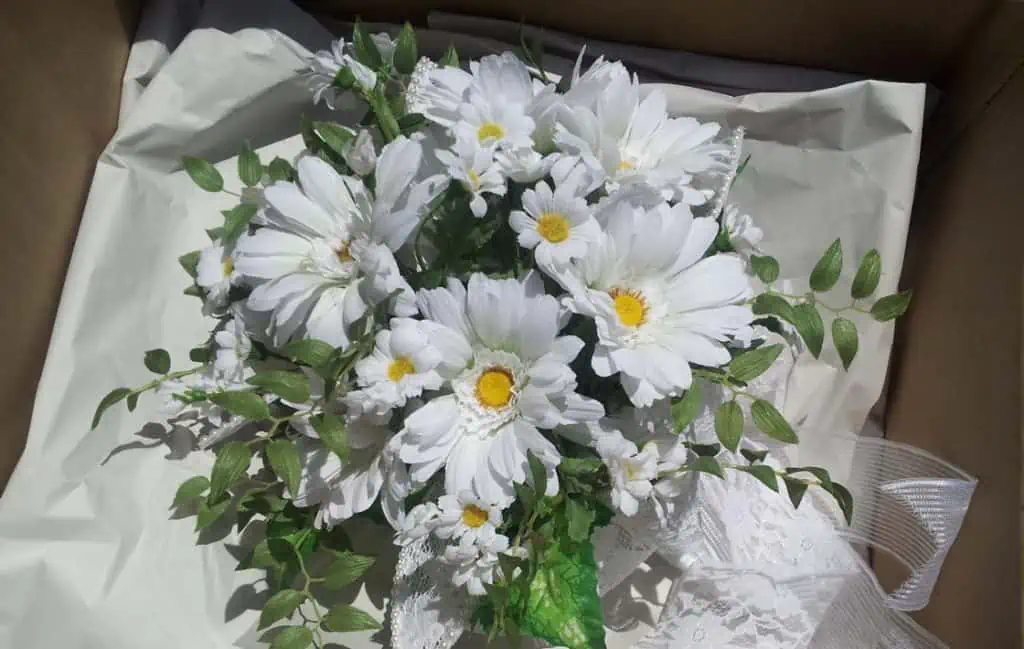
Find Creative Ways to Preserve Memories

For many people, finding a way to preserve the essence of a loved one’s belongings can bring a sense of comfort and control to an otherwise overwhelming process.
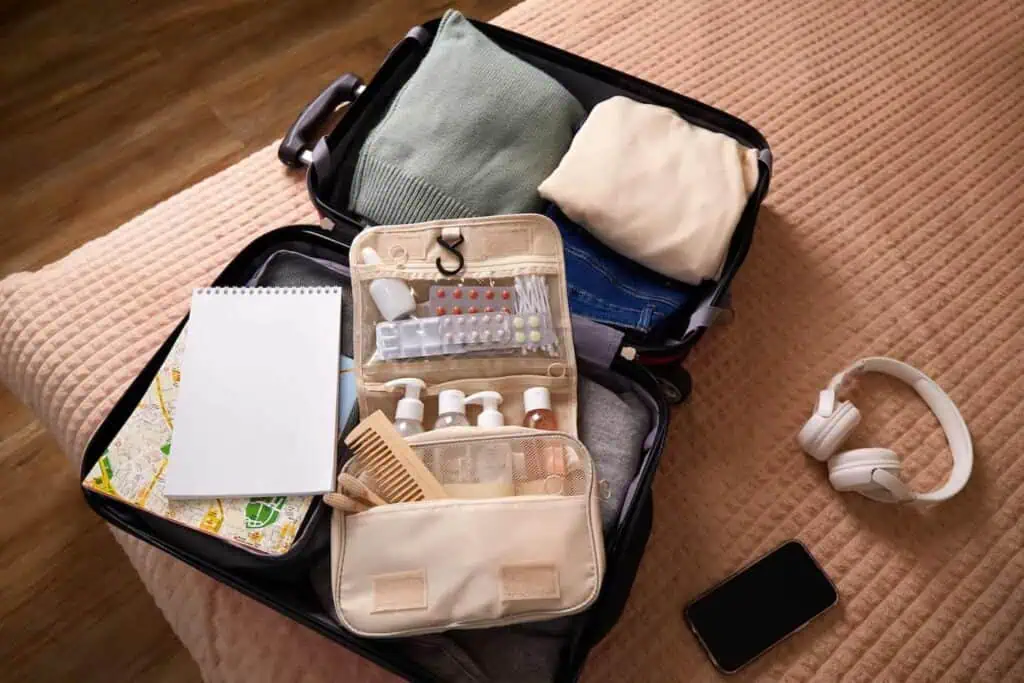
When it comes to things that feel personal, such as letters, notes, recipes, or handwritten notes, consider digitizing them. Scanning or photographing these pieces creates a permanent archive you can access anytime. The same goes for voice recordings, cards, or old home videos. Preserving these in a new format gives them space to last.
You might also create a small memory box. This could be as simple as filling a box with mementos that bring comfort, or creating a scrapbook with concert tickets, a keychain, a lock of hair, and a handwritten note.
Know When to Pause (Or Ask for Help)
Some days, you might make more progress than expected. Other days, going through a single drawer can feel like too much. That’s a sign to step back and take care of yourself, not push through the pain.
Emotional flooding can show up in different ways. Some signs it might be time to pause include:
- You feel suddenly exhausted or unable to focus
- You’re getting stuck on a single item
- You notice rising frustration or irritability over small things
- You’ve started crying and can’t pinpoint exactly why
- You feel numb or disconnected from what you’re doing
- The task feels impossible, even if it felt manageable earlier
If any of these show up, it’s okay to take a break. Asking someone to join you — even just to sit nearby, pack, lift some boxes, or make lunch — can ease the weight. However you move through it, the path is yours, and it doesn’t have to make sense to anyone else.
Final Thoughts: Moving Forward, Gently
You don’t need to have everything figured out to be doing a good job. One thoughtful choice can help you feel more grounded. And as you move forward, it’s okay to do so slowly, quietly, or with someone by your side.
To help, we created a printable Memory Sorting Checklist for you to go through at the pace that’s right for you, and to ensure you don’t miss a single step.
Worksheet