5 Tips for How to Organize Packing for a Move

Author:

Publish Date:

Last Modified Date:

Category: How To Pack, Organization

Tags: Tags: , , ,

While no move goes exactly as planned, a solid packing strategy helps protect your belongings, cut costs, and better prepare you for those inevitable surprises, from forgotten keys to sudden downpours.

Packing well isn’t just about putting things in boxes or moving bins, either. It’s about setting yourself up for a smoother transition. A good packing strategy includes:

  • Giving yourself enough time to pack everything
  • Downsizing where you can
  • Choosing the right supplies
  • Using packing techniques that work for different items
  • Protecting anything fragile or sensitive
  • Clearly labeling moving boxes
  • Helping others, including movers, understand your system

Starting early is one of the most important steps, but it’s never too late to make your packing more efficient. Even last-minute moves can go smoothly with the right guidance.

This collection of packing organization tips is compiled from years of experience and thousands of moves. It relies on practical, proven strategies that can transform a hectic moving day into one that feels (nearly) effortless.


Tip 1: Declutter & Condense

Two women look through clothing and other items to organize them into donation boxes

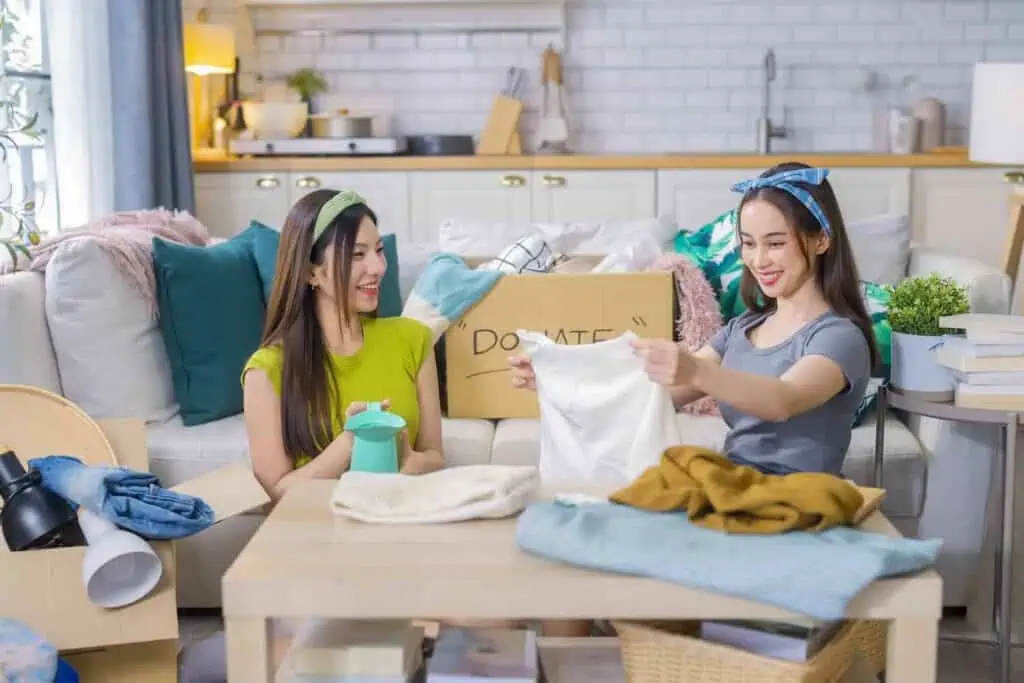
Before you even think about which box to start with, take a moment to declutter your space. Not only will this reduce the number of boxes you need (and lower moving costs), but it will also make unpacking in your new home easier.

Start by going room-to-room and sorting everything into five categories: keep, donate, recycle, sell, or toss. Focus on purging items you haven’t used in a while or no longer need.

Pro Tip: Do you have a half-used bottle of floor cleaner or a nearly empty tube of moisturizer? Now’s the time to use them up.


Tip 2: Choose Your Packing Strategy

A woman with her hands on her hips stands with her back to the camera looking over a room filled with boxes and furniture

Once you’ve lightened the load, it’s time to decide how you’ll pack. There are two main ways to go about it.

1. Pack Room-by-Room

If your new home will be set up similarly to your current one, this is often the most intuitive approach. Pack each room’s contents together, and label the boxes accordingly. This way, when you’re unpacking, you can go room by room without playing a guessing game about what’s in each box.

2. Pack Similar Items Together

If you’re putting things in storage, moving into a very different space, downsizing, or want to rearrange your decor and furniture in your new place, consider grouping similar items together, regardless of which room they’re coming from. For example, you might pack all your office supplies together or group all electronics in one set of boxes.

No matter which strategy you choose, sticking to one method will help everything stay consistent, trackable, and less likely to confuse you later on.


Tip 3: Label Early and Often

A woman writes a label in black marker on the side of a moving box

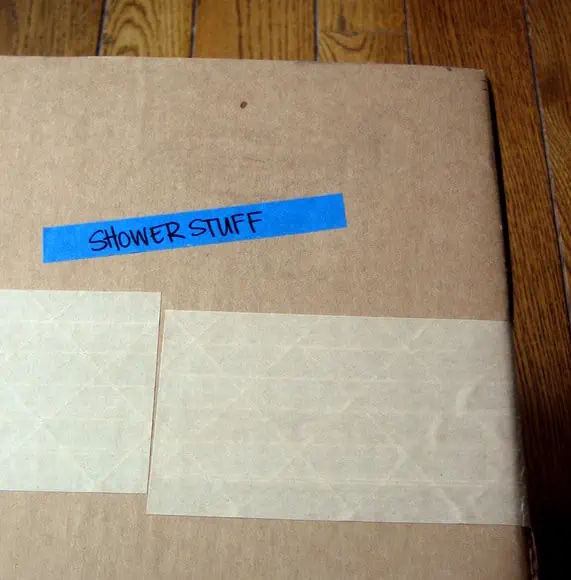
Labeling boxes keeps things organized and helps ensure everything ends up in the right place. This strategy is especially useful if you’re hiring a moving team to load and unload your stuff. Clear labels tell them where each box goes and which ones need extra care.

For best results, label the top and at least two sides of each box. If you’re following a room-by-room approach, try a format like: “Kitchen | Glassware & Mugs”. If you’re going the category route, you could label it: “Office Supplies | Cables & Chargers”.

However, for boxes that will go into storage or won’t be unpacked immediately, labels that have more itemization are better. You don’t want to be wondering what’s inside 6 months from now.

Try not to overthink it! Just label as early, clearly, and consistently as you can.


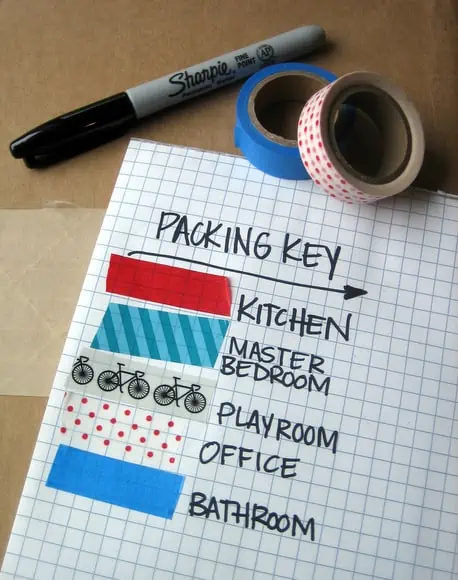
Tip 4: Create a Color Code for Unloading

Color coding is one of the easiest ways to speed up the unloading process and reduce confusion, especially if multiple people are helping with your move. It keeps everybody in the loop as to where everything needs to go and helps you when it comes to unpacking.


“[Decluttering] not only…reduce[s] the number of boxes you need (and lower moving costs), but it will also make unpacking in your new home easier.”


Use colorful packing tape, stickers, or labels to assign each space in your new home a color. Then, apply that same color to every box that belongs in that space. You can even hang a color chart near the front door so everyone helping knows where things should go.

Keep in mind that color coding only needs to indicate where a box should be unloaded, not where it will ultimately end up. For example, if your spare bedroom is getting painted, consider placing those boxes in the garage for now.


Tip 5: Get Your Packing Team on the Same Page

a group of young adults chats and laughs in a room full of moving boxes

Everyone has their own idea of how to organize packing during a move. One person might toss items in a box and tape it shut. Another might wrap every individual spoon in bubble wrap. And if you’re not clear about your expectations, chaos can creep in fast.

Whether it’s family, friends, or full-service movers, getting everyone aligned is one of the most overlooked parts of an organized move.

Here’s how to avoid that:

  • Explain your packing strategy (room-by-room or item groupings).
  • Share your labeling system so everyone follows the same format.
  • Assign roles (e.g., one person handles kitchen items, another tackles the garage).
  • Use a checklist to track what’s been packed and what’s left.

Pro Tip: Having a quick meeting or starting a group text thread before packing can make all the difference.

See prices for local moving labor. Read real customer reviews. Easily book your help online.

Final Thoughts

There’s no such thing as a perfect move. However, learning how to pack like a pro gives you peace of mind that your belongings are secure and organized. Plus, it’s another thing you can check off your moving checklist.

Here’s a quick recap of the 5 packing organization tips you’ll be glad you followed:

  1. Declutter and condense to cut down on clutter and moving costs.
  2. Choose a packing strategy that fits your needs and home setup.
  3. Label clearly and consistently, especially for storage-bound boxes.
  4. Use color coding to simplify unloading on move-in day.
  5. Get your team aligned to keep things efficient and low-stress.

Remember, organizing your move early is the single best thing you can do. But even if you’re short on time, using these packing organization tips will help bring order to the chaos and make your move smoother.

How To Color-Code Boxes for Moving

Author:

Publish Date:

Last Modified Date:

Category: Moving Advice

Tags: Tags: , , , , , , ,

Here’s a scenario: You’ve woken up the day after moving and would love nothing more than a cup of coffee, but your kitchen is filled with half a dozen boxes, and you have no idea which one your Kurig or mugs are in. Not an ideal start to living in your new home.

If you want to avoid the nightmare of digging through mystery boxes, you need a good labeling system. That’s why more and more people are learning how to label moving boxes using a color-coding system.

In this guide, we’ll give you detailed instructions on how to color-code boxes for moving. Whether you’re relocating to a five-bedroom family home or packing up a studio apartment, this method is easy to learn and worth the effort.


Color-Coded Moving System

A color-coded moving system is a visual organization strategy that uses colors—usually on color-coded moving labels, tape, or stickers—to designate where each moving box belongs.


Avoid marking the tops of boxes, as the labels will be hard to see when boxes are stacked in the moving truck.”


Instead of squinting at scribbled notes or opening every moving box to figure out its destination, you (and your movers) can instantly spot where things belong.

Here’s a quick step-by-step guide:

  1. Gather your supplies
  2. Assign a color to each room or zone
  3. Use numbers for boxes in each color category
  4. Mark the boxes
  5. Create a detailed legend
  6. Inform your crew
  7. Create signs to help guide your crew
  8. Dedicate a zone for unloading or furniture building

an example of a color-coded packing key. Different colored tape is assigned a different room, such as red for the kitchen and one patterned with bicycles for the playroomHow It Works

The idea is simple: Assign a unique color to each room or zone, mark every box with that color, and use labels on the boxes and signs around your home to match each box to its destination.

For example:

  • Blue = Bathroom
  • Yellow = Kitchen
  • Green = Living Room
  • Orange = Bedroom 1

To stay even more organized, add numbers or item lists to your color-coded boxes to make them easier to identify and track.

Many professional moving crews, especially those working on large-scale or multi-day moves, use some form of color-coding boxes for moving. It helps them streamline unloading, avoid misplaced items, and keep everything efficient.

That said, not every moving company offers a color-coded moving system by default. The good news? You can create your own method to label moving boxes for a smoother move. If you’re booking through HireAHelper, you can easily communicate with the movers on our platform to let them know your setup before moving day. They’ll take it from there!


Step-by-Step: How to Color-Code Boxes for Moving

Now, let’s take a detailed look at how to create a color-coded moving system that’s efficient and easy to follow. This breakdown will help you avoid confusion, save time, and make unpacking way easier.

Step 1. Gather Your Supplies

An array of colorful masking tape rolls in a box

You’ll need the following to create a color-coded moving system:

  • Brightly colored duct tape or masking tape: It’s durable and comes in a wide range of colors.
  • Labels or large color-coded stickers: Choose stickers big enough to spot at a glance. Preprinted room labels or large blank labels you can write on work best for visibility and quick sorting.
  • Permanent markers: Use bold, quick-drying markers like Sharpies. Chisel tips are great for big, visible labels. For darker-colored tape, go with metallic or paint markers so your writing stands out.
  • Clear Packing tape: Use this to securely seal your boxes. It also works well over labels and stickers to keep them from peeling or getting smudged during the move.

Step 2. Assign a Color to Each Room or Zone

Each color should indicate a zone or room in your new home. You can use tape, stickers, markers, or all three. If you’re using tape and have more rooms in your home than there are colors in the rainbow, don’t worry. Patterned tape works well and can be found in many craft stores. Look for bold patterns that are easy to identify, like stripes or polka dots.


“Let your moving team know about your color-coding system ahead of your move. You could share a hard copy or photo of your legend along with any additional instructions.”


Washi tape is also an option and comes in hundreds of colors and patterns, but you may need to use more than one “row” of it to get the same thickness as other kinds of tape.

Step 3. Use Numbers for Boxes in Each Category

Take the color-coding process to another level by adding numbers and the contents to each box with a marker or sticker. This helps you create a detailed legend that streamlines your move and doubles as inventory.

A cardboard box has a piece of blue tape on its side labeled clearly "shower stuff"
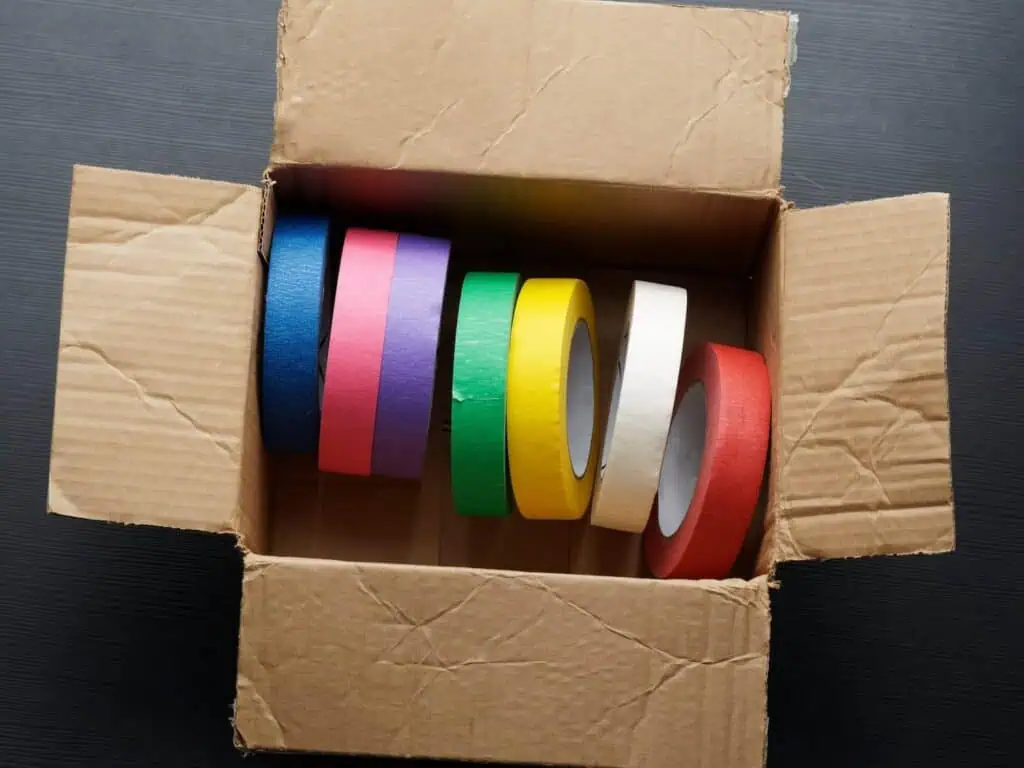
For example, if the kitchen is labeled yellow, you might number your boxes Yellow 1 through Yellow 6. Yellow 1 could contain dishes, while Yellow 2 holds pantry items. This way, you’ll know exactly what’s in each box at a glance, and it’ll be easier to notice if a box is missing during unpacking.

Step 4. Mark Your Boxes

Once you’ve assigned each room or zone a color, you can start packing and marking your boxes room by room. To clearly label each box with its designated color, add a piece of duct tape on each side, or label it with a colored marker or sticker. Avoid marking the tops of boxes, as the labels will be hard to see when boxes are stacked in the moving truck.

To stay extra organized, include a short list of contents on each box or add an additional label with item details. This helps during unpacking and makes it easier to spot missing items.

Step 5. Create a Legend for Your Movers

Create a clear legend to explain your color-coding and numbering system to your movers. If you’ve assigned numbers to boxes, be sure to include them in the legend alongside the color-codes. Place the legend in a visible spot, such as near the front door, so everyone can easily reference it on moving day. Keep it simple and easy to understand for a smooth moving process.

Here’s an example:

Color Room Boxes
Yellow Kitchen 1-6
Blue Bathroom 7-10
Green Living Room 11-19
Orange Bedroom 1 20-24

Step 6. Inform Your Crew

Let your moving team know about your color-coding system ahead of your move. You could share a hard copy or photo of your legend along with any additional instructions. Providing this information in advance helps ensure everyone is on the same page and increases efficiency. If friends and family are helping you with the move, send them a copy, too. Even better, get them to help with the packing!

See prices for local moving labor. Read real customer reviews. Easily book your help online.

Step 7. Create Signs to Guide Your Crew

Provide coordinated signs around your home to help your movers place your belongings in the right place in your new home. For example, if you’ve assigned the kitchen the color yellow, write “kitchen” in yellow marker on a piece of paper and tape it above the kitchen door. Visual cues like this can help streamline your move by reducing confusion and speeding up the unpacking process.

Step 8. Dedicate a Zone for Unloading or Furniture Building

Assigning an unloading and furniture-building zone prevents clutter, keeps walkways clear, and speeds up assembly. It protects your space and helps everyone know where to focus their efforts. Having a dedicated area makes the move-in process safer, faster, and way more efficient.


Benefits of Using a Color-Coded Moving System

Color-coding moving boxes streamlines the move-in process by visually indicating the contents and destination of each box, leading to faster and easier unloading and organization.

Here are some of the benefits of color-coding your move:

  • Faster loading and unloading
  • Fewer misplaced boxes
  • Less confusion for everyone involved
  • Easier unpacking (you know where things are and where they go)
  • Built-in inventory system if you number your boxes
  • Less stress on moving day

It’s also a win for your moving team. Instead of constantly asking where each box belongs, they can follow your signs and focus on getting the job done.

Whether you’re moving across town or the country, learning how to color-code when moving is one of the easiest ways to take control of your move and make the whole process smoother.

Do you need help packing, too? Hire packing help through HireAHelper, and let vetted local pros take care of it for you. We can connect you with the ideal moving company that fits your needs and budget.

×

I'm Moving

Moving? Thinking about moving? Whether your move is off in the distance or you already have one foot out the door, you'll learn about everything you should expect through our useful how-to's, cool articles and much more. It's all specially curated for you in our "I'm Moving" section.
Explore
×

I'm a Mover

For rookies or veterans alike, our "I'm a Mover" section is filled with extensive industry news, crucial protips and in-depth guides written by industry professionals. Sharing our decade of moving knowledge is just one way we help keep our professional movers at the top of their game.
Explore