Moving is a notoriously stressful undertaking, with seemingly endless logistics, to-dos, and boxes, but a little organization can go a long way and turn the chaos into calm productivity. In the following guide, we’ll walk you through both the big-picture strategies and small-but-mighty tips for every stage of your move so you can keep everything under control from start to finish.
Step 1: Declutter Before You Do Anything Else

When it comes to moving, less is, well, less — less to pack, less to lift, and (probably the best part) less to pay.
So before you even think about collecting moving quotes or picking up the packing tape, take the time to declutter. Get started with the usual suspects: expired pantry items, worn-out linens, duplicate kitchen tools, and clothes that haven’t seen the light of day in years. Then you can move on to seasonal and less-used items, until finally you’re packing up everything except the things you need immediately for moving day.
Pro tips:
- Start early — ideally a month before your move for a local move, and two months before a long-distance move.
- Use up perishable food and open household products before Moving Day.
- Set up simple “donate,” “sell,” and “toss” zones to stay organized as you sort.
Need a hand deciding what should stay and what should go? Our decluttering guide has your back.
Step 2: Choose Your Packing Strategy

Before you start packing, take a moment to decide how you want to go about it. Picking a strategy upfront not only makes the packing process smoother, but it will make unpacking a lot easier.
You have two main options at your disposal:
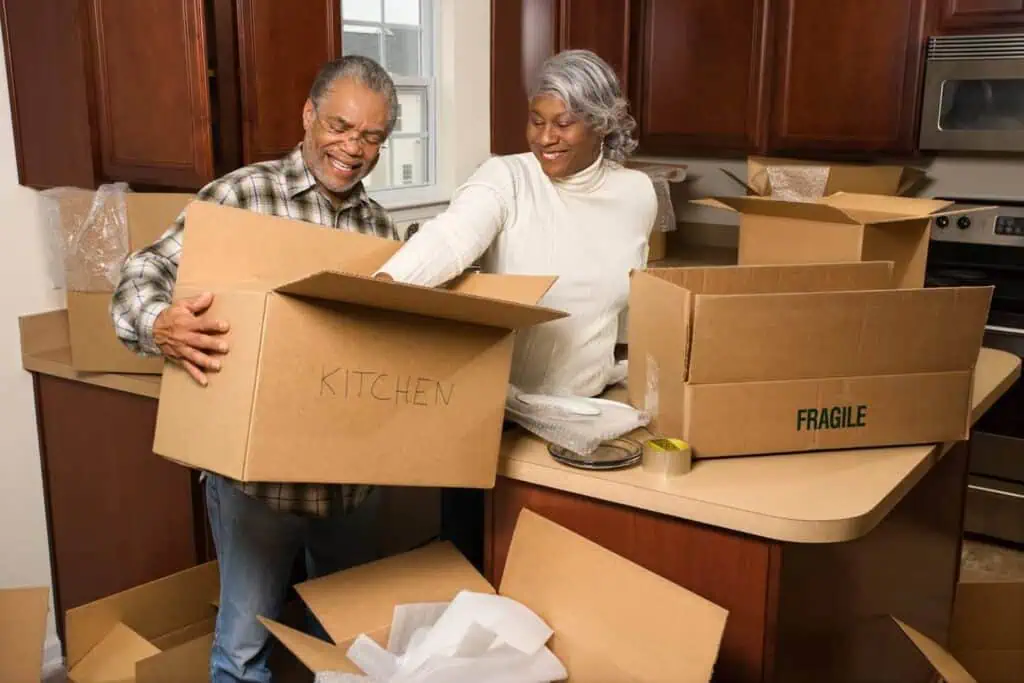
Room-by-room packing: As the name suggests, this approach involves packing up everything in a room, one room at a time. As you go along, label your boxes with the room name (e.g., “Living Room,” “Master Bed”) as well as contents (e.g., “Office—Files”). It’s simple and intuitive, and makes it easier to unpack, especially if your next home will have the same number of rooms and you want to keep the same stuff in each room.
Category-based packing: Packing your items by category (e.g., “Electronics,” “Books,” “Toiletries”) usually involves a bit more planning as well as careful labeling during the process.
“If you’re moving long distance, take your first steps at least eight weeks prior to your moving date. For a local move, aim to get started at least six weeks in advance.”
It’s ideal for moves where a simple room-by-room translation isn’t possible because you’ll be downsizing, upsizing, or reconfiguring your layout.
Whichever method you choose, just make sure to stick with it and that everyone who’s helping is on the same page.
Pro Tips:
- Create a shared packing checklist if multiple people are helping with the packing. This way, you can avoid double work or missed items.
- Set aside essential items for the final days in your current home and the first days in your new place. Think: toiletries, toilet paper, a few days’ worth of clothes, linens, towels, shower curtain and rod, coffee maker and coffee, mugs, pet food and dishes, medications, laptop, and charger.
For more tips, check out our guide on how to organize packing for a move.
Step 3: Label Like a Pro

Labeling means less stress on moving day and in the weeks that follow as you unpack your things. While it may feel like a chore in the midst of all the packing chaos, your future self will thank you for taking a moment to clearly label your boxes.
Here are three labeling styles we recommend:
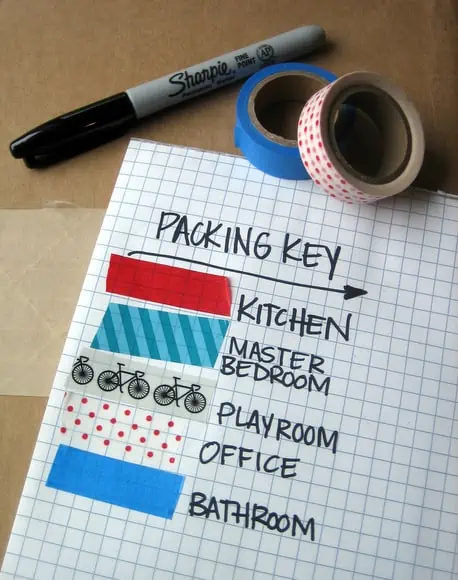
- Color-coded labels by room: Assign a color to each room and use matching labels or tape for every box.
- Numbered boxes with a master inventory: Keep a running list, in a notebook, spreadsheet, or app, of what’s in each numbered box. This makes it easier to track down specific items if you need to find something fast, and it can come in handy for insurance purposes.
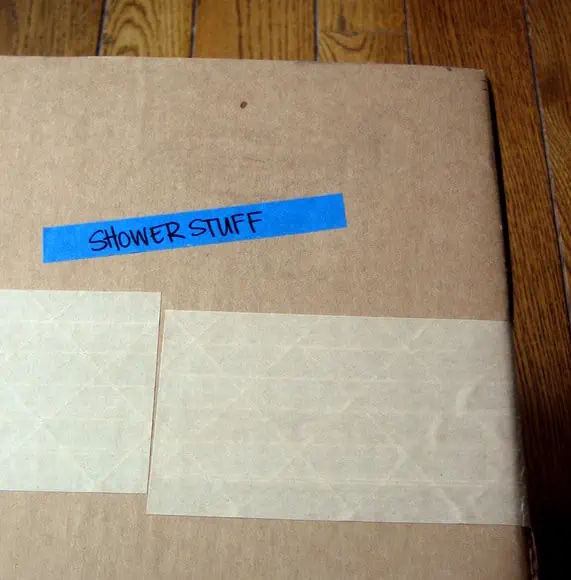
- Short written summaries on each box: Make quick notes on labels or directly on the box specifying both the room and items in the box (e.g., “Guest Bath—Toilettries”). This one can be combined with the techniques above.
Supplies you’ll need:
- Lots of markers
- Pre-printed labels or washi tape
- A notebook and pen, or a mobile-friendly app (like Sortly, Google Sheets, or Notes) for inventory tracking
Pro tips:
- Pick a labeling style and stick to it.
- Label all sides of your boxes, as you never know which side will be facing out in the truck or in your new home.
- Label as you pack (don’t save it for later)
For more details on how to label boxes for your move, check out How to Color Code Boxes for Moving.
Step 4: Appoint a Moving Day Coordinator (It’s Probably You)

As with anything, moving runs smoothly when someone is in charge. Chances are, that someone is you.
Some of the duties of this Moving Coordinator include:
- Directing movers or helpers to the items that need to be loaded on the truck, and letting them know where the bathroom and water can be found
- Making sure everything goes into the right rooms upon arrival in your new home
- Fielding last-minute questions and resolving any issues that may come up
Pro tips:
- Tape signs/colored labels or tape to the doors of your new home. This way, everyone will know exactly where to go without having to ask.
- Create a moving day kit, complete with a clipboard, extra markers and packing tape, water, snacks, phone chargers, and anything else you need to keep everyone energized and everything under control.
Step 5: Unpack Systematically
With Moving Day behind you (finally!), it’s time to settle in and unpack.
Prioritize the areas you’ll need up and running first — the bedrooms and bathrooms, the kitchen, and if you work remotely, your home office or workstation.
While you may be tempted to tear into every box, it’s best to unpack one room at a time so you don’t end up overwhelmed by the disorder of half-unpacked spaces.
While there’s less finesse needed with unpacking than with packing your stuff, there’s still an art to it, so make sure to check out our guide on How to Unpack.
Bonus Tips: Best Way to Organize a Move
Before the to-dos and the boxes start piling up, here are a few extra tips from our pros to help save you some headaches and hassles down the road.
- Make a “moving binder” to keep your checklist, moving quotes, receipts, travel maps, and other important documents in one central place.
- Put reminders on your calendar for key tasks during the moving process, such as transferring your utilities and arranging mail forwarding.
- Digitize your important documents and back up all your digital files.
- Pack essential items in clear plastic moving bins to keep them easily visible and accessible.
- Before unplugging, take photos of complex electronic setups.
- Keep your essentials, valuables, and important documents (like birth certificates and Social Security cards) on you during the move.
Stay Organized with HireAHelper
No matter how much you prepare, no move is perfect. But by staying organized, you can keep stress levels minimal and make the entire experience a lot less overwhelming. While it may seem like a lot of time and energy, you can rest assured that all that effort will pay off in the long run with a smoother moving experience.
“Create a shared packing checklist if multiple people are helping with the packing. This way, you can avoid double work or missed items.“
At HireAHelper, we make it easy to stay organized with our moving resources and curated hub for vetted moving help that lets you compare movers with ease. Check out our moving blog or get a fast, easy quote today to get started.
FAQs
How do I organize myself for a move?
To stay organized for a move, start planning as early as possible. If you’re moving long distance, take your first steps at least eight weeks prior to your moving date. For a local move, aim to get started at least six weeks in advance.
A detailed moving checklist will serve as your primary guide. Make sure to declutter your home before you start packing so that you have less to pack and less to move (not to mention, less to pay). Begin the process as early as you can, and make sure the first things you store in boxes are your off-season and less-used belongings.
Continue to follow the steps on your moving checklist one at a time, and you’ll be sure to stay on track.
How to pack for a move efficiently?
To pack your belongings as efficiently as possible, make sure to start the process by donating, selling, recycling, or tossing items you don’t need to bring with you. This can significantly cut down on packing time and your final moving costs.
Then pack up your home room by room and label boxes clearly with the room name and a list of boxed items.
Finally, keep essentials in their own separate box (or boxes) so that you don’t have to dig through mountains of boxes to find your laptop charger or coffee maker on Moving Day.
How long before a move should I start packing?
For a local move, it’s best to get started 4–6 weeks ahead of time. For longer-distance moves, such as out-of-state or cross-country relocations, aim to start planning 8 weeks in advance. Get started by getting rid of stuff you don’t really need or want to bring along, then begin packing non-essentials. Gradually work your way toward daily-use items as Moving Day approaches.
![]()
See prices for local moving labor. Read real customer reviews. Easily book your help online.
 How It Works
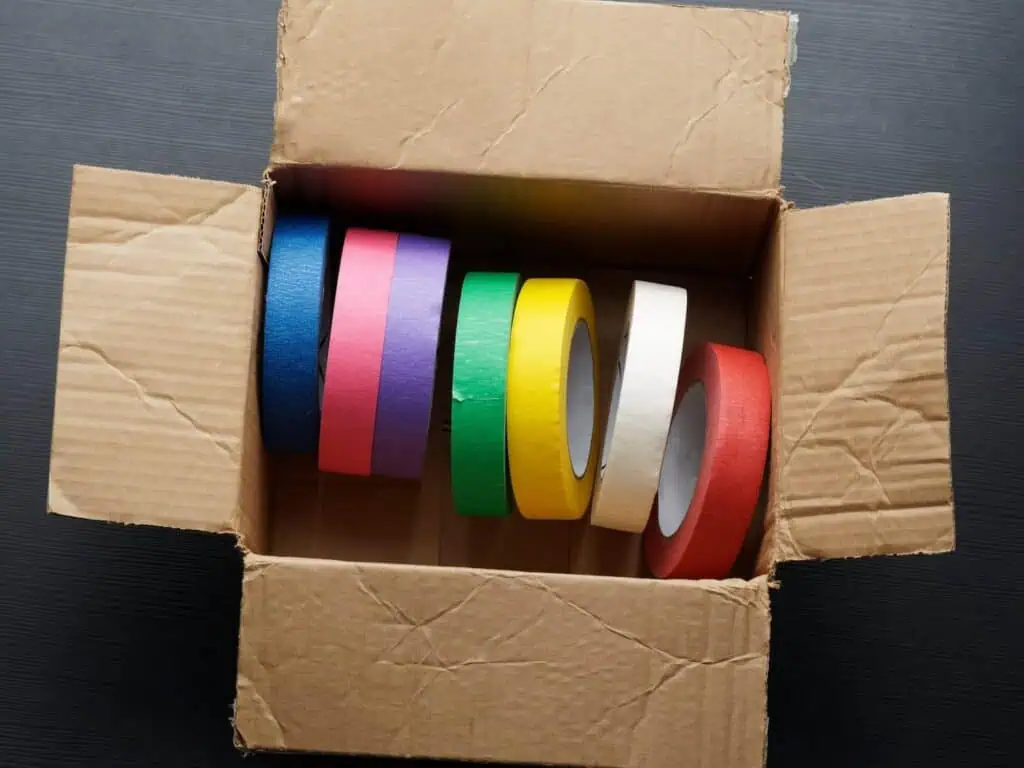
 For example, if the kitchen is labeled yellow, you might number your boxes Yellow 1 through Yellow 6. Yellow 1 could contain dishes, while Yellow 2 holds pantry items. This way, you’ll know exactly what’s in each box at a glance, and it’ll be easier to notice if a box is missing during unpacking.