Retiring? 5 Essential Questions To Ask About Where You’re Living

Author:

Publish Date:

Last Modified Date:

Category: Buying & Selling a Home, Moving Advice, Moving Checklists & Planning

Tags: Tags: , , , , , , , , , , , , , , , , , , , , , , , , , , ,

Retiring after a long career is an exciting time but a significant life change. All retirees need to make plenty of vital financial decisions, such as deciding if moving into a new home is the right choice and budgeting with a new level of income. For many retirees, downsizing or moving into a retirement community is a great option, while others may choose to move in with family members or friends.

Whatever decision you make, it’s important to make sure that you enjoy your retirement years to the fullest. Choosing a home that will suit your needs for years to come can help prevent stress down the line.

Finding the Best Long-Term Retirement Location Checklist

As you house hunt, ask yourself these questions to identify homes that will suit your long-term needs.

Keep in mind it’s unlikely you’ll find all of these features in a single home. Instead of trying to check all the boxes, compare the overall level of retirement-friendliness of each home in your search.

1. Renting vs. owning: “What makes the most financial sense?”

senior renting owning

Most people approaching retirement have a good idea of what their monthly budget will look like, between retirement account withdrawals, social security, and other sources of income.

The rate of homeownership among retired married couples is a whopping 90%! But while owning may feel like the norm, you should know it leaves you susceptible to a high level of financial liability for maintenance and unexpected repairs. On the other hand, renters sidestep those costs.


“All too often, we don’t realize a hazard until it causes damage.”


Speak with your partner, financial advisor, or others in your support system to make the best decision. The American Association of Retired Persons (AARP) demonstrates that the answer here is all about your retirement cash flow and anticipated future expenses. In many cases, renting will be lower-stress and less expensive, even if it goes against how you’ve traditionally thought about retirement.

Consider Alternative Retirement Housing

For some retirees, downsizing and moving into a new home simply isn’t an option. There are other choices for those not looking for traditional renting or homeownership.

Cohousing: If you’re looking for a stronger sense of community in retirement, cohousing.org communities can be a great option. These communities are typically built around communal social spaces. Residents of all life stages live privately, but enjoy a social environment that is meant to build stronger relationships and a sense of support.

cohousing
cohousing.org

Multigenerational living: Moving in with your family can be a great option for you and give you a chance to enjoy time with family, children and grandchildren. Some modifications may need to be made to your family member’s home, depending on the house and the situation.

Be sure to review the electrical and fall hazards discussed earlier to ensure your loved one’s home is safe for you.

2. “Is the neighborhood safe and accessible?”

Your long-term home should be highly accessible for both you and visitors. When possible, avoid homes that are at the end of steep driveways or walkways and those that open into busier-than-average streets. This way, inclement weather causes less disruption to your life (and the lives of others coming to visit you).

Choose a new city or state with close and easy access to:

  • Grocery stores
  • Pharmacies
  • Doctor’s offices
  • Hospitals

Move to an area where the drive to these amenities is short, or you can safely walk to get essentials, especially if there is inclement weather.

It’s also best to choose a location that has strong neighborhood safety scores. While it isn’t always possible to live in a perfect area, safety apps and websites can help you assess what the most ideal location in your intended town may be.


“The rate of homeownership among retired married couples is a whopping 90%!”


Safety apps and online resources like NextDoor and AreaVibes can give you insight into the safety of specific neighborhoods. You can also ask people questions about the area to understand better how safe it is and how neighborly people are.

The AreaVibes map feature can help you identify the safest and most livable neighborhoods in your area.

A Note on Retirement Communities

If you want to be social and live near others, a retirement or independent living community is also an option that sidesteps many safety and accessibility concerns.

Independent living communities often cater to a variety of activities and interests. You may be surprised to find options that have pools, gyms, restaurants, movie theaters, and even dog parks on their premises.

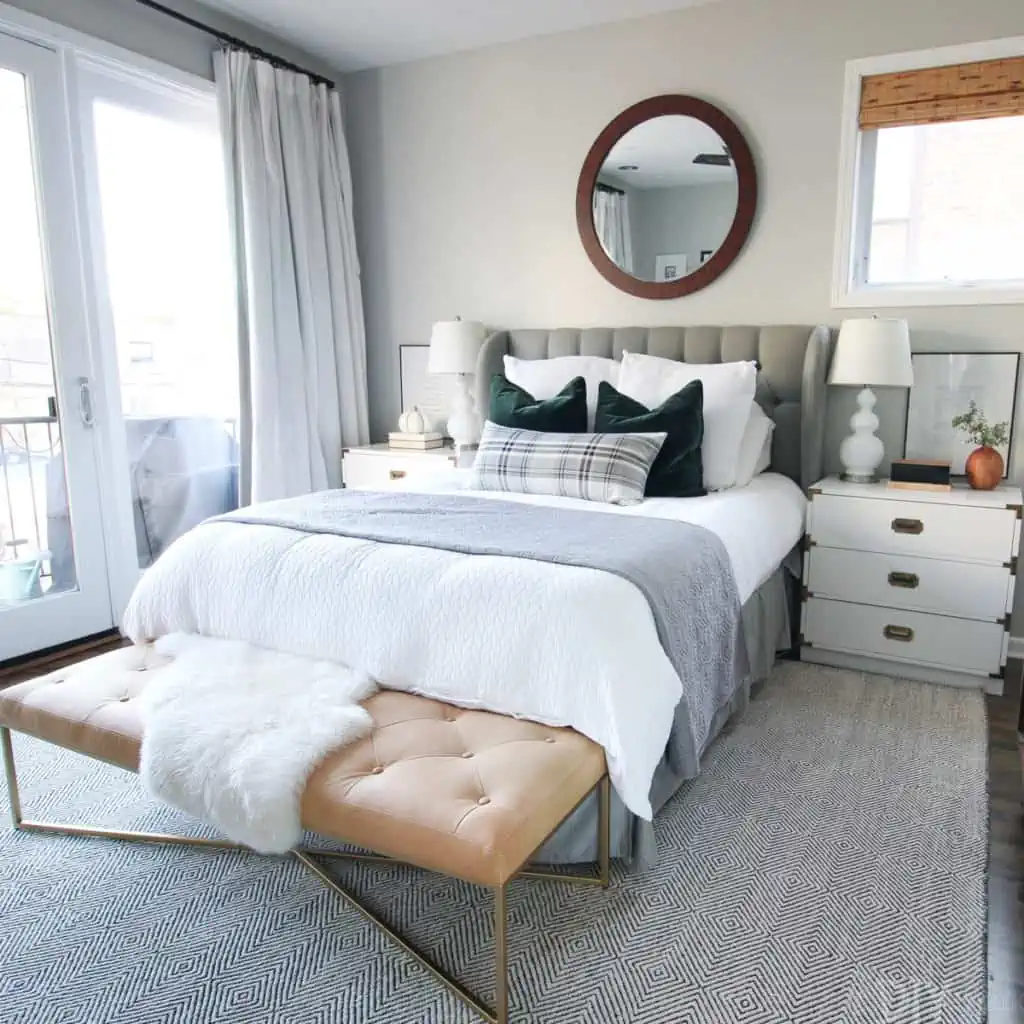
3. “Is the place’s floor plan aging-friendly?”

Next on our list is an aging-friendly floorplan, meaning a thoughtful overall home design that will pose the fewest mobility challenges over the years. Pay close attention to these features in the floor plan to identify risks.

wide hallway
A home with a wide hallway

Entrances and Exits

  • Look for no-step or very few steps entrances and exits, if applicable. This ensures easy access if future mobility assistance is needed, and of course, reduces slip and fall risk. When possible, opt for a backyard without a patio or deck steps. Given a choice, a totally flat poured concrete patio will further reduce fall risk over wood or paving stones.
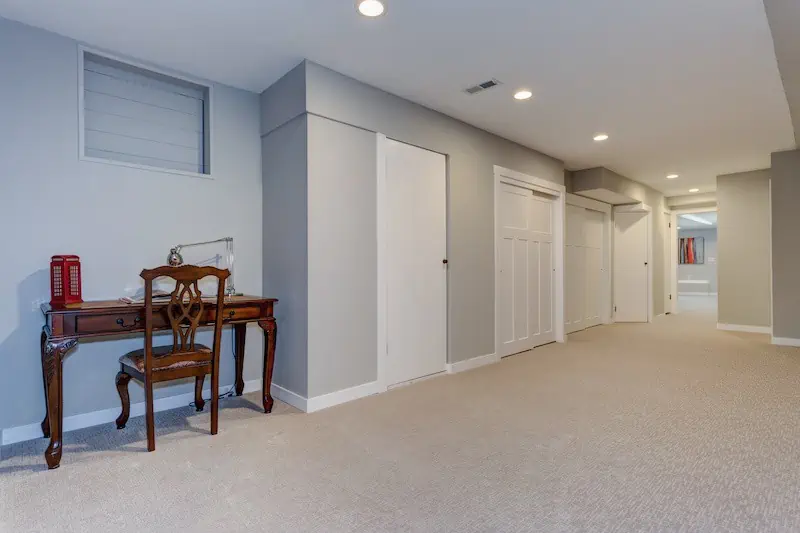
  • Aim for all essential amenities on the same floor. This means at least one full bathroom, a kitchen or kitchenette, laundry, and living space that are all on one level. That way, there are as few obstacles as possible between you and everything you need.
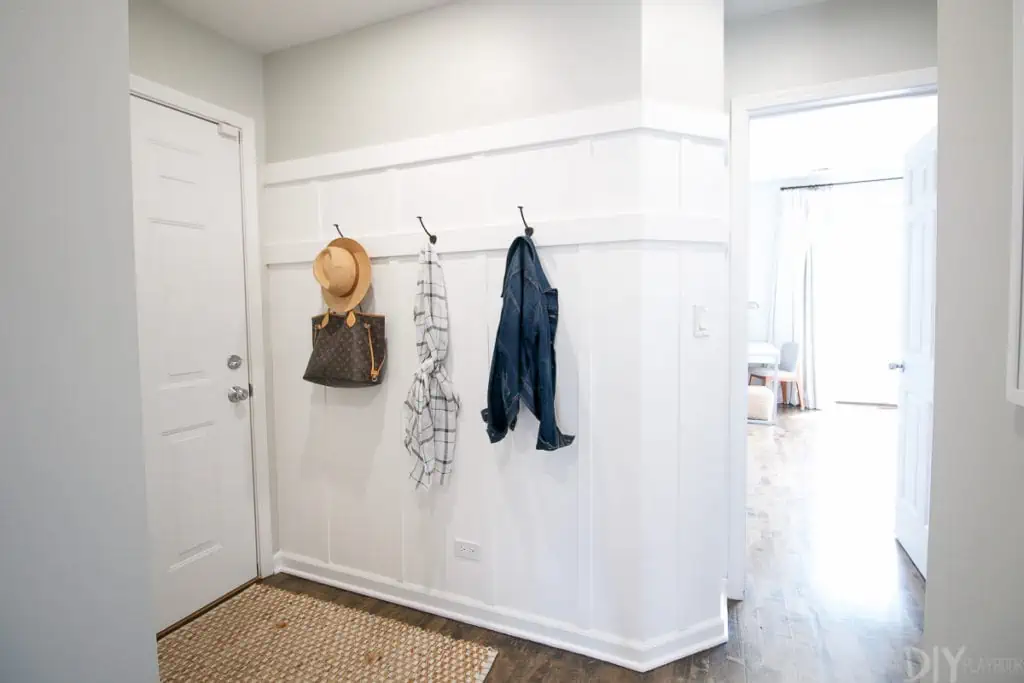
  • Look for wide doorways and halls. This will accommodate any mobility devices and equipment now or in the future if they are ever needed.
  • Ensure easy access to outlets and light switches. Standard electrical outlets are 12” to 18” above the floor, but can actually be modified to be higher for less bending over. You may also choose to swap standard light switches for rocker options that require less effort to turn on.

See prices for movers by the hour – instantly.

Read real customer reviews.

Easily book your help online.


Kitchen 

Americans with Disabilities Act (ADA)-compliant kitchens have features that are mobility-friendly and tend to avoid fall risks.

ADA guidelines suggest:

  • Countertops that are no higher than 34” so they are accessible from multiple positions
  • Dishwasher and oven doors that do not fully obstruct walkways when open
  • Stovetop controls are at the front so you don’t reach across a hot burner to turn the cooktop off
  • Freezer space that is accessible from multiple positions without reaching

Read the ADA guidelines for kitchens and kitchenettes.

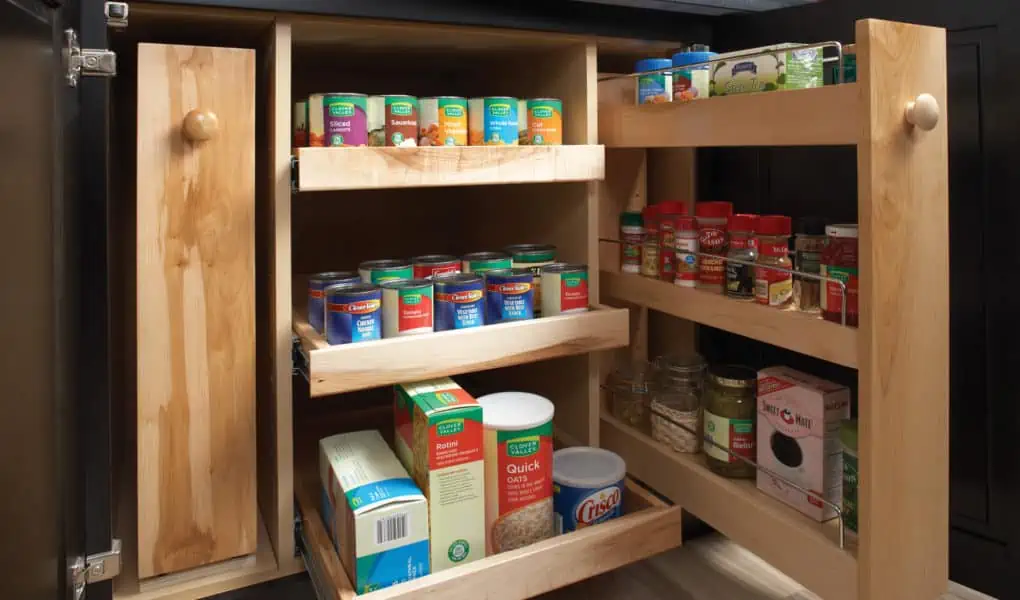
Get pull-out shelving with little or no reliance on overhead storage. This doesn’t mean you can’t have overhead cabinets! But all your cooking essentials should be within arm’s reach from a standing and seated position to avoid fall risks.
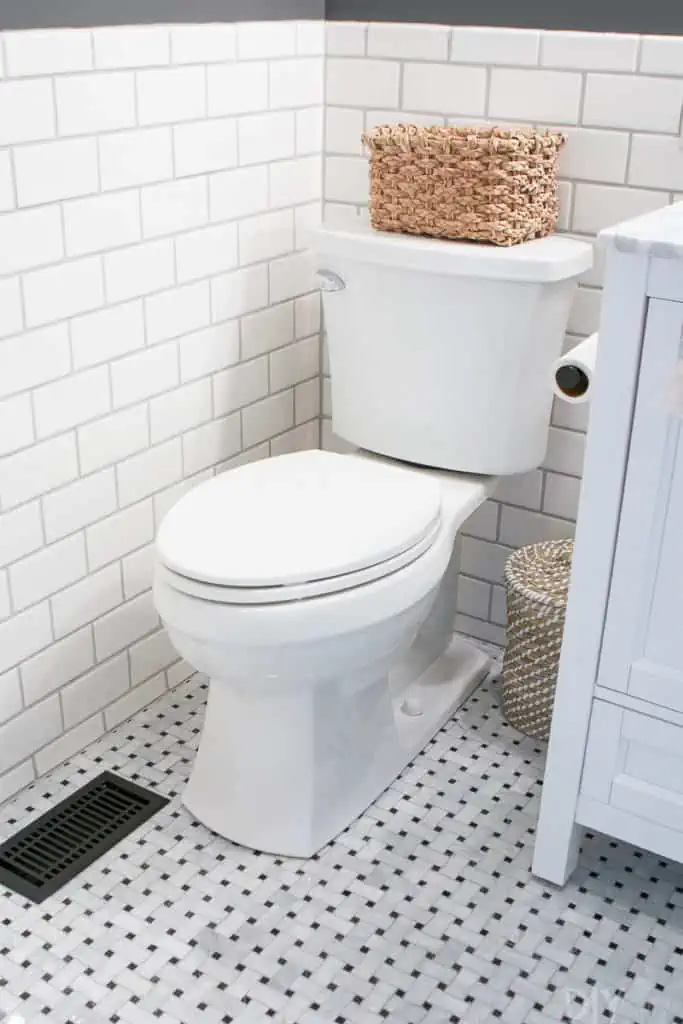
Wellborn.com

Bathroom

Shower with no steps

Get a back-friendly washer and dryer. Many people find front-loading laundry machines to be more accessible than top-loading options. Additionally, you may choose to raise a front-loading washer or dryer onto a platform to make them the ideal height for loading while standing or sitting.

No step shower entrance. By avoiding a high step in and out of the shower, you are greatly reducing fall risks in the bathroom. Any traditional bath/shower combos should be outfitted with grab bars and bathmats for the same reason.

4. “Is the exterior maintenance manageable?”

A beautiful garden or water feature may make a home attractive, but it can become laborious, unsafe, or costly over time.

Assess the level of exterior and yard upkeep, appliance maintenance, and lot size to get an idea of how much effort will be required. This likely means that a home with a manicured yard on a large lot may not be right for you; or perhaps you may plan to renovate existing yard features into lower-maintenance features instead, like container gardens and rock gardens.

Gardenerspath.com

If you choose to rent or live in community housing, check if there is a Home Owner’s Association or Condo Association. If so, provided yard maintenance may be included in your fees.

Assess the external materials used in the home to see if they need a lot of maintenance. If possible, see if they can be switched to low-maintenance or longer-lasting options, including:

  • Vinyl fencing
  • Concrete, stone, brick, or composite stairs
  • Seamless gutters with gutter guards

5. “Are there electrical and fall risks to address?”

In retirement, a quirky home can gradually become a safety risk. All too often, we don’t realize a hazard until it causes damage. These are important elements to address as soon as you move into your new home.

Electrical Hazards

Huffpost.com

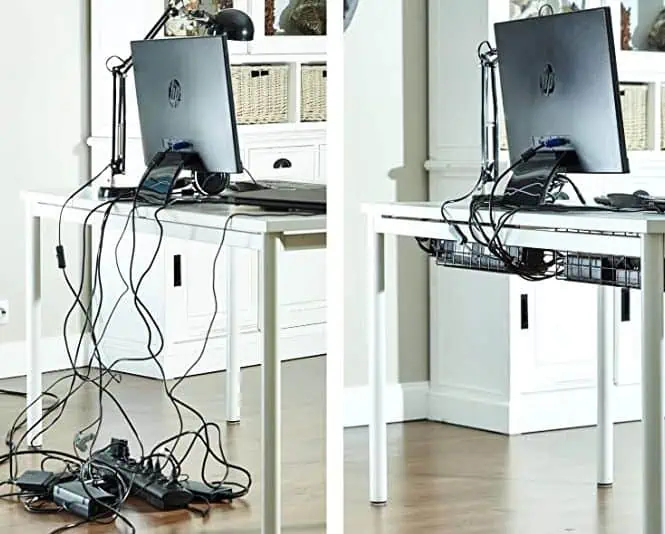
Plan the placement of your electrical equipment ahead of time to reduce cords trailing across walkways. Once installed, practice good cord maintenance to avoid trips.

Use velcro to bundle extension cords together, and lay it all flat with a cord cover, whenever possible.

Opt for appliances with retractable cords when you can. Usually seen on vacuums, retractable cords pull back into the device for easier storage and less tripping.

Swap regular light switches for rocker styles that are easier to operate, especially in the dark.

Fall Hazards

Robertsconsolidated.com

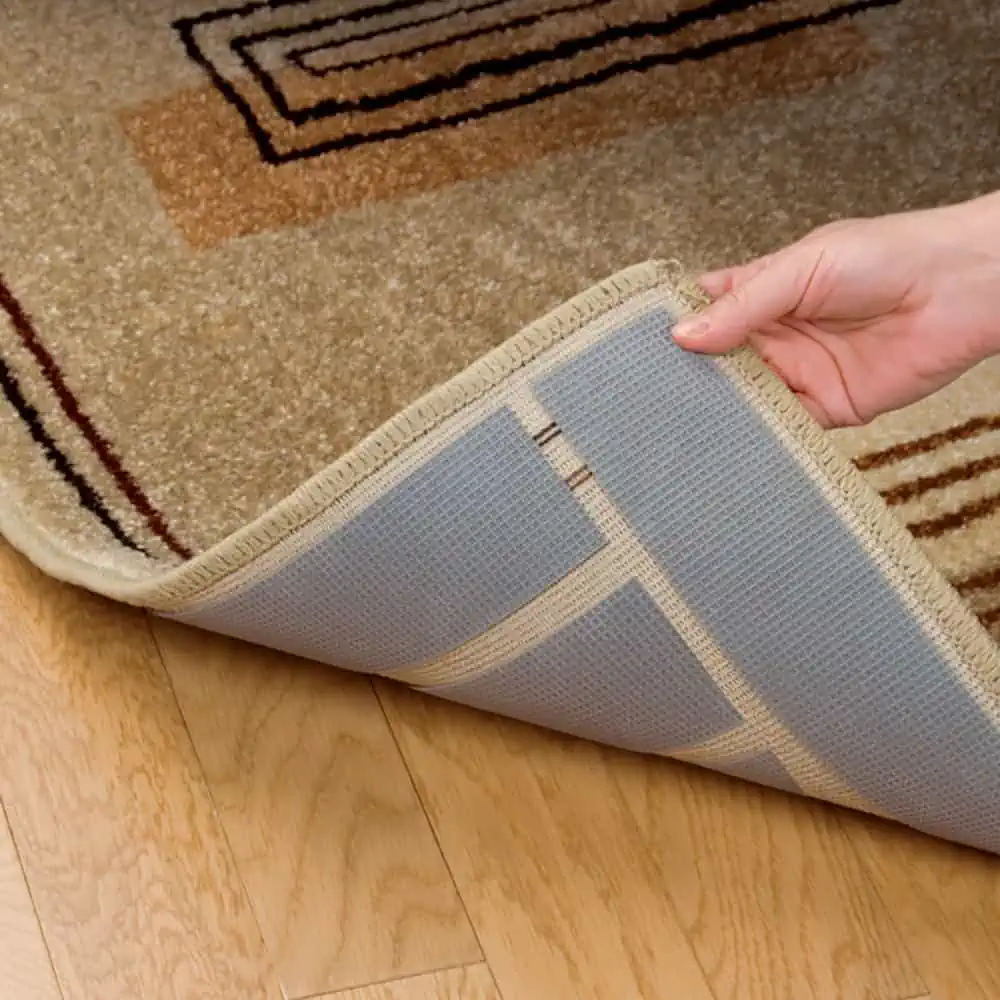
Tack the edges of all carpets and area rugs to help prevent trips and falls. You can also consider removing these floor coverings and replacing them with durable, slip-resistant, hard surface flooring to eliminate the issue altogether.

Use anti-slip flooring or nonslip rugs in bathrooms. Bathrooms are a major source of falls due to moisture and heat, as well as slick tiling that is often used in these areas.

Install grab bars anywhere you transition from sitting to standing. Most often, these are helpful around the toilet and in the shower, but can also be added anywhere you need more support.

Add railings along outside walkways, especially those you’ll be navigating in the dark.

Add motion-sensor lights to dark areas both indoors and outdoors to maximize pathway visibility at all times.

How To Have a Smooth and Low-Stress Moving Day

movers

When you’re ready to sell your home and buy a new one, it’s important to plan ahead, which includes the move itself. Here are a few tips to help make your moving day go smoothly:

  1. If you’re downsizing, start the packing process well in advance, as you’ll be donating, giving away, or throwing out a lot of items. Sentimental items can be especially difficult to sort through, so give yourself extra time with special memories.
  2. Use an app to plan how your furniture will fit in your new place. Design apps like Sweet Home 3D and Room Planner allow you to virtually mock up your space and existing furniture to decide what will (and won’t) fit after you move.
  3. Pack a suitcase with your clothing, toiletries, and medications so they are available to you as soon as you arrive. Unpacking may take several days, and this way you’ll have everything you need without looking through boxes.

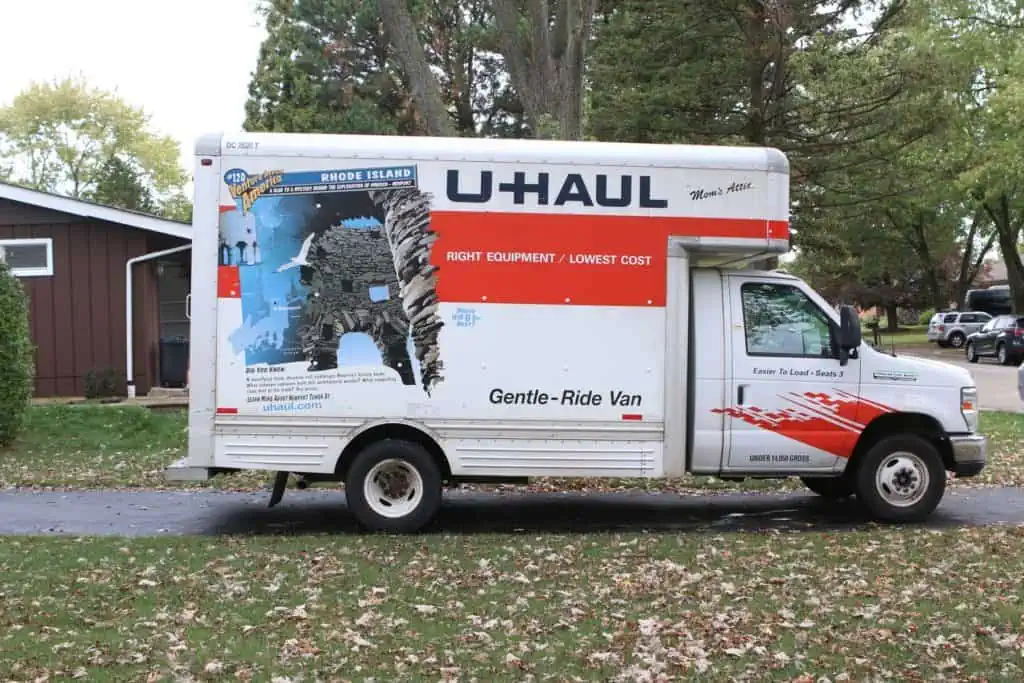
Finally, consider hiring professional movers to help take the physical and mental stress off of you. A moving company can help with all the packing, loading, and unloading of bulky items like furniture and appliances. Plus, it just makes the entire process easier.

Avoid These 4 Design Mistakes in Your New Home

Author:

Publish Date:

Last Modified Date:

Category: Home Decorating

Tags: Tags: , , , , , , , , , , , , , , , , ,

So you just bought the prettiest home on the block and you’re moving in and getting settled? Congrats! Now it’s time for the best part … the decorating!

It’s the furniture and home decor that really brings a space to life and tells the story of the people who live there.

4 Design No-Nos We See All The Time

But there are some big design no-nos that we see a lot of people make in their new homes. Even if you just bought the most beautiful house, you can instantly bring it down a notch if you commit any of the following 4 design mistakes.

Don’t worry, all of these have easy fixes (and we even included pretty pictures of the right way to do it!), giving you have a clear visual for avoiding these commonly made mistakes.

1. The “Too-Small-Rug”

Bigger is always better when it comes to rugs!

This design mistake just might be the most common one we ever see: the “too-small-rug”. If you’ve purchased a 5-by-8 or 6-by-9 rug in your lifetime, chances are it was not the correct size for your room.

And we get it, large rugs can be expensive. But using an 8-by-10 or 9-by-12 rug in your room is going to make your space look much, much more high-end.

To make your rug shopping a bit easier, here are the design rules you can follow to ensure you buy the correct size.

  • In a family room, find a rug that is large enough for the front legs of all the furniture to sit on the rug. Even better if all pieces of furniture can rest on top of the rug!
  • Avoid the “floating” rug look when a rug is just sitting in front of a sofa.
  • In dining rooms, rugs should be large enough to fit all chairs (even when they are pulled out) on the rug. This means at least 24-36 inches out from the table.
  • In the bedroom, your rug should extend 18-24 inches on each side of your bed. If you have a queen size bed, an 8×10 should work. If you have a king size bed, try a 9-by-12 rug.

For more tips buying the perfect rug, check out this blog post.

2. The Matching Bedroom Set

So you just moved into a new home and you need furniture, stat! Why not head over to the discount furniture and buy an entire bedroom set for a low low price?

Eek … please don’t do that. Yes, it may sound like a good deal, but we promise you can create a good looking bedroom (on a budget!) without going the matchy-matchy route.

And don’t get us wrong, having some matching furniture is not a bad thing. But you probably don’t want your loveseat, couch, coffee table, and side table to all match. Some of them can match to keep a cohesive look, but if everything is the exact same, you’re going to end up with a cookie-cutter look that lacks personality.

Completely matching rooms you buy as a package are very out of vogue.

Take this bedroom above, for example. It has an upholstered headboard, a leather bench, white nightstands, and a wood dresser. This creates an interesting and layered look!

If you do have matching furniture all over your house, we’re certainly not telling you to get rid of everything. Instead, think about moving things around. Bring a dresser from one room into another or swap your night stands.

You just might love all of your gorgeous furniture a bit more when it doesn’t get lost in a sea of it all being too samey.

3. The Flooded Curtains

Hanging window treatments is an intimidating task. Of course, their main objective is to be functional, but you also want them to look good. And let us tell you, most people are hanging their curtains all wrong!

High and wide. Repeat after us: high and wide. (Check out the image above.)

That’s generally how you need to hang your curtains. Many people opt to install their curtain rod directly above the window and a couple of inches outside of it, which isn’t doing your home any favors. Why? Curtains are the key to making your ceilings appear much taller and the room bigger.

Here are things to consider when hanging.

  • Mount the rod up to a foot on the outside of the window. This allows the curtains to drape down without interfering with the light when they’re open.
  • Hang your rod almost to the ceiling. Go about 4-6 inches below the ceiling and that’s how high they should be.
  • Once you have your curtain rod hung, you can figure out how tall your curtains should be. You will probably have to purchase XL curtains. They’re harder to find, but they’re out there (IKEA sells them on a budget!).
  • Your curtains should “kiss” the floor or you can have them puddle (about 1-2 inches longer than the floor). Make sure your curtains are not too short! For no-sew hemming tips, check out this blog post.

4. The “Too-High-Art”

When you’ve just moved in, you probably have a lot to hang on your walls to really make it feel like home. But please read these tips first. Most people hang art way too high! The last thing you want is for your guests to have to crane their necks to see your gorgeous pieces. 

Follow these tips for perfect hanging every time.

  • Don’t go with eye level (if you’re tall, that will make things way too high!). Instead, the center of your piece should be 57-60 inches off the ground.
  • When hanging a gallery wall, think of the entire collection as one piece of art. Therefore, the very top and bottom shouldn’t be hung too high or too low.
  • When hanging above a couch or dresser, go 4-8 inches above the piece of furniture. If you go higher than that, it will look disjointed.
  • For gallery walls, 2-3 inches in between pieces is plenty! No more than that. If you’re nervous about hanging a gallery wall, check out this foolproof way to do it!

Believe in us and avoid these design mistakes whenever possible. With the right furniture, art placement, curtains and rugs, you are well on your way to a great looking new home!

The 5 DIY Projects That Will Boost Your Home’s Curb Appeal (And Resale Value)

Author:

Publish Date:

Last Modified Date:

Category: Home Improvement

Tags: Tags: , , , , , ,

Sometimes, I like to stroll around my neighborhood and gaze at the front of all of the homes in my area. It’s fun to see who updated their landscaping this summer, whose weeds are out of control, and who decided to paint their home a wacky color.

While I can’t see the inside of these homes, I definitely get a sense for the family’s style and how much pride they take in their home just at a quick glance.

If the outside of your house is looking less than desirable, there are some simple updates you can do right now to improve your curb appeal. This past summer, I overhauled the exterior of my entire house (you can read all about it right here) and it’s looking 110% better.

I’ve documented the DIY projects I pulled off to take our curb appeal to the next level.

1. First things first: Start with these paint projects

If you have the budget and time, nothing changes the front your home like a totally new color.

Truthfully, I’m not in love with the beige color of the outside of our home. When we first moved in, I looked into hiring a team to paint all of that beige brick to white. Sadly, the quote came back at $15,000 … YIKES! Looks like the beige will stick around for a while longer.

But even if you can’t fit the bill or paint the front of your place yourself, there are still other areas you can paint on the outside of your own home, which we’ll discuss below.

Blare your front door color

Your front door can make a huge difference. Our front door was a faded brown color before I decided to brighten things up by painting it a pretty light blue. (The official color is actually called “Stratton Blue”.) I also added a new door knocker that reflects our style and family personality (yep, it’s a gold bee!). Painting the front door only took me a few hours and my entire house instantly looked happier.

These Paint Colors Have the Best Resale Value

Zillow examined 50,000 home sales and found these colors help sellers make as much as $5,000 more!

Want to paint your front door? Be sure to check out this tutorial with 5 tips to get a long-lasting finish.

Freshen up your garage door

While the front door added some much-needed color to our home’s exterior, there was another area in serious need of some TLC: our garage door. The brown paint was peeling and faded, and it was begging for some attention. Plus, garage doors are one of the biggest indicators of a house’s resale value.

Here’s what it looked like after we gave it more life:

I had never painted a garage door before, but I’m happy to announce that it was one of the easiest DIY projects I’ve ever tackled! Two coats of the color “Tricorn Black” later, and now I don’t cringe every time we pull up to our house to enter the garage.

5 Sweet Garage Upgrades That Up Your Home’s Value

Garage additions and upgrades like the five in this list can produce an estimated 65 percent return-on-investment.

Still a little unsure about your painting skills? Here are some of our tips for painting your garage door.

2. Have a porch? Install a porch swing

Porch Swing Tutorial via Yellow Brick Home

If we had a porch on our house, I would without a doubt add a porch swing. There’s just something so cozy and homey about this exterior addition. I like to picture myself swinging away in the morning while sipping my coffee and leisurely watching the rest of the neighborhood stroll on by.

However, our friends Kim & Scott from the blog Yellow Brick Home did add a DIY porch swing to their Chicago porch. They built the entire thing from scratch and let me tell you, it adds so much to their home’s vibe. The monetary cost? Only about $100, and it was a total facelift to their place. You can DIY one yourself by following their tutorial, or if that’s a bit too advanced for you, consider buying an inexpensive swing (like this one) and installing it yourself.

3. Lighting is everything

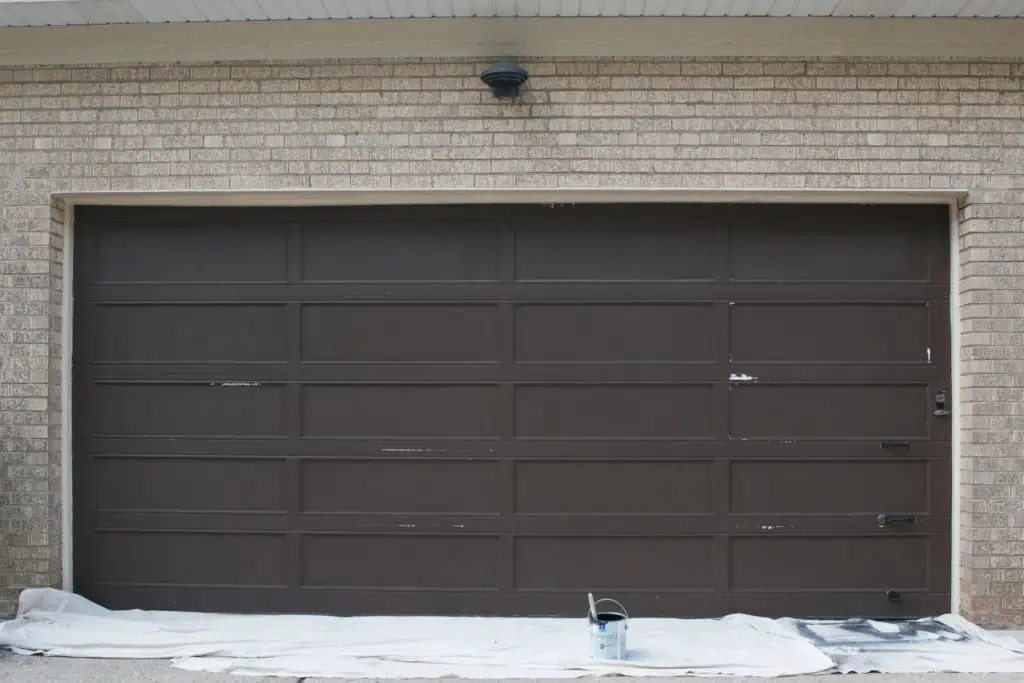
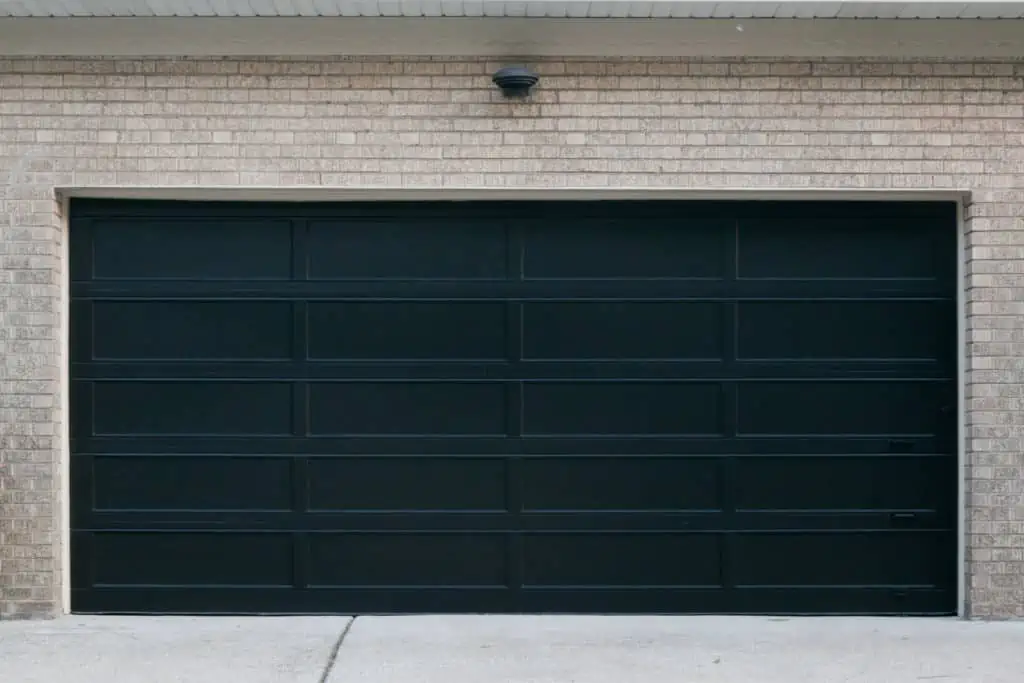
Take a look at the lighting on the outside of your home tonight. Do your fixtures emit enough light, or does the outside of your home look dark and scary? Maybe your fixtures are a bit weathered and outdated? If so, then simply upgrading them may be the perfect way to improve the exterior of your home.

Exterior lights don’t need to be super expensive (here’s a great list of fixtures all under $200) and you can install the new ones yourself to save even more cash.

This video tutorial breaks down the process to replace your exterior lights with new and improved versions!

Oh, and don’t forget string lights! Both of us have string lights on our patios to emit a soft glow at night. You can just buy a plug-in timer (we use this one) so they go on and off every evening. Why not bring that fancy bistro feel to your own patio?!

4. Rent a power washer for your sidewalk

This is by far the easiest DIY project out of the bunch … rent a power washer and go to town cleaning the outside of your home! I can’t tell you how amazing it feels to see all of the dirt and grime wash away.

I power washed our driveway, the steps leading up to our house, and even some areas on the exterior of our home to get it looking clean and new again. You can follow these steps to get the job done right.

It will only cost you about $30 to rent a power washer for the day, so schedule a day to get this project done and I promise you’ll be happy with the results! Oh, and don’t forget to wear rain boots and ragged clothes. It’s a fantastic protip, but you will be filthy by the end of this project.

5. Modernize your address plate

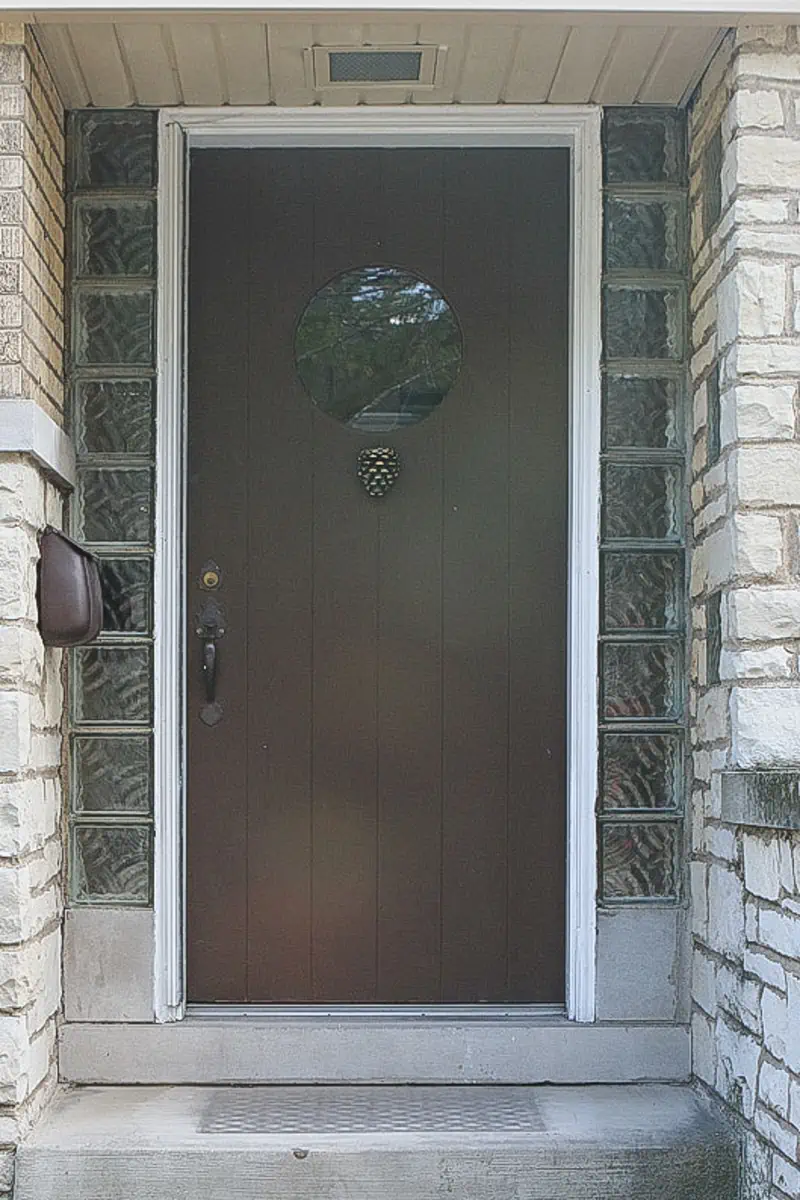
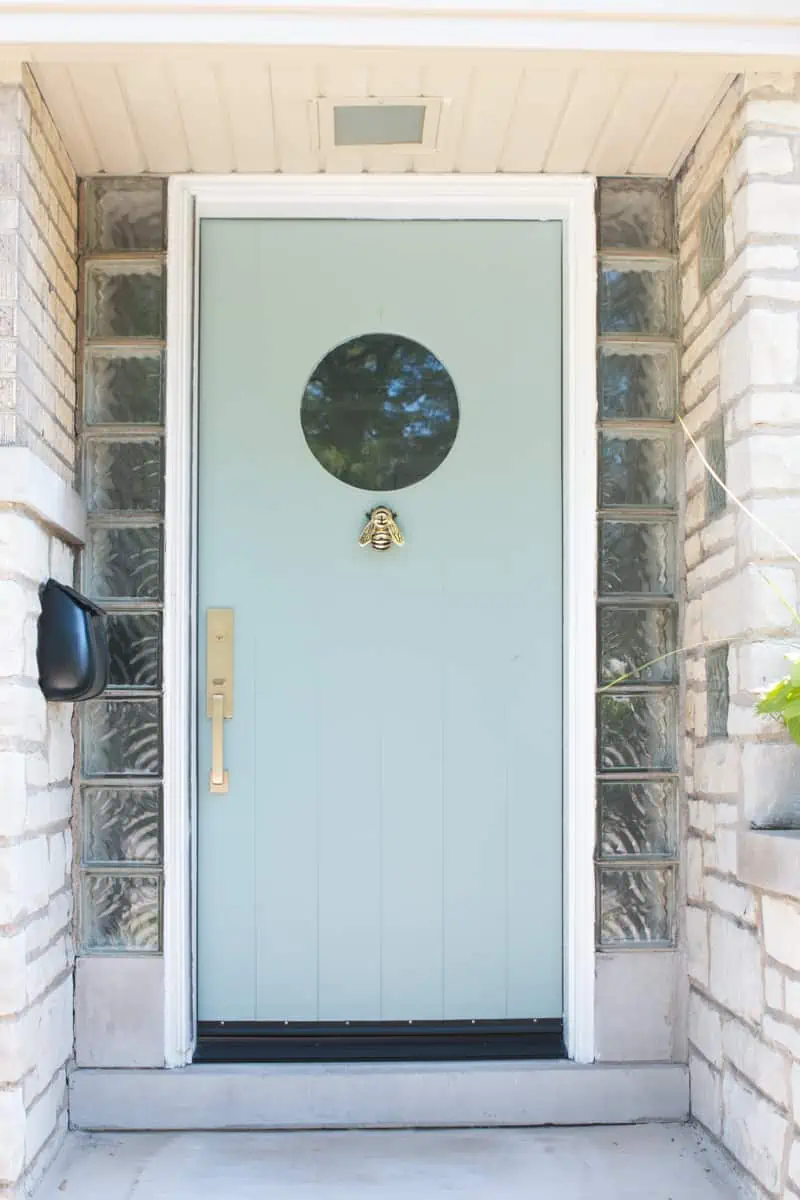
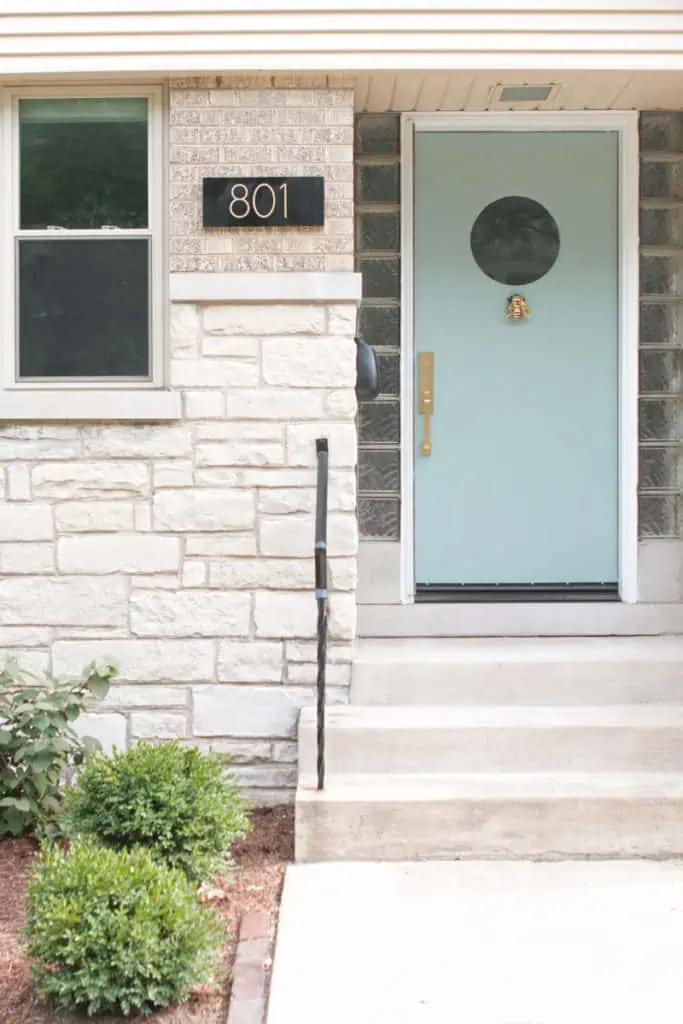
It’s the small details that really take your curb appeal to the next level. Upgrading your address sign is one of them. I’ve changed up this small detail at every home I’ve lived in, and it made such a big difference. You can purchase a modern address plate, but honestly? We suggest making your own.

How did I make mine? I took a piece of wood, some inexpensive numbers from Amazon, and a few extra supplies, then put together this cool address plate for the outside of our home. It only took me an afternoon and our house was instantly chic!

Here’s the tutorial to create your own modern address sign.


Don’t worry, there’s still plenty of time to take the outside of your home to the next level. Take a few weekends this fall to get your house looking nice and upgraded (before the dreaded winter arrives!).

Finally, when your neighbors stroll around the hood, they’ll see your house and think, “Wow, their home looks unbelievable!”


When Your DIY Projects Will Fail

Author:

Publish Date:

Last Modified Date:

Category: DIY Projects

Tags: Tags: , , , , , , , , , , , , ,

We love a good do-it-yourself project. There’s just something about improving your home all by yourself without the assistance of a professional that feels so darn good! (Heck, our blog is called The DIY Playbook, so obviously we are obsessed with all things DIY.)

But it may shock you that we firmly believe that there are many instances when you should not do a project yourself. (Ever heard of “nailed it”?)

Yep, we’ve outlined all the times when you need to call in a pro to get the job done below.

Time Will Inevitably Be More Valuable Than Money

Many people assume that just because a project is easy, they should do it themselves. However, even simple tasks take time.

Here’s a real situation we were both in recently. Painting a room only takes 1-2 days. The problem is that it takes an entire 1-2 days of your time, and we were moving.

If you have 1,000 things on your moving to-do list, then it may make sense to call in a pro to get it done quickly and efficiently. (Hiring help to move is another bright idea when that to-do list is bursting with items!)

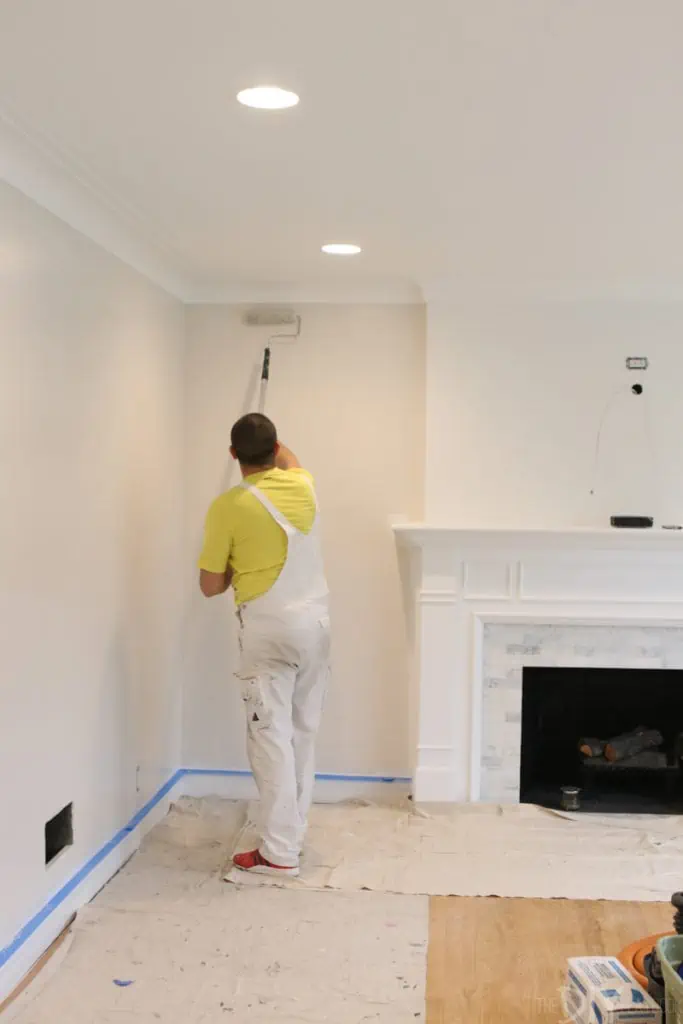
It cost us each about $1,000 to hire this DIY out, but we weighed that against packing up one house to move to another, closing on a home, and finishing things up at your old pad. So yeah, painting a room will only take about 1-2 days and costs roughly $100 in supplies, but sometimes you don’t have an open schedule.

In our particular case, an additional $900 was a resource well spent, because hiring it out ensured that we could subtract our labor, plus have a crisp white trim and fresh paint on the walls as we moved our new items in.

Don’t worry DIY fans; as we’ve designed each room in our homes later on, we’ve re-painted a few spaces with new colors ourselves. From experience, what sounds like a great DIY project is only realistic after you have the time.

Some DIY Projects Have Sneaky Costs

People turn to DIY to save money. And it’s true, often times labor is the most expensive part of a large project. However, there are some sneaky costs that you need to keep in mind before you decide to handle a project by yourself. Here are the two biggest ones we’ve figured out are the worst.

Transportation: This line item is way too often overlooked when it comes to large-scale projects. If you need a lot of large materials for a project, figure out how the heck you’re going to get those supplies home before you consider it worthwhile.

DIY Playbook has lived it. We decided to add a large decorative wall treatment to a guest bedroom, not realizing that we would need 12-foot wooden boards from the home improvement store. We had to rent a truck on the fly (which cost about $75). It made us question the savings.

Tools and Supplies: The more you DIY, the more tools and general DIY supplies you’ll acquire, making this a thing of the past. But the first time you tackle a project, you’ll probably have to buy all.the.things.

We recently completed a large tiling project for the first time and that meant we had to buy trowels, sponges, and a wet saw for the job. That added up to a couple hundred dollars pretty quickly! Of course, the next time we do a tiling project we will be prepared (and won’t have to spend quite as much), but buying all new supplies is something you’ll want to consider.

However, by making that investment in purchasing and learning how to till ourselves, we saved about $2,500 in labor. (Granted it took us two months to get the bathroom done, but heck … that’s still some big saving!)

Think through a project carefully, jot down some numbers, and add everything up before you start a project on your own.

Be Honest When You Don’t Know How

As DIY’ers ourselves, we always encourage people to expand their skill. However, if you’re an average homeowner, there are projects that will be far too advanced for you.

For instance, while we think most people can easily learn how to install a faucet online, we’d advise hiring a plumber to move plumbing lines in a bathroom. Sometimes it isn’t just safety to you and your materials, but not knowing regulation and keeping things to code also matters. The project don’t necessarily have to be too advanced for you to need an expert opinion.

And of course, some projects are incredibly dangerous if you handle them yourself! Gas repairs or extensive electrical work are not DIY projects. Know your limits and hire out when necessary.

Don’t DIY “ASAP Projects”

As a homeowner, you’re bound to run into emergency issues that need to be fixed ASAP. Whether it’s a flooded bathroom or a busted hot water heater, you’ll want to have a professional on call immediately.

When we were renovating our bathroom, we accidentally bumped the toilet valve and it immediately started leaking. Not wanting to flood our new bathroom, we called in a plumber to swap the old valve with a new one. This set us back about $275, but the job was done correctly and in about an hour. Plus, we felt much more at ease knowing our new bathroom wasn’t going to flood from that pipe!

These urgent issues should be handled by a professional. When you don’t have the time to research and buy the correct supplies, you can make a mistake trying to do an extensive repair yourself. If it’s a home emergency, call it in.

Don’t Experiment If You’re Gonna Stare at It Every Day

If there are any perfectionists tuning in, this category is for you. You may be stuck looking at the results of your DIY for years, so if you are someone who may constantly critique minor (or major) mistakes, then DIY-ing a large project may not be worth the money saved.

We recently renovated our guest bathroom (more on that here!) and I stare at all of the tiles in there when I shower. I’ll always focus in on the corners where I know a tile is 1/8 of an inch off from our handiwork. It’s minor, but it really bugs me!

We know this question sounds like a silly one to ask yourself, but DIY-ing is never worth it if you’re not going to love the end result, or even worse, hate it more than when you started.

The DIY Projects We Recommend

There are lots of DIY projects that you can (and should!) tackle on your own. Here are some ideas to get your creative juices flowing…

  • Changing Doorknobs
  • Painting your Front Door
  • Changing a Faucet
  • Installing a Ceiling Fan
  • Swapping out Light Fixtures
  • Changing an Outlet
  • Adding Cosmetic Woodworking to Walls
  • Installing a Smart Thermostat
  • Fixing a Screen Door
  • Painting a Room
  • Changing out your Baseboard

To DIY or not to DIY? Sometimes the answer is crystal clear. But when you’re unsure, we hope you consult this list so you make the right decision for you (and your home!).

×

I'm Moving

Moving? Thinking about moving? Whether your move is off in the distance or you already have one foot out the door, you'll learn about everything you should expect through our useful how-to's, cool articles and much more. It's all specially curated for you in our "I'm Moving" section.
Explore
×

I'm a Mover

For rookies or veterans alike, our "I'm a Mover" section is filled with extensive industry news, crucial protips and in-depth guides written by industry professionals. Sharing our decade of moving knowledge is just one way we help keep our professional movers at the top of their game.
Explore