Give Your Home an Impactful Impression: The Complete Guide to Real Estate Photography

Author:

Publish Date:

Last Modified Date:

Category: Buying & Selling a Home, Moving Advice

Tags: Tags: , , , , , , , , , , , , , , , , , , , , , , , , , , , , , , ,

What if I told you that posting photos of your home online might just be the key to catching its next owner’s eye?

According to the National Association of Realtors, 96% of all home buyers search for homes online. Nine out of ten buyers below the age of 57 said photographs were the most useful feature during their search for a new home.

These numbers are enough to make any homeowner sit up and take note. Home buyers want to walk through a home online before they take a tour in person, and high-quality photographs let them do exactly that.

Read on for a step-by-step guide on how to take real estate photos that’ll have your home off the market in no time.


What To Do Before You Start Taking Photos

Before you whip out your camera to start getting all the best shots of your property, there are a few things to consider and make decisions about.

DIY or Pro?

a woman looks at images on a professional digital camera seated at a desk with a large monitor

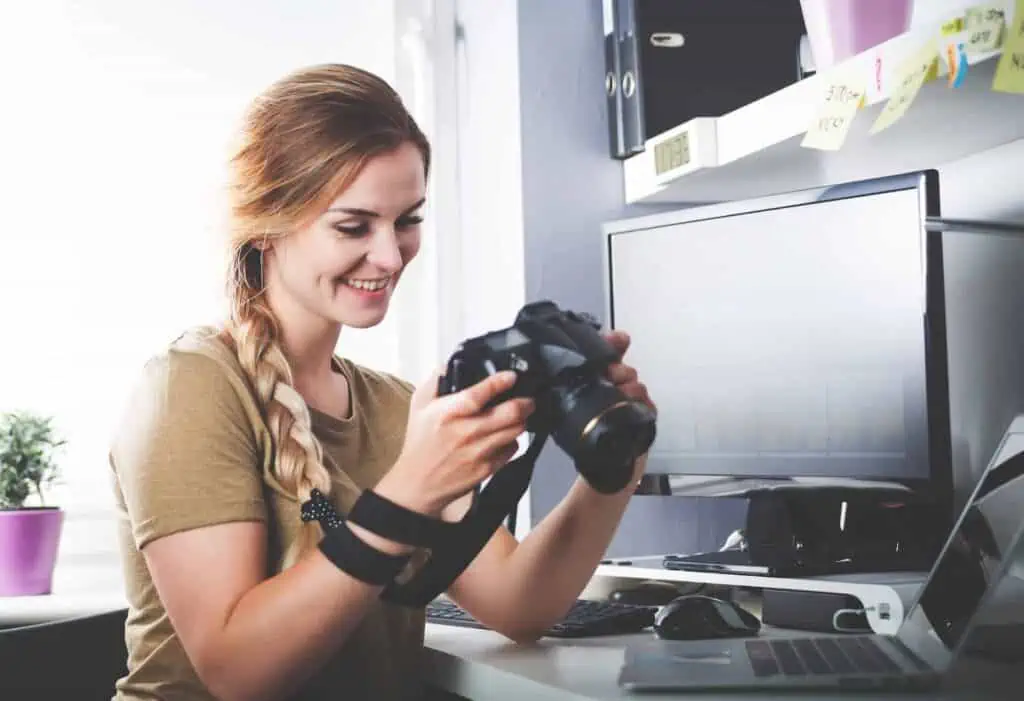
Let’s take a moment to consider whether you should hire a pro or go the DIY route for your property photos. There’s no right answer — whichever you choose will depend on what works for you!

Reasons to hire a professional photographer

  • A real estate photographer has the skills, experience, and equipment needed to make your home appeal to potential buyers.
  • Shooting your home yourself and getting publish-ready photos can take a fair bit of time, especially if you’re not comfortable behind the camera. Hiring a pro can be a much faster experience.
  • You’re more likely to get high-resolution, perfectly lit photos that meet industry standards.

Reasons to DIY

  • Hiring a real estate photographer can cost you several hundred dollars, depending on the size of your house and the number of photos you request. There’s a cost involved in taking your own too, but there’s no cap on how many photos you end up with.
  • You have the flexibility to shoot (and reshoot) at your convenience without coordinating with someone else’s schedule.
  • There’s less complexity in simply getting the equipment and doing it yourself. There’s no need for contracts, and you own all the photos you take.

Rules and Regulations

a landlord discusses plans with a couple of tenants

Depending on if you’re renting your home out, you have an HOA, or you want to use certain equipment for photos, there are some legal considerations you should be mindful of.

  • Check with your tenants: You can sell a home you’re currently renting. Still, you should check your rental agreement — and tenants’ rights in your state — to create a reasonable timeline for the entire sale process that will eventually include viewings and asking the tenant to vacate. And always ask permission before you come into the home to make changes.
  • Get permission from the HOA: If you live somewhere where there are amenities (like a gated community), there might be guidelines or restrictions about taking and using photographs of common areas or the exterior of the building. It’s best to check with the HOA, community guidelines, or other community oversight committees to make sure you’re in the clear.
  • Register drones for aerial shots: Unfortunately, using drones to take photos to help sell a property doesn’t fall under recreational use according to FAA guidelines. You’ll need to register your drone and get a Remote Pilot Certificate before taking and using any photos for your home sale. The FAA website has all the steps and information you need to fly and photograph with your drone legally.

Invest in the Equipment You Need

Photography equipment, including dsl camera, tripod, lenses, and lighting are all displayed on a shelf

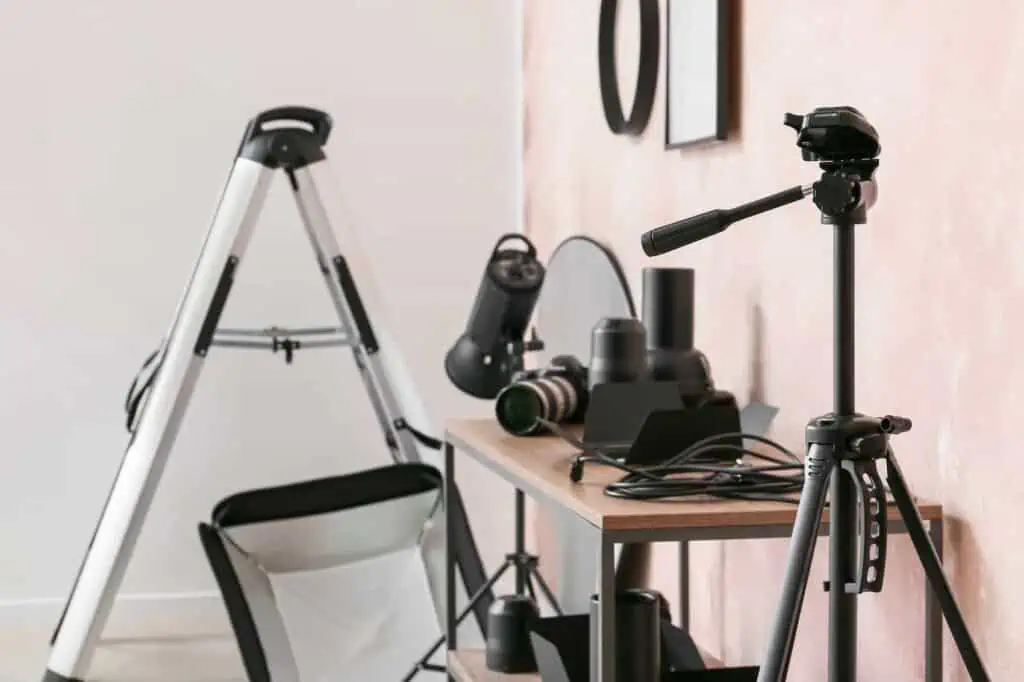
There’s no doubt smartphone cameras can take some stunning photos today. But photographing a home for sale is more than just point and click. You’ll likely need to invest in good quality gear that will help you take the best photos possible.

Photography equipment can be expensive to buy, but the good news is that you can rent almost everything you need at a fraction of the price.


“Aim to get photographs you can work with straight out of the camera. Think of the editing stage as a way to boost good photos, not to salvage bad ones.”


If you prefer to get a feel for the equipment or hands-on advice before renting it, look for a local camera shop. The staff may also be willing to give you a quick tutorial on how to use the gear.

If you’re comfortable shopping online, Lensrentals and BorrowLenses have all the equipment you need from the best brands on the market.

Camera types

a woman looks over different types of cameras and lenses on the table in front of her

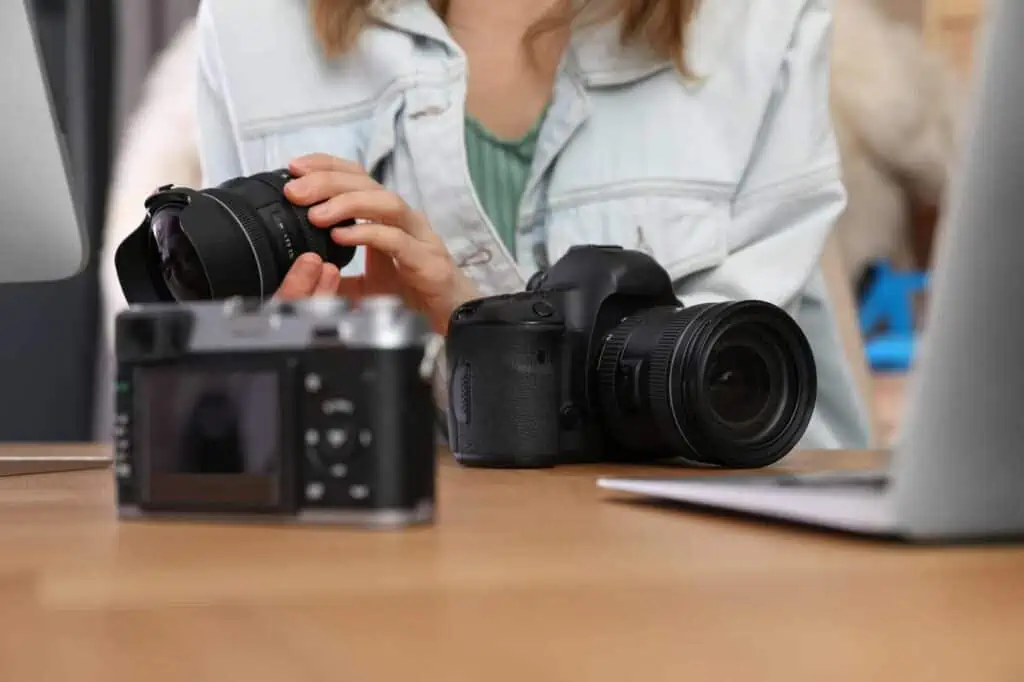
DSLR cameras are a good bet because they capture high-resolution photos and give you greater control over how the photos turn out. Full-frame cameras, on the other hand, perform better in low-light conditions and can capture more of a room in a single shot. Image stabilization is a must-have feature that helps reduce blur from minor hand movements like pressing down on the shutter.

Lenses

Wide-angle lenses in the range of 20mm to 24mm are often the go-to choices for interior photography. They’re wide enough to capture more of a room and make it appear large, but not so wide to make the room look distorted. Look for a lens that also has image stabilization.

Tripod

a camera on a tripod sitting on top of a coffee table in a living room

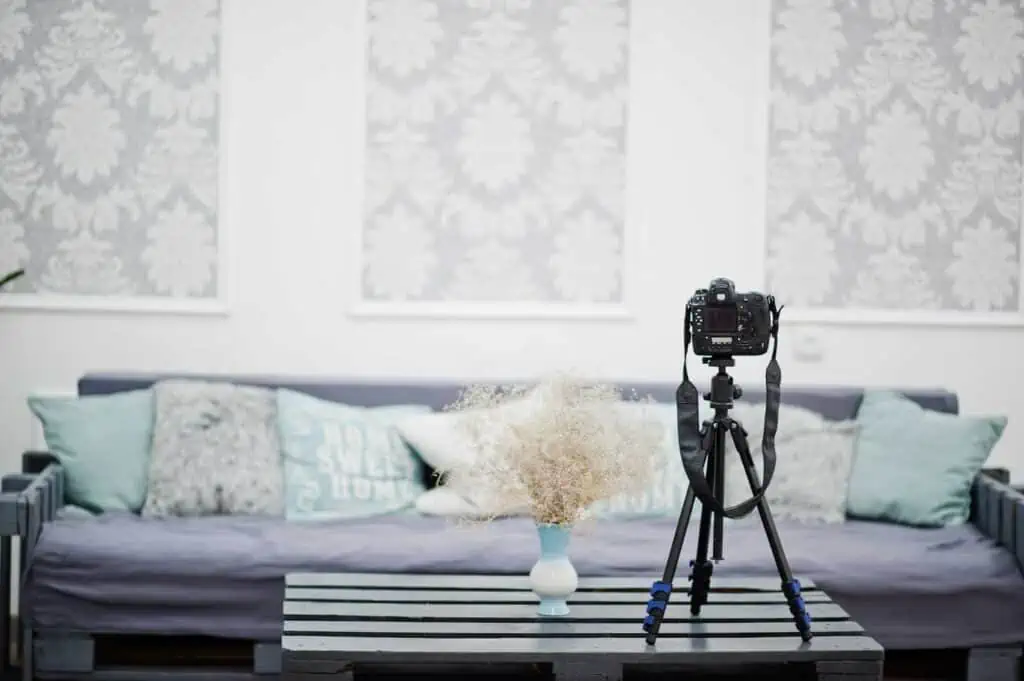
Shooting interiors often involves dealing with less-than-ideal light conditions. In low light, your camera’s shutter needs to stay open longer to let in enough light to properly expose the image. The longer the shutter is open, the more susceptible your photo is to camera shake — even with image stabilization in your camera and lens. A tripod helps you get around this by holding the camera steady throughout the exposure. It also helps with HDR and bracketing.
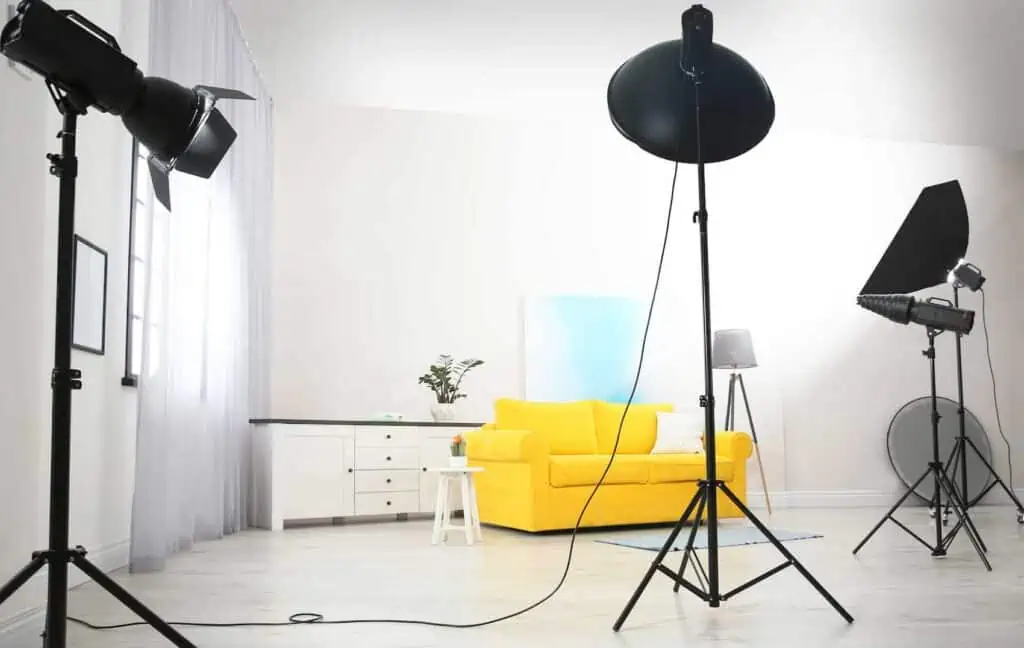
Lighting equipment

Even the best camera and lens in the world won’t save a photo in bad light. Lighting equipment can help you create the ideal light conditions to make your home look inviting. Some items to consider are an external or bounce flash to use on your camera, a softbox or umbrella for external lights, and reflectors or diffusers to bounce light into darker areas. Don’t use the flash that’s built into the camera as you can’t adjust its angle.

Drones

a drone with a camera attachment hovers in front of a house

Aerial shots are optional but worth considering because they can give home buyers a comprehensive bird’s eye view of your property, including the land and any outbuildings. You’ll need to register your drone with the Federal Aviation Administration (FAA), so you might want to consider buying your own instead of renting.

Memory cards

Having multiple high-quality memory cards ensures you’re getting the best possible storage for your photos — “multiple” being the key word. It might seem convenient to grab one massive memory card and call it a day, but memory cards can get corrupted. If that happens, you could lose every photo you’ve taken. Spread your photos across multiple cards to minimize the risk. This is an item on the list you could consider buying instead of renting, because the cost difference between renting and buying isn’t significant.


Learn About Composition and Framing Basics for the Perfect Shot

Before you hit that shutter, you need to think about how the elements in your frame come together to tell a story. This is where composition and framing come into play, with the rule of thirds and leading lines.

Rules of thirds

a living room with a fireplace and coffee table
An example of the rule of thirds. The coffee table and fireplace are set along the lines of the invisible 3 by 3 grid

This is a classic photography principle that adds balance to your photos. To understand how it works in practice, pull up your phone camera and set the grid to show on the screen. You’ll see the frame divided into nine equal parts by two equally spaced vertical lines and two equally spaced horizontal lines.

The idea is to place the most important elements — like your fireplace or kitchen island — along these lines or where they intersect for a more appealing photo.

Leading lines

a set of steps leads up to a porch and front door of a home
An example of leading lines. The banisters on the steps draw the eye to the entryway and porch.

Leading lines are lines you can find within the frame that guide the viewer’s eyes toward the main subject. Look for architectural elements like doorways, edges of furniture, or the lines created by tile flooring.

These can naturally draw someone’s attention toward a focal point in your photo. For outdoor photos, fences or garden paths can be effective leading lines to guide a viewer’s eyes toward your home.


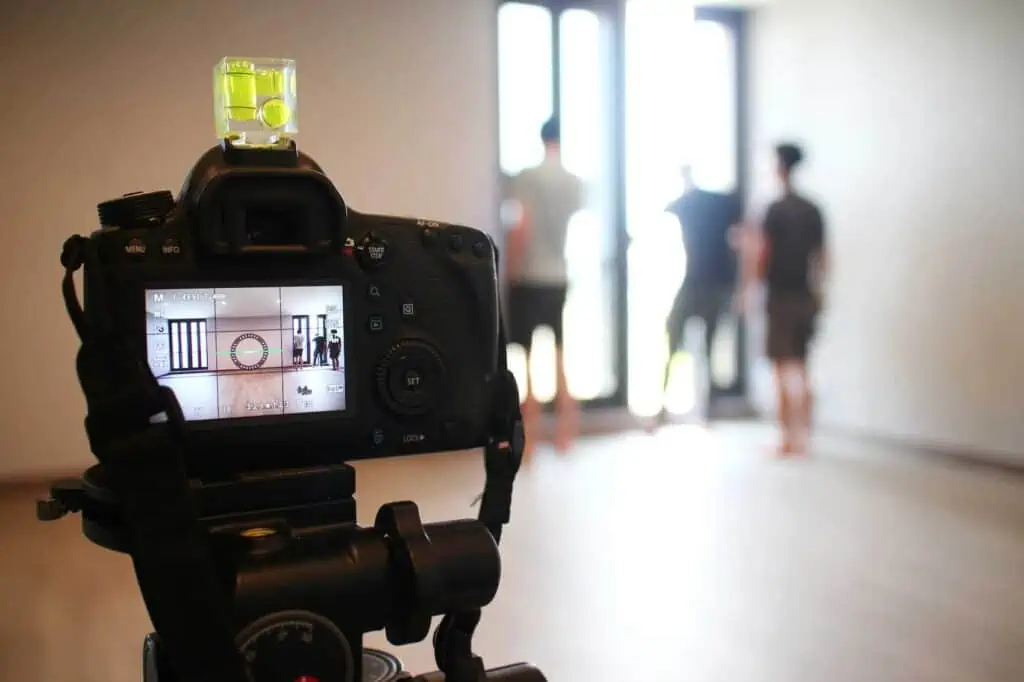
Get Familiar with Your Camera Settings

Take some time to get used to your camera and know what each button and dial does. You’ll see some letters and numbers on the screen that may not make much sense to you right now. Let’s take a look at what these mean.

Aperture, shutter speed, and ISO

a camera set up on a tripod. Someone out of frame is adjusting the settings

These three settings determine what it takes to create a photo with the correct exposure and sharpness.

  • Aperture: This is the opening in your lens that lets light in and is known by a number called ‘f-stop’. Here’s something you absolutely must know: a lower f-stop number means a wider opening, more light, and slightly softer photos; a higher f-stop number means a smaller opening, less light, and slightly sharper photos. For real estate photos, aim for an aperture between f8 and f11. This range usually results in sharper images by getting more of the scene in focus.
  • Shutter speed: This is how long your camera’s sensor is exposed to light. A fast shutter speed (like 1/2000 of a second) freezes action, while a slow one (like 1/30 of a second) can introduce blur. Adobe suggests that for real estate photography, your shutter speed is somewhere between 1/60 and 1/2
  • ISO: This controls your camera’s sensitivity to light. Lower numbers (e.g., 100 or 200) are less sensitive and produce cleaner shots. Higher numbers (e.g., 800 or 1600) are more sensitive but can produce grainy photos. Keep it below 400, especially indoors, to minimize noise.

You can shoot in fully manual or semi-automatic modes. Fully manual means you manually set all three values. It gives you complete control, but does require a good understanding of how aperture, shutter speed, and ISO interact.

In semi-automatic modes, you can adjust either the aperture or the shutter speed, and the camera will automatically adjust the rest. This is a good middle ground if you’re not comfortable going fully manual.

See prices for local moving labor. Read real customer reviews. Easily book your help online.

RAW vs. JPEG

RAW and JPEG are the file types your photos will save in. While JPEG might seem like the easy choice because it’s more commonly used and instantly shareable, RAW ultimately wins because of the control it gives you over the final photo.

  • More editing flexibility: A RAW file retains much more data than a JPEG. This means that when you’re editing the photos, you have more room to adjust things like exposure, colors, and sharpness without sacrificing image quality.
  • Better dynamic range: RAW files capture a broader range of lights and darks, which comes in handy when you’re dealing with varying lighting conditions like a bright window in a relatively dark room.

The main downside to RAW files is that they’re larger and require specialized software for editing. But, given that you want to show off your home in the best possible light, it’s 100% worth the extra memory cards and effort.


Prepare Your Property for the Best Shots

a woman adjusts a small centerpiece on a coffee table in preparation for the room to be staged

First things first: make a list of the shots you absolutely must take. You don’t want to finish your shoot and then realize you forgot to capture something crucial.

Your list should focus not only on your favorite rooms, but also on what rooms will attract buyers. “Potential buyers focus on the kitchen, bathrooms, and living room space in that order because they imagine themselves using those spaces often,” says Peter Kim, CEO of Odigo Real Estate Club.

Here’s a quick list to get you started:

  • Kitchen and living room: At least one shot each, but preferably more. If possible, show how they connect to other parts of the house.
  • Bathrooms: One general shot should do, but if it’s a larger or uniquely designed bathroom, consider additional angles. Highlight features like double sinks, if the bathroom has them.
  • Master bedroom: Focus on the room’s size and any special features, like a walk-in closet.
  • Front exterior: Make a great first impression and highlight the house’s curb appeal.
  • Backyard: If you have one, capture it from an angle that shows how big it is. Show any outbuildings it may have, like a shed or a greenhouse.
  • Other rooms: One shot of any other appealing rooms/areas like a home office or studio, pantry, laundry room, basement, and garage.

Having a list gives you a game plan to follow so you’re not just snapping pictures aimlessly — or forgetting an important room in the process.

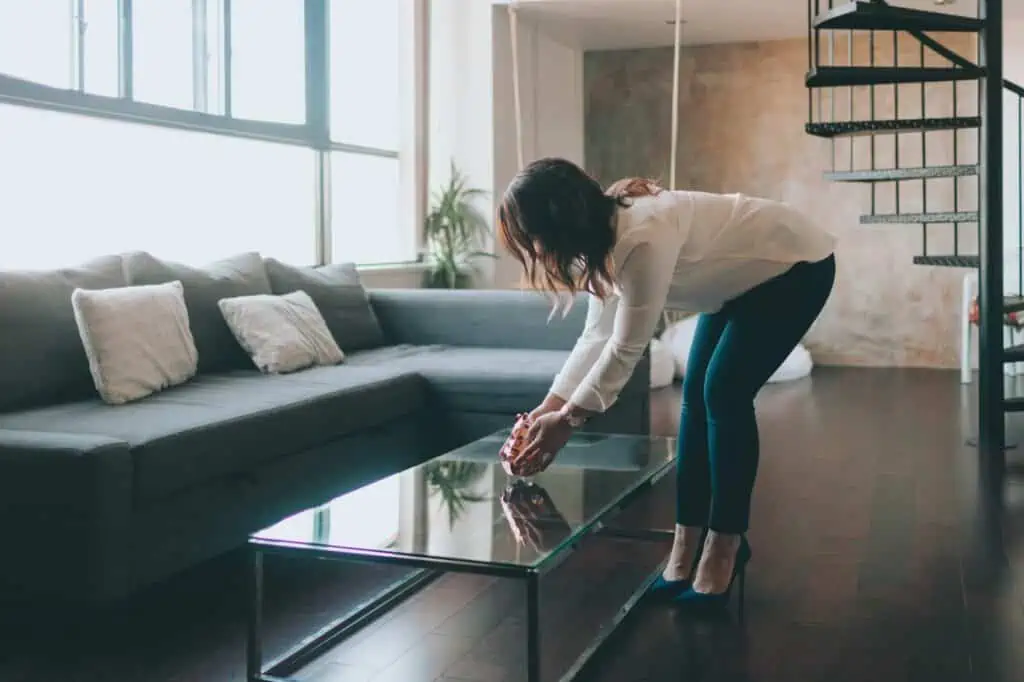
Decluttering and staging

a woman dusts off a table in a living room in preparation for a real estate photo

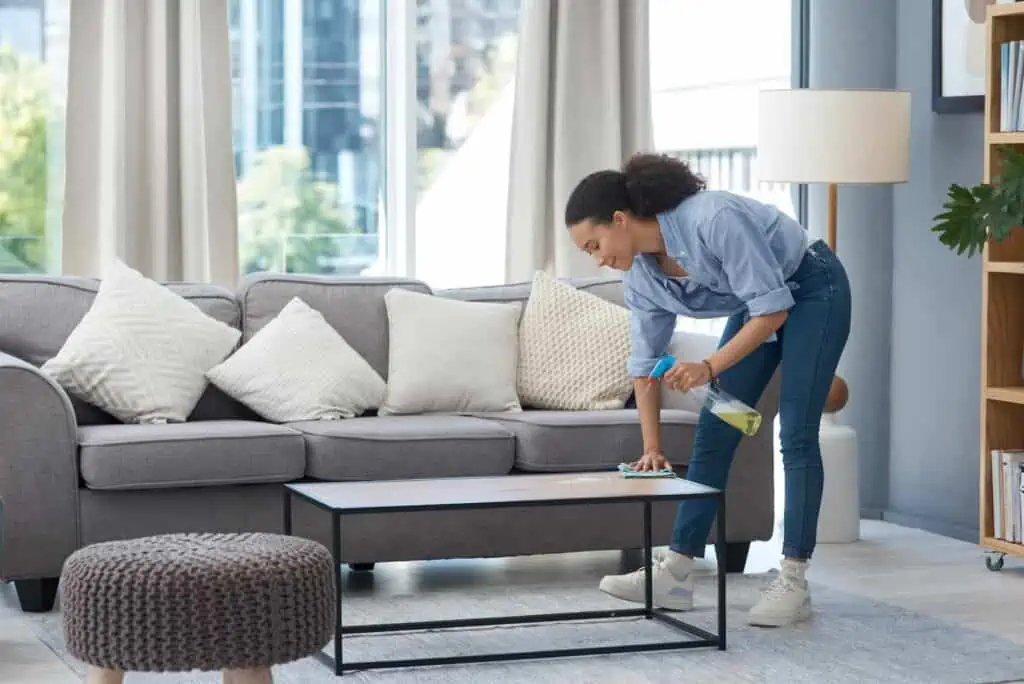
A cluttered room is a photographer’s — and home buyer’s — nightmare. When potential buyers look at your listing, you want them to focus on the spacious rooms, natural light, and other selling points, not the knick-knacks you’ve collected over the years.

Photographer and videographer James Costa suggests doing a thorough clean of the house before you begin — including vacuuming, mopping, and cleaning all counters and windows. Then, he says, remove all the clutter. 


“Don’t go wider than 24mm [lenses]! Extreme wide-angle lenses cause distortion and make the room look unnatural.”


“People need to picture themselves in the home, not the current owners,” says Costa. “You want to make certain you remove personal items such as photos. Put all clothing and shoes away, and other clutter such as keys and mail.”

And once everything’s decluttered, it’s time for staging. Costa shares some of his recommendations:

  • Kitchen: Counter space is king. Remove as much as you can but remember to make it seem livable. Keep a few small appliances such as a coffee maker out and place something colorful like a bowl of fruit.
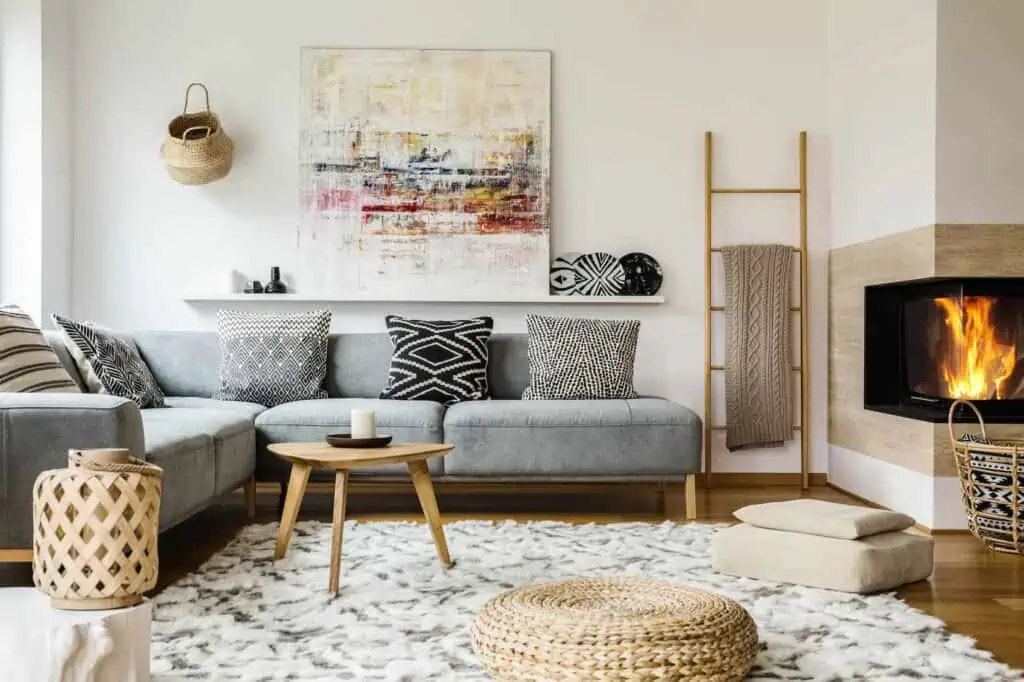
  • Living room: Arrange books on shelves, and clean the fireplace if the room has one. Fluff all pillows to make them seem more inviting, and hide cables for the TV and other electronics.
  • Bathrooms: Put out fresh, matching towels, lower toilet stands, and consider putting out decorative soap. Remove personal items such as shampoo, and remove floor mats to show off the floors.

Enhancing curb appeal

a man on a ladder paints a windowsill

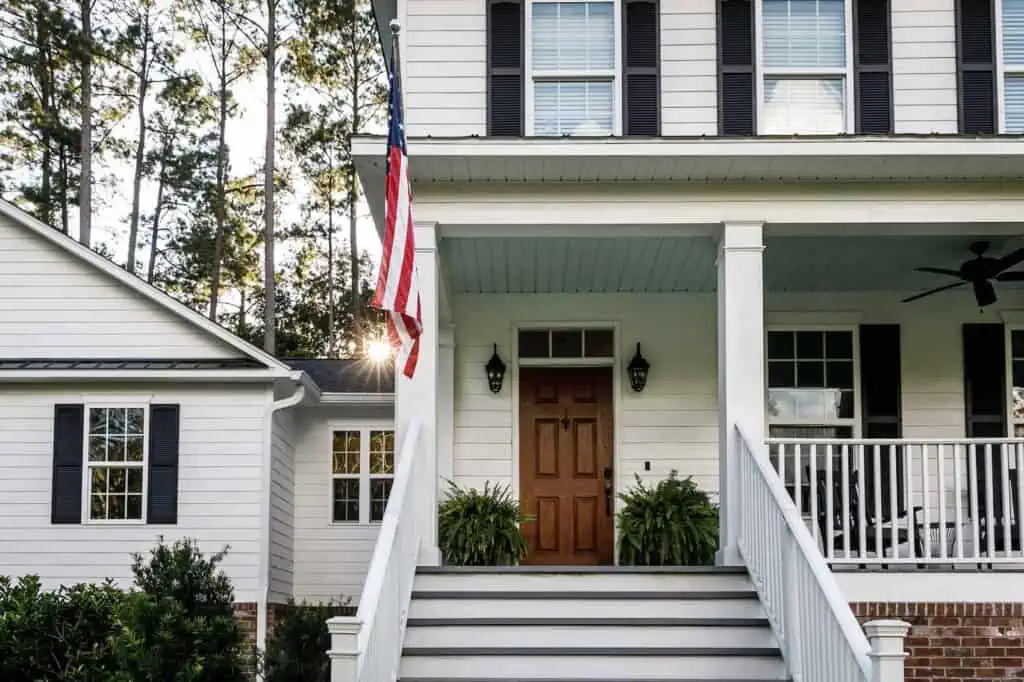
Curb appeal is essentially how your home looks from the street. And since it’s the first thing buyers see when they pull up for a visit, it sets the tone for the entire viewing.

If potential buyers are turned off before they step inside, you’re already facing an uphill battle, so it’s important to take steps to make a great first impression. 

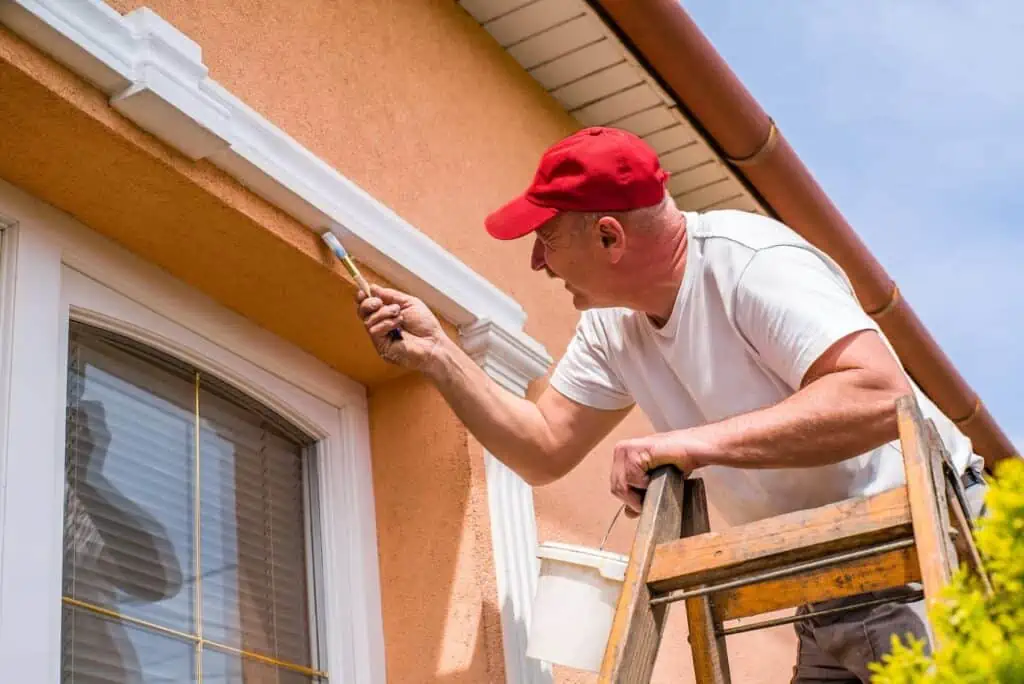
  • Freshen up the paint: If your front door or shutters have seen better days, add a fresh coat of paint to liven them up. You don’t have to go for a dramatic color change. A simple fresh coat of the existing color can make them look more appealing.
  • Pay attention to landscaping: Trim overgrown bushes, remove dead plants, rake the yard, mow the lawn, and consider adding a few flower pots near the entrance.
  • Put away outdoor tools and toys: Garden tools, lawnmowers, or kids’ toys scattered around can be distracting in photos. Stash them in the garage or a shed to keep the focus on your home.
  • Sweep and power wash: Dirt and grime build up over the years. A quick power wash of your walkway, driveway, and facade can make your home look well-maintained. At the very least, it can remove debris and freshen up the space.

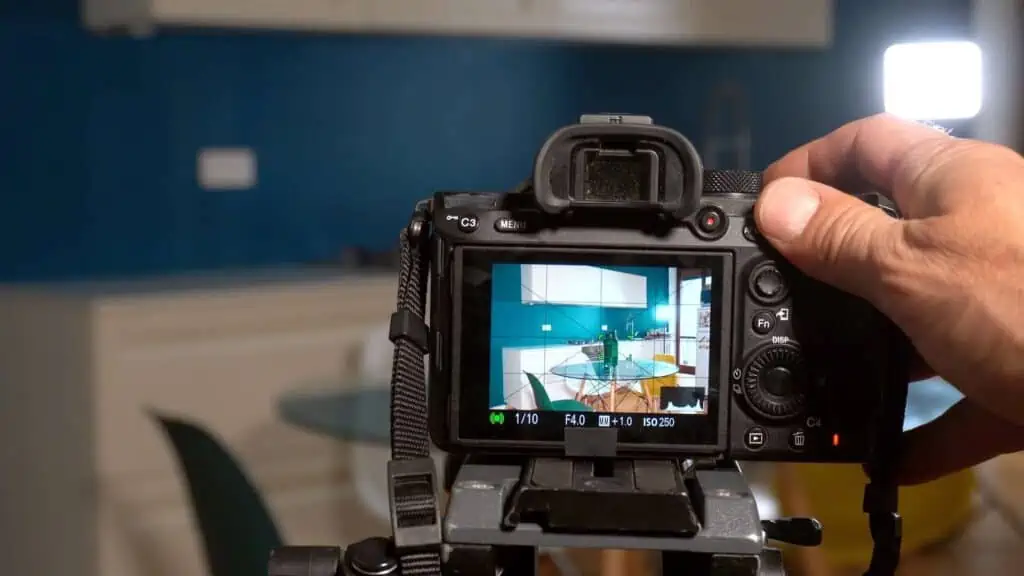
Photograph the Interiors

The beauty of digital photography is that you can review your photos as you take them. If you’re unhappy with the exposure, or you want to swap out a vase for a coffee table book, you can do this as you’re shooting.

Aim to get photographs you can work with straight out of the camera. Think of the editing stage as a way to boost good photos, not to salvage bad ones. Sure, it might take a bit more time during the shoot, but this step can save you heaps of editing time later.

Lighting the room

photography lighting equipment shines light around a yellow couch and dresser in preparation for a photo to be taken of the furniture

Here’s a photography tip for you: lighting is possibly the most important aspect of what makes a good photo. Shooting in natural light sounds hassle-free, but relying solely on the sun can be tricky. The angle of sunlight changes throughout the day, affecting color temperature and shadows in each room. You can use different techniques for more control over how the room looks.

  • Interior lighting: Turning on interior lights can make the space look warm, but they often vary in color and temperature. You’ll need to adjust the white balance during post-processing to get consistent results.
  • Exterior lighting: Use added exterior lights mounted on a softbox or umbrella to light specific areas of the room. This also allows for more control over the temperature and color of the light. If your budget doesn’t stretch to include too much lighting equipment, you can use reflectors to bounce natural light into shadowed areas.
  • Dos and donts of camera flash: You can also use a bounce flash that’s mounted on your camera, but do not point the flash directly at what you’re shooting. Direct flash can create harsh, unflattering shadows and highlights. Instead, bounce the flash off ceilings or walls to create a softer look and reduce glare on shiny surfaces. 
  • Bracketing: This is a process where you’ll take multiple photos at different exposures, which you’ll then combine into one while post-processing to create a more balanced scene. It’s to make light distribution appear more even in rooms where there’s a very bright side (like from windows) contrasted against a very dark one.  The frames must be identical for this to work properly, which is where using a tripod becomes essential.
  • Make use of overcast days: Brighter sunlight is better, right? Not necessarily! Cloudy weather acts as a natural light diffuser, reducing harsh shadows.

Picking the right light is not a ‘one and done’ situation. Each room may need different lighting depending on how big it is, which direction it faces, and how much natural light it gets. 

Convey the depth of the space

a camera with a level attachment is standing in the middle of a room
Level attachments are one way to help keep the camera in the right position

When photographing a room, you want the viewer to get a sense of its layout and size. A poorly executed shot can make a large room look cramped or a cozy room look uninviting. So how do you get it right?

  • Use a wide-angle lens: Lenses in the range of 20mm to 24mm help you capture more of the room in a single frame and make spaces appear larger. Don’t go wider than 24mm! Extreme wide-angle lenses cause distortion and make the room look unnatural.
  • Avoid tilting the camera: “Try to be on level with your main subject and tilt the camera as little as possible,” says photographer Matthias Haltenhof. “In an ideal situation, all images can be photographed at a nearly horizontal level, so you don’t need to correct a lot in post-processing.” Check if your camera has an electronic level setting or buy a hot shoe level. Both methods will show you if your camera is pointing straight into the room or tilting up or down. If you need to shoot something below or above eye level, adjust the height on the tripod instead of tilting the camera.
  • Balance the elements in the frame: Use the rule of thirds and leading lines you learned about to make the photograph look appealing. For each setup, decide what you want to catch the viewer’s eye — is it the reading nook, dinner table, or cohesiveness of the layout — and frame your shot with the composition basics in mind.

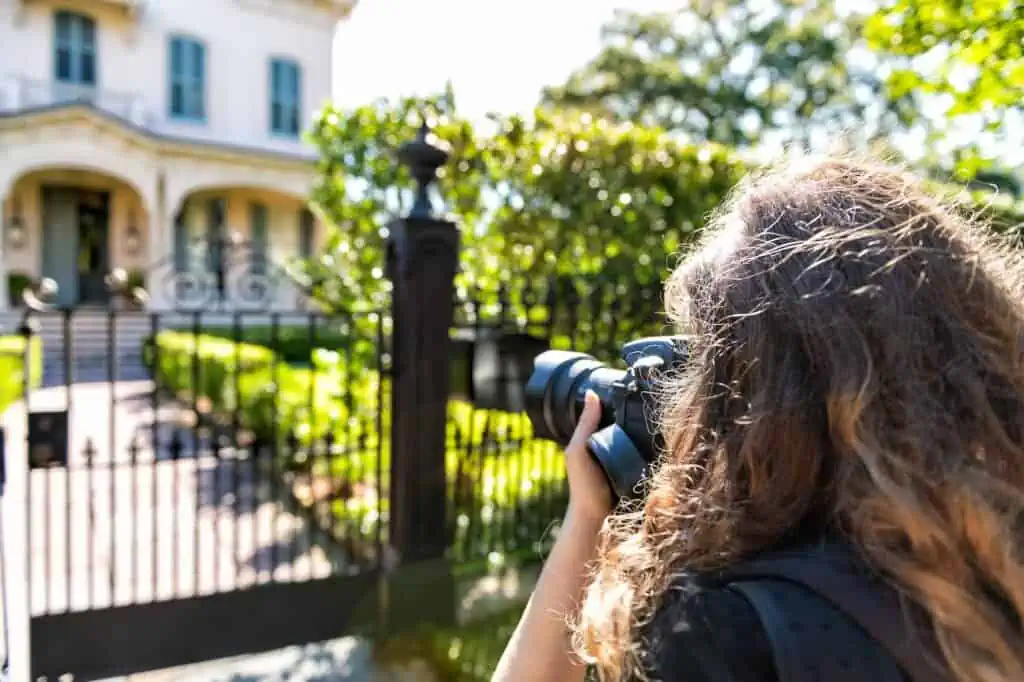
Photograph the Exteriors

Getting the right shots of your home from the outside matters just as much as the living spaces inside. Whether it’s the backyard with the swing or a well-lit driveway, the spaces outside your walls should shine in these photos.

Make a great first impression

a woman takes a photo of the exterior of a home with a black iron gate and well manicured bushes

A house that looks welcoming right off the bat can make home buyers stop scrolling and pay attention. Capture your home’s curb appeal so viewers can see what it looks like from the outside.

  • Showcase landscaping: If you have colorful flower beds, a well-manicured lawn, or a unique tree, include these in your shots to add character. If your front or back yard space is small, use angles that make the most of the space, such as photographing from a corner to give a sense of expansiveness.
  • Highlight outdoor elements: Got a pretty mailbox, charming front door, or stylish windows? These are elements that make your home stand out, so get these in the frame.
  • Shoot at the right time: The time of day can dramatically affect the mood of your exterior shots. During golden hour (the first hour after sunrise and the last hour before sunset), the angle of the sun creates a soft, warm, flattering light and is best for general photos. You can use an app to know when golden hour is at your location. Shooting at twilight lets you showcase outdoor lighting and offers a glimpse of what the house will look like in the evenings.

See prices for local moving labor. Read real customer reviews. Easily book your help online.

Show an aerial perspective

Drone photography lets you offer a new viewpoint to your property that displays its size, layout, and the surrounding area.

Before you take to the skies, check if there are any airspace restrictions in your area. You can verify this by directly contacting local authorities or using apps and websites that show no-fly zones specific to drones. The FAA website is a good place to begin to learn more about airspace restrictions.

If you’re all set to go, remember that the basic rules of photography — good light and good composition — apply to aerial shots as well. In addition, you need to be mindful of your drone’s surroundings to avoid it getting stuck in a tree or blown off by the wind.


Edit Your Photos

someone looks over photo prints that have been edited on the computer in front of them

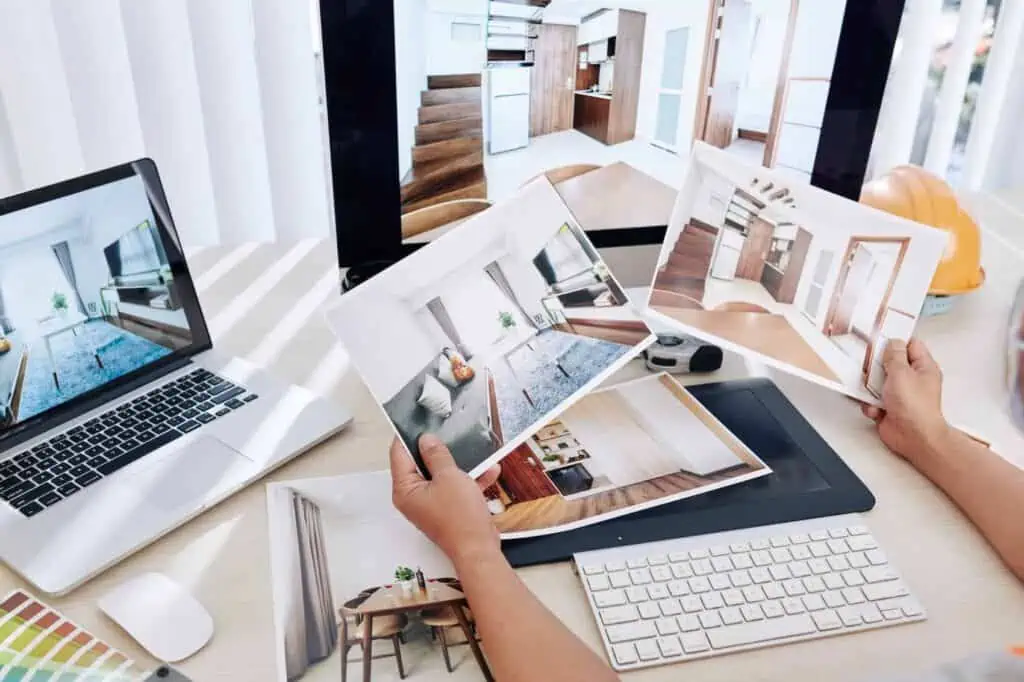
After you’ve taken the photos, it’s time to move them off the memory card and onto your computer to edit them. The goal isn’t to make your house look unrecognizable or deceive potential buyers. You want to lightly enhance your photos and turn good photos into great ones.

Keep in mind, you can outsource this stage of the photography process if you like. There are professional photo editors who offer their services on websites like Fiverr. Check different profiles and reviews before deciding if you’d like to hire someone or edit the photos yourself.

Selecting the right editing software

There are multiple photo editing software options for you to choose from. Adobe Lightroom and Photoshop are industry standards and offer a range of features from basic adjustments like exposure and contrast, to advanced capabilities such as layering and retouching.

You can also use these programs to post-process bracketed images. They’re subscription-based and start at $9.99 per month with a free 7-day trial. Adobe’s tools are powerful options, but there is a small learning curve if you’re not familiar with the interface of Adobe products.


“It might seem convenient to grab one massive memory card and call it a day, but memory cards can get corrupted… [and] you could lose every photo you’ve taken. Spread your photos across multiple cards to minimize the risk.”


Capture One is a good alternative with similar features as the Adobe photography suite. Its plans start at $24 per month with a free 30-day trial.

GIMP (GNU Image Manipulation Program) is a free alternative if you’re looking for a free option. While it may lack some of the polished features of the paid software options, GIMP offers the tools you need for photo editing and is open-source.

Color correction and enhancement

a before and after photograph of someone hanging their legs off of a ledge that has been color corrected
an example of color correction

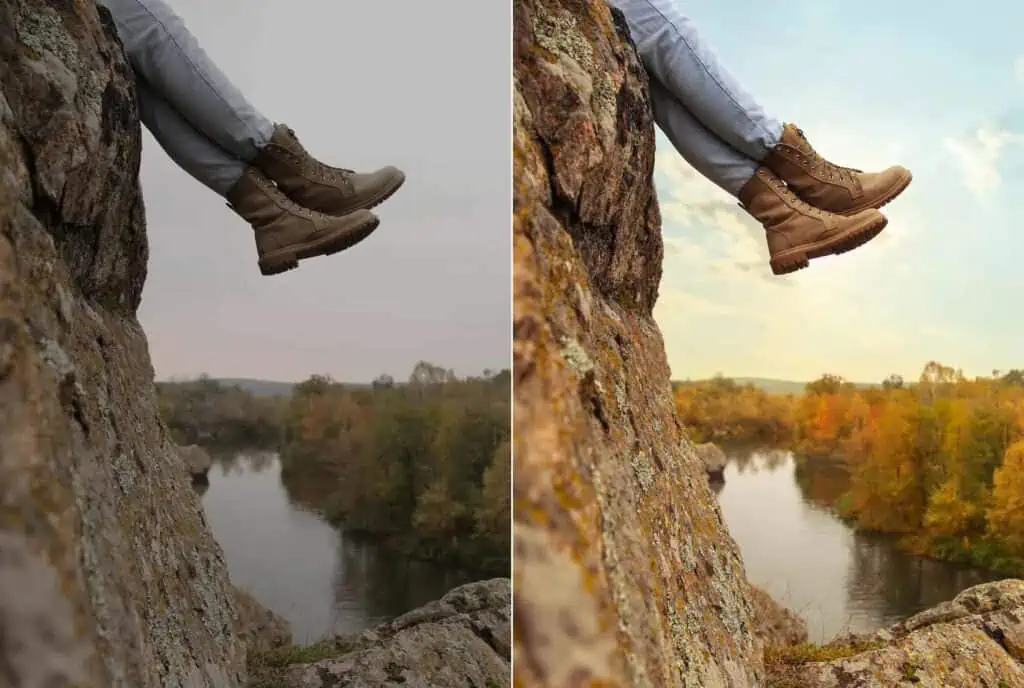
There are a few basic photo editing steps you should run your photos through. For all the adjustments, use a light hand to keep your photos looking as natural as possible.

  • Adjust the white balance to balance out any varying color temperatures in your photo and to make your house look natural yet warm.
  • Enhance colors and vibrancy to make greens greener and blues bluer in your outdoor photos. Don’t overdo it — oversaturated photos will have the opposite effect and turn buyers off.
  • Retouch images to remove minor imperfections like wall stains.
  • Sharpen your photos and reduce noise to make your photos crisp and reduce graininess that may occur at higher ISO settings or in lower light conditions.
  • Lens corrections automatically adjust any lens distortion and chromatic aberration or color distortion (if the software you use has the option). 

The key takeaway here is moderation. Overediting can make your photos look artificial, and it may also misrepresent the property, which will turn potential buyers off when they come to see the home in person.


Upload Your Photos to Your Home Listing

Your photos are taken and edited, and it’s time to upload them to the listing. But don’t just choose files in a random order! “A common mistake in listing photos is not placing the photos in an order which takes the buyer throughout the home in a continuous way,” says real estate broker Chuck Vander Stelt.

Jumping around from room to room can be disorienting. Instead, think about the route you want potential buyers to take through your home. By following a sensible sequence, the listing can tell a coherent story of what it’s like to move through your home.

Save your photos in JPEG format to upload (not RAW that you shot in), and check the property listing site’s requirements or file size restrictions.


With the photos doing the heavy lifting and showing off your home, you’re all set to get ready for viewings. Next step: changing that ‘For Sale’ sign to ‘Sold’. Good luck!

Moving Vs. Remodeling Your Home

Author:

Publish Date:

Last Modified Date:

Category: Buying & Selling a Home, Home Improvement

Tags: Tags: , , , , , , , , , , ,

Whether your tastes have changed or your family is growing, you might find that your current home is no longer meeting your needs. That presents an important decision to make: Should you renovate your current place or move somewhere else?

In light of today’s uncertain real estate market, it’s a choice you should weigh carefully. Here’s what to consider.

The Case for Moving

Of course, one of the biggest things to think about when deciding between moving or remodeling is the cost. The decision you make today can seriously impact your finances for years to come.

The Costs of Moving to a Larger House

a couple looks over a blueprint, notebook, and calculator on a table. Boxes are stacked in the room behind them.

These are the most typical home moving costs.

Real Estate Comission

If you choose to use a real estate agent to sell your current home, you should plan to spend 5%-6% of the sale price in commissions. Usually, the buyer’s agent and the seller’s agent each receive a 2.5%–3% commission, which the seller pays.

New Mortgage Costs

There are also closing costs associated with getting a new mortgage. These typically run 3%-6% of the mortgage amount. Home appraisals, title insurance, and other administrative costs of buying a new home can tack on several thousand dollars more.


“As of the fourth quarter of 2022, the average home price of a home sold in the U.S. was $535,800.”


Home Repairs and Touch-ups

You may also have to spend some money getting your home ready for sale. For example, you might need to do some repainting and make a few repairs. Andnce you move into your new home, it might need some minor upgrades or new furnishings to fill up extra/larger rooms.

Movers and Relocation

Then there’s the cost of the move itself. Factors such as distance, number of rooms, and type of labor you hire will all impact the cost. According to HireAHelper data between January through May 2022, the average cost of a labor-only move was $418, based on the moves booked through HireAHelper and their partners. Of course, interstate and cross-country moves can cost considerably more.

Real Estate Market Considerations

a real estate "for sale" sign outside of a home with white walls and a tan roof

Home prices experienced a meteoric rise over the past couple of years. And although they’ve leveled off recently, prices are still at record highs.

As of the fourth quarter of 2022, the average home price of a home sold in the U.S. was $535,800. While that means you can probably sell your current house for a great price, it also means you’ll have to spend (or borrow) more for a new one.


“The average cost of home remodeling is $49,000, with most remodels costing somewhere between $18,000 and $80,000…”


Along with home prices, mortgage rates have also been on the rise. The Federal Reserve raised its rate several times over the past year to combat rampant inflation, which has impacted the cost of borrowing considerably. Strong consumer spending and increasing housing costs have also contributed to rising rates.

As of February 16, the average interest rate on a 30-year fixed-rate mortgage sits at 6.32%, while the average rate for a 15-year fixed-rate mortgage is 5.51%. In other words, this is where you would do the math to compare how much you’d spend in additional interest over the life of your loan versus the cost of doing any renovations.

Consider the Impact a Move May Have on Your Lifestyle and Any Family Members

A family with a toddler plays with blocks in front of stacked moving boxes

Beyond the financial cost, it’s also important to consider the time and emotional cost of a move. This can be particularly challenging for kids in your family.

Children

Young children can experience a range of emotions while moving. However, it’s not uncommon for them to feel sad, anxious, or angry, as moving can bring about a sense of loss as they leave behind familiar people, places, and routines, especially if they are moving to a new city or state.

With that in mind, understand that young children may experience developmental regression during the moving process. For example, they may revert to behaviors such as bed-wetting or thumb-sucking as a way of coping with stress.

Again, every child is different, and yours may not react strongly to the idea of moving. In fact, they may even be excited by the idea (plus, there are things you can do to help kids with the transition). Only you will be able to evaluate your child’s stress management capabilities and decide whether moving is worth it.

See prices for local moving labor. Read real customer reviews. Easily book your help online.

Teens and Young Adults

Teens or young adults in the family may also struggle with the transition, as moving might mean leaving behind close friends or romantic partners. It can take time for teenagers and young adults to establish new social relationships, and they may feel isolated or lonely during the transition.

Moving can disrupt their education, too, as they may need to transfer to a new school or college. This also means they may struggle to adjust to new academic expectations, curriculum, and teaching styles.

You Own Emotional Health

Don’t downplay your own feelings and stress levels. Moving is a lot of work, and a major time and financial commitment. You’ll need to think about whether you — and your partner, if you have one — have the mental bandwidth to deal with a move and everything that comes with it, including changing jobs, making new friends, and more.

Attachment to Your Own Home

And don’t underestimate how attached your family may be to your current house. It may be where siblings share fond memories of growing up together or spending time with a grandparent. Forcing family members to give up their beloved home could cause hurt feelings, so consider how moving might affect your family dynamics.

Consider the Life Logistics

a woman packs up her desk in preparation to leave her job

Moving also has an impact on your lifestyle in general. If you move, it’s important to think about how certain aspects of your life could change, for better or worse.

How Will It Impact Your Career?

Obviously, moving can significantly impact your career if you have to find a new job! The job market may be different in the new location, with different industries and job opportunities. If you are not moving for a new job or with your old job, it will take time to find a job that fits your skillset and experience.

Moving can also mean leaving behind professional connections, mentors, and colleagues. It might take some time to build a new network in the new location. Plus, salaries and wages can vary widely by location; you may need to adjust your expectations, or negotiate a new salary to match the cost of living in the new location.

How Much Do You Like Your Current Life Setup?

How do you like your current neighborhood and how would a new one compare? You’ll need to weigh factors such as,

  • Safety
  • Schools
  • Access to public transportation
  • Walkability
  • Entertainment
  • Cultural amenities

Does the area you live in still serve your needs? Does your potential new city offer the right vibe?

The cost of living in the neighborhoods you’re considering is also key. This includes factors such as housing costs, property taxes, and utilities. Consider whether the cost of living — either at home or somewhere else — is within your budget.

The Case for Remodeling

Remodeling may inherently be cheaper, but don’t forget that remodeling your home also takes time, money, mental fortitude, and sacrifice.

The Costs of Remodeling

a man and a woman look over a kitchen in preparation for remodeling it

Even though the worst of the pandemic economics are behind us, supply chain issues and labor shortages still plague many industries. And that could impact the cost of a remodel. (Building materials have been slightly increasing in price, for instance.)

So how much should you budget for remodeling in 2023? The average cost of home remodeling is $49,000, with most remodels costing somewhere between $18,000 and $80,000, according to Hunker.

How much do home projects cost by foot?

When broken down by the size of the project, smaller renovations tend to cost more per square foot. A whole-house remodel typically costs between $15 and $60 per square foot. A kitchen or bath remodel can run $100 to $250 per square foot, while putting an addition on your home is around $90 to $200 per square foot.


“Your family may need to adjust their schedules or make alternative living arrangements during the remodeling process.”


Budgeting

high angle shot of a man and woman on a couch looking over documents on a table such as blueprints and paint swatches along with calculator and a pen

it’s crucial to set up a realistic budget and stick to it. That includes a contingency plan for any unexpected (i.e., expensive) issues.

Start by determining the exact scope of your remodeling project. This could include changes to the layout, new fixtures, or updated materials. Once you have a clear picture of the work involved, you can start to estimate the costs.

Next, research the costs of materials, labor, and any permits or licenses you may need for the project. Get multiple quotes from contractors or suppliers to get an accurate estimate.

Set and stick to the budget once you have an estimate. Determine the maximum amount you can afford to spend, and set aside a portion of the budget for unexpected expenses. Also, decide which expenses are most important and allocate the budget accordingly. For example, you may want to put more money towards high-quality materials, while reducing costs on non-essential features.

Use a spreadsheet or budgeting software to ensure that you stay within your budget. Also, think about the hidden costs of renovating that could impact your budget. For instance, will you need to eat out more often while your kitchen is out of commission? If you work from home, will you have a designated, quiet workspace, or will you need to rent a coworking space?

See prices for local moving labor. Read real customer reviews. Easily book your help online.

Creating a Living Timeline

Remodeling projects can vary in duration, depending on the scope of the work. More than likely, however, remodeling is going to disrupt your family’s schedule, especially if the project lasts for an extended period. Your family may need to adjust their schedules or make alternative living arrangements during the remodeling process.

To minimize the impact of remodeling on family schedules, it’s important to plan ahead and communicate with everyone. For instance, you might want to schedule work during summer vacation from school or after an important project at work is completed. If necessary, you might need to temporarily move into a family member or friend’s home, or even a hotel, to minimize the disruption.

Hiring the Best Professional Team

a man and a woman speak to a contractor wearing blue overalls about their home remodel

Next, you’ll need to hire the right team to get the work done promptly, correctly, and within budget. One option is to go through a trusted family member or friend. While this is a good way to get a referral, or even perhaps a discount, keep in mind that the relationship could be strained if there are any disagreements or problems.

Alternatively, you could hire a professional team with the help of a platform such as Angi, Houzz, or Porch. Keep in mind that your budget and timeline may impact who you can hire.

Getting Permits and Permissions

Finally, don’t forget to make sure you have all the right permits in place, which vary by city. Minor improvements to the interior, such as replacing countertops or installing hard flooring don’t need a permit, but major renovations such as building detached structures (like a garage), cutting holes for doors and windows, and making major plumbing or electrical changes likely will.

You can find out exactly which permits are needed and apply for them through your local municipal office. Be sure to keep your paperwork organized in case you need to show proof you were approved to do the work.

Making Your Final Decision

Choosing whether to remodel your home or move into a new one is a big decision that can impact your finances, mental health, and overall quality of life. Both options have their pros and cons — you’ll need to carefully weigh your priorities and discuss each option with all the members of your family. After all, everyone’s along for the ride.

How to Sell a House: A Guide from A to Z

Author:

Publish Date:

Last Modified Date:

Category: Buying & Selling a Home

Tags: Tags: , , , , , , , , , , , , , , , , , , , , , , ,

If you’ve ever sold something on Craigslist, you probably know how much work even just that can be involved. You’ve gotta take photos of the item, figure out a good price, and then post it online with a descriptive caption and details about the piece. Afterward, you’ve gotta field the emails and calls, then wait for a random stranger to come pick up your item.

Now, take that process and multiply it by 100 … that’s what it’s like to sell a house!

We’re not gonna sugar coat it; there is a lot of work and serious effort involved in selling a home. That’s why we wrote this post to outline the entire process for you. Understanding what you’ll be doing is the first step towards slapping “SOLD” on the sign in your front yard.

Craft a Selling Gameplan

Once you decide to sell your house, you probably would like if it all happened pretty quickly. But nothing good happens without a plan. So the first order of business is to make a selling gameplan. This is what that looks like.

Agent or No Agent?

The first major step in the selling process is figuring out if you’re going to hire a professional real estate agent or sell your home yourself. If you go the “For Sale By Owner” route, you could, in theory, save some money. But if you’re new to the home selling process, you may be way over your head if you DIY it. Ask yourself if you have the time, knowledge and marketing skills to sell your house all by yourself. If you come away with a resounding yes, it could be the right move for you!

Though if you decide to go with an agent, take the time upfront to find a good one. Ask friends for referrals, read reviews online and interview more than one agent before you hire the winner. A good agent should educate you throughout the process, and it ultimately should be someone you deeply trust.

This post outlines tips on who to contact, when, and how to do it.

Choosing the Right Time

The best time to sell is March through June. That leaves parents an entire summer to get their kids adjusted and ready for the new school year. So if you can wait until the spring and early summer months, do it! It’s always best to avoid selling during winter and the holidays, as most people aren’t looking to buy homes during that busy time of year on average.

Find the Right Price

The first 30 days of activity are crucial when it comes to selling your house, so price matters. You may assume that you should start high and then lower your price if you don’t get any attention, but if it sits on the market for too long, your listing can become stale. Buyers may stay away if you price too high or assume that you’re not serious about selling. Price it right from the start and you’ll probably sell your home much faster.

If you’re using an agent, they will work with you to figure out the best price for your home. You can also research other comparable homes in your area, and maybe even attend some open houses. Plus, there are many online resources that will help you track down the perfect number for your area. These things will all get you a good feel for the market and how your home compares.

Prep Your Home

Painting the House

Before you can officially get your home on the market, you need to get it looking it’s very best. If you fail to make your home look presentable, then you may not get the asking price you’re looking for, or even worse … it could sit on the market for far too long. You need to showcase your home in its best light, and the only way to do that is with some hard work and effort. Here’s how to prep your home for the market:

De-Clutter and De-Personalize In Six Steps

This first task will cost you literally zero dollars. Yep, you can already make your home look 10 times better without spending a dime. Here’s how.

  • Find a spot where you can store items out of sight. That could be an attic space, shed, or even a storage unit that you rent while you’re selling.
  • Remove excess bulky furniture. The more space to walk around, the better.
  • Try to pare down at least 10% in each room. Gather extra accessories and items that are taking up space.
  • Permanently clear all counters in your kitchen. And try to get rid of most items on surfaces (i.e., desks, dressers, etc.).
  • Donate everything you clear. (Or add them to your designated storage spot.)
  • Remove any personal items from around your home. This means things like picture frames and family knickknacks.

These six steps will have your home looking so much more sellable. Your space will be lighter and brighter for the photography and showings later on! Don’t forget about closets and drawers too. Buyers are nosy, and they’ll be checking out every nook and cranny in your house.

Make Small Home Upgrades

You don’t necessarily need to renovate your kitchen or bathroom to sell your house, but there are small upgrades you can make to improve your home. Here are some ideas that will instantly improve the look of your space (and potential home value!).

  • Give your walls a fresh coat of paint. Be sure to consult this list of paint colors with the best resale value first!
  • Upgrade your kitchen on a dime. Swap cabinet hardware, replace your faucet, and add new pendants for a quick and budget-friendly new look!
  • Boost curb appeal with a painted door. This post will help you pick the perfect hue. (Also helpful is a cleaned up yard and fresh flowers.)

Finally, if something has been broken (and on your to-do list for years), now is obviously the time to fix it!

Clean From Top to Bottom

There’s another essential (but free) task you’re going to be doing to make your home look a lot better: cleaning everything! Grime and dust can quickly deter buyers from truly considering your home, so get every nook and cranny sparkling. These posts will help you channel your inner Mr. Clean.

Marketing Your Home

If you’ve gotten to this step, your home is in tip-top shape from all of your hard work and it’s ready for its debut to the world! Marketing your home is by far the most important step of the home selling process. You can have the most gorgeous house on the block, but if no one sees the listing it’s never going to sell.

Stage and Photograph Your Space

You’ve already prepped for the staging when you got rid of personal items and removed clutter. Good work, that’s 90% of the battle. Now it’s time to add the finishing touches before your home’s photo shoot.

Make sure every room is clean, all beds are made, and blinds are open to let that natural light in! (Natural light is ideal for photos.) It’s important to keep accessories to a minimum, but if you do want to add a few we suggest opting for plants and flowers. This post has lots of tips on how to do it right.

Pictures are the most important part of a home listing, so it’s crucial to get these right. If you don’t think you can DIY it, then hire a pro! Investing in a professional photographer could potentially be the biggest money spent to money gained ratio in the entire process. If you’re using an agent, often times they will pay for this service. A professional is always a good idea because they will know how to photograph your home to make it look its best.

If you’re selling your house yourself (or just want to save some money), it’s possible to take your own pics. We suggest using a wide-angle lens, shooting during the daytime, and using a tripod. For more DIY photography tips, check out this post.

Promote Your Sale

Don’t solely rely on your agent to promote your listing. You can take some of the marketing efforts into your own hands and broadcast your sale to the world! Put your listing on social media sites, email your friends and family, and let neighbors know that you’re selling. You never know who might be looking to buy, so it’s worth it to use your own network to get the word out. Here are some of the most common sites people use for listing and/or real estate research:

Bring on the Showings

Simply put, homes that don’t get shown don’t get sold. So the first order of business is to make your home available for showings. That could mean a few open houses on the weekends and availability during the week. We highly recommend that you leave the house during showings so buyers can really feel comfortable checking out your space. It may be an inconvenience for you and your family, but remember that it’s only temporary!

You’ll also want to do these 10 things before any open house to get your home looking (and smelling) its best!

Keep It Clean

It’s hard to live in your home like a normal person and keep it ready for showings at all times. But you’ve gotta do your best to keep your home clean and organized. Whenever you leave the house, tidy up and wipe down all of your countertops. That way if you need to have a last-minute showing, your home is ready to go.

Get Everyone Out of the House

It’s important for buyers to check out an empty house. So that means that you, your kids, and any animals should make a plan to high-tail it out of there. That could mean taking the dog for a long walk or heading over to a friend’s house for the day. But no matter what, come up with a plan for where your family will go when those last-minute showings happen. And if you do have pets, be sure to remove their items (e.g., dog bowls, cat litter, etc.) from the home before buyers come in.

How To Get Ready For Closing

If you’ve made it this far, then congrats! You’re almost to the finish line. Here’s what happens now:

Appraisal and Inspection Time

After the listings and showings, you will (hopefully!) get an offer on your place. After you’ve accepted an offer, most buyers will do an inspection of your place within a week. You won’t need to be there for the inspection, and you’ll usually have the results within a few days. At that time, you’ll know if all went well, if you need to fix a few items yourself, or if you’ll offer the buyers a credit to fix things themselves.

Here’s our full guide for how to deal with a home inspection.

Next, it’s time for the appraisal. Appraisals usually happen within a week of the home inspection. You can do some homework before the appraisal to improve the chances of getting a higher price. Provide a list of recent home improvements and receipts to explain the value you’ve added to your home.

The results of the appraisal may take a few weeks. If your home appraises, you’re good to go! If not, you’ll have to negotiate with the buyer to find a price that works for all parties.

Prep to Move

After the appraisal, you’ll be on track for closing day. You can finally start to pack things up and get ready to move out of your home. This would be a good time to think about hiring some help for moving day. It’s also time to start packing! This handy checklist will keep you on task so you stay organized and on top of your move.

See prices for movers by the hour – instantly.

Read real customer reviews.

Easily book your help online.


Saying Goodbye to Your Home

Congrats, you sold your house! All that’s left to do is say goodbye and toast to all of the memories made in your place. As a bonus, you can also leave your buyers a little gift as you head out (like a booklet of your favorite restaurants or just a note with tips on their new house). It’s a great way to hand off your past experiences to the new homeowners. Onward!

Showing Your Home? These Are the First Impressions That Matter

Author:

Publish Date:

Last Modified Date:

Category: Buying & Selling a Home

Tags: Tags: , , , , , , , , , , , , , , , , , , , , , , , , ,

To us, staging your home to sell is similar to going on a first date.

You set up this date in hopes to meet your future spouse. You don’t know if that’ll be the case but there’s always the hope, right? If you’re hoping to land “the one”, chances are you’re going to put some effort into prepping for this first date. We feel the same is true when it comes to staging your home to sell.

(more…)

In What Order Do I Remodel My House? In This Order

Author:

Publish Date:

Last Modified Date:

Category: Home Improvement

Tags: Tags: , , , , , , , , , , , , , , , , , , , , , ,

Homeownership can be confusing and comes with a lot of expenses. Even after you write that big check for a down payment, you’re still going to feel like you’re bleeding money. New furniture, DIY updates, fixing this and that…it all adds up! It can be overwhelming.

So today we wanted to give you some tips on how to prioritize all of those early expenses. What should you splurge on right from the start? What should you wait on to help you save some cash? We answer all of those questions…and more!

(more…)

How to Incorporate Chip and Joanna’s Fixer Upper Style Into YOUR Home!

Author:

Publish Date:

Last Modified Date:

Category: Home Improvement

Tags: Tags: , , , , , , , , , , , ,

How to incorporate Chip And Joanna's Fixer Upper Style into YOUR home!

If you are a Fixer Upper Fan, today’s post is for you! The star couple behind HGTV’s show, Fixer Upper, have completely stolen the hearts of America with their ability to transform old, run-down properties into homes that belong on the cover of a magazine.

Not only do Chip & Joanna Gaines create these swoon-worthy spaces, they do it while oozing positivity, happiness, and a great sense of humor. (more…)

Open House Prep: What to do the day of a showing

Author:

Publish Date:

Last Modified Date:

Category: Buying & Selling a Home

Tags: Tags: , , , , , ,

How To Prep For An Open HouseOkay, it’s the morning of your open house or you have potential buyers scheduled to walk through your home for the first time later today and you want these customers to walk away feeling completely smitten with the idea of moving into this space as soon as possible!

Of course you have already deep cleaned these important spaces and followed these important steps to make sure your home is looking great for its first impression, but now it’s time to conquer ten quick steps in order to make SURE your home is in tip top shape for your open house.

Here are ten easy tips to help your home make the best first impression it possibly could on these potential buyers: (more…)

5 Areas to Deep Clean Before You Sell

Author:

Publish Date:

Last Modified Date:

Category: Buying & Selling a Home, Home Improvement

Tags: Tags: , , , , , , , ,

You only have one chance to make a first impression, right?! So when it’s time for an interview, a first date, or time to meet the future in-laws, it just makes sense that you would spend some extra time “cleaning up”. Maybe you’d get a fresh haircut, possibly a manicure… anything you could do to make that amazing first impression is well worth it, right?

Houses are no different, especially when they’re on the market to be sold. Your house only has one chance to make a first impression on potential buyers during an open house or a showing so spending extra time and effort to get your home in tip-top shape is worth it!

Over the next few weeks, we will be providing a step-by-step guide in helping your home’s first impression turn into love at first sight for those potential buyers– first up, 5 areas to clean before you sell. (more…)

×

I'm Moving

Moving? Thinking about moving? Whether your move is off in the distance or you already have one foot out the door, you'll learn about everything you should expect through our useful how-to's, cool articles and much more. It's all specially curated for you in our "I'm Moving" section.
Explore
×

I'm a Mover

For rookies or veterans alike, our "I'm a Mover" section is filled with extensive industry news, crucial protips and in-depth guides written by industry professionals. Sharing our decade of moving knowledge is just one way we help keep our professional movers at the top of their game.
Explore