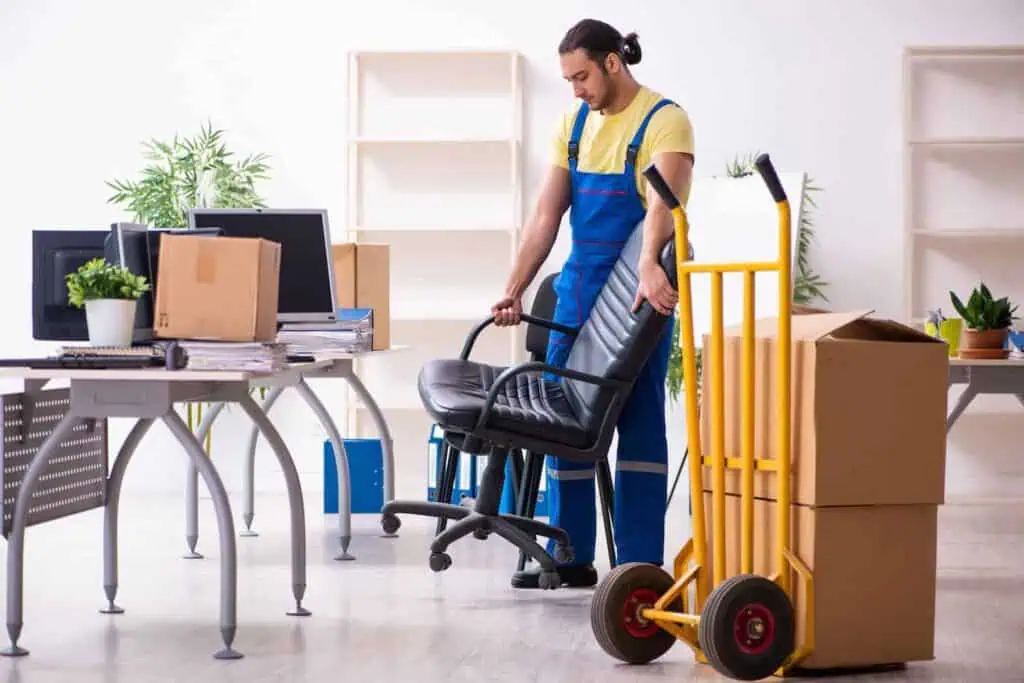
It’s easy to underestimate the awkwardness of packing an office chair. That is, until you try balancing one in a moving truck without it tipping, toppling, tearing, or scratching something you care about. With protruding arms, rolling casters, and sometimes delicate upholstery, office chairs are among the most commonly damaged items during a move.
Below, we’ll show you how to pack an office chair for moving, using techniques real movers use every day.
Moving Supplies You’ll Need to Wrap an Office Chair for Transport
Here’s what to have ready to protect your office chair for a move:
- Moving blankets or furniture pads: This is used to cushion sharp edges and keep finishes safe.
- Packing tape: It’s best to secure padding tightly without sticking directly to the chair’s surface.
- Stretch wrap: Will add another layer of stability and protect against dirt, dust, and moisture.
- Bubble wrap or packing paper: Used to wrap around protruding parts like armrests, knobs, or levers to prevent impact damage.
- Screwdriver or Allen wrench: A necessary tool for removing parts like the backrest or arm supports.
- Plastic zip bag: These are to keep screws, washers, or wheels together so nothing gets lost mid-move.
- Labels and a permanent marker: You’ll need these to help you match parts quickly when it’s time to reassemble.
Tip: Lay down a soft surface like a rug or towel before you start. It makes packing easier and prevents accidental scuffs on floors or your chair.
Step-by-Step Instructions: How to Pack an Office Chair for a Move
If you’ve ever tried wrapping a chair in a moving blanket only to have it come undone in the back of a truck, the problem likely wasn’t the blanket—it was the size. Most office chairs aren’t built to sit still, so unless you’ve got a blanket big enough to fully wrap and secure it, things tend to shift (or worse, tip over).
Kevin the Mover, a longtime HireAHelper expert, shares a simple method used by professionals:
“The key to wrapping a chair properly is having a big enough pad. From there, the rest is as easy as 1-2-3-4.”
1. Clean the Chair
Dirt can grind into finishes during transit, and wrapped-up dust tends to reappear in your new place. Give the chair a quick clean before you pack:
- Wipe plastic or metal frames with a damp cloth.
- Vacuum mesh backs and seat cushions to remove crumbs and debris.
- Use a leather-safe cleaner for leather chairs, and allow them to fully dry before wrapping.
Cleaning only takes a few minutes, and it’s the easiest way to avoid unpacking a dirty, scuffed chair later.
2. Lay It Down
Spread your moving blanket on the floor and place the chair on its back, off-center toward the top corner of the blanket. That extra room gives you enough fabric to wrap around the base and legs without bunching or gaps.
“If your chair is heavy or hard to maneuver, taking it apart makes it easier to carry — and safer to pack.”
If you’ve already taken the chair apart, start with the seat or backrest (whichever is largest) and lay the other components nearby.
3. Wrap It
This is the step where a lot of people go wrong. Just tossing a blanket over the chair and hoping for the best can easily result in a torn armrest or exposed caster.
Instead, do this:
- Fold the blanket’s sides over the chair first, snugly wrapping the arms and seat.
- Pull the top corner down over the backrest.
- Lift the bottom portion of the blanket over the chair’s base, tucking the excess between the legs.
If your chair has sharp angles or fragile adjustments — like a lumbar knob or headset mount — add a layer of bubble wrap before covering with the blanket.

4. Pull Up the Corner
Now comes the detail that separates a loosely wrapped chair from one that holds together all the way to your new place. Take the bottom corner of the blanket (now near the floor, between the chair’s legs) and pull it up over the seat.
Tucking this piece in tightly helps anchor the wrap and covers the underside — an often overlooked area that’s vulnerable to scrapes and pressure points during a move.

5. Secure It in Place
Once your chair is swaddled, it’s time to lock that cushioning and protection in. Use packing tape or stretch wrap to hold everything tight.
- Packing tape: Wrap it fully around the bundle so it sticks to itself, not to any fabric, plastic, or leather.
- Stretch wrap: Start at the base, work your way up, and overlap as you go. Stretch wrap also adds some waterproofing if you’re moving during bad weather.
As Kevin advises, “Tape doesn’t stick well to pads — remember to let the tape stick to itself, not the chair.”
Double-check that no parts are exposed. The most common place people miss? The wheelbase.
Common Mistakes to Avoid
It’s easy to cut corners when juggling boxes, furniture, and a ticking timeline, but overlooking small details with your chair can lead to big regrets. Here’s what not to do:
- Taping directly to leather, mesh, plastic, or wood. Adhesive residue can stain finishes or peel surfaces and may not stick properly to certain plastics. Always wrap first, then tape over the wrap.
- Skipping bubble wrap on sensitive parts. Armrests, tilt levers, and adjustable knobs are easy to snap if they’re not cushioned.
- Using undersized blankets. A half-covered chair is an exposed chair. If needed, overlap two pads or blankets to get full coverage.
- Ignoring office chair disassembly. If your chair is heavy or hard to maneuver, taking it apart makes it easier to carry — and safer to pack.
- Not removing the gas cylinder. Leaving it attached — especially during long-distance moves — can put strain on the cylinder or seat base if the chair is jostled.
If you’re dealing with ergonomic chairs, mesh chairs, gaming chairs, or leather upholstery, take the time to wrap each part individually. A few extra minutes here could help you avoid expensive repairs.
Additional Moving Tips for Office Equipment

Office chairs are usually just one piece of a bigger setup. Desks, monitors, drawers, and all the tangled cords in between. Each part of your home office deserves just as much attention if you want everything to arrive in one piece. These items are just as prone to dents, scratches, and stress damage if they’re packed carelessly.
Once your chair’s ready to go, here’s how to handle the rest of your office essentials with the same level of care.
| Tip | Why It Helps |
|---|---|
| Label all parts and cables | Makes reassembly of desks or electronics faster |
| Group small office items into bins | Keeps everything together — think monitors, mouse pads, and cords |
| Wrap electronics separately | Original packaging or plenty of cushioning in boxes protects equipment |
| Empty or remove drawers | Lifting empty desks or filing cabinets is safer and easier |
| Call for help when moving heavy desks | A second set of hands can help prevent injury |
Frequently Asked Questions
Do I have to disassemble my office chair for moving?
No, most office chairs can be moved without disassembly. If it fits through doorways and isn’t too heavy, wrapping it whole works well. However, if the chair is oversized or fragile, it’s smart to disassemble bulky parts like the backrest or wheels so it can fit in the truck and be moved up and down stairs.
Should I remove the wheels?
Removing the wheels is optional but recommended. Detached wheels mean your office chair won’t roll around in the truck, and the base can be wrapped more securely. Most pop out with a firm tug. If you do leave them on, make sure to wrap the wheelbase well and secure the chair so it can’t move.
Can I stack office chairs in a moving truck?
No, most office chairs aren’t made to stack, and doing so can damage upholstery or frames.

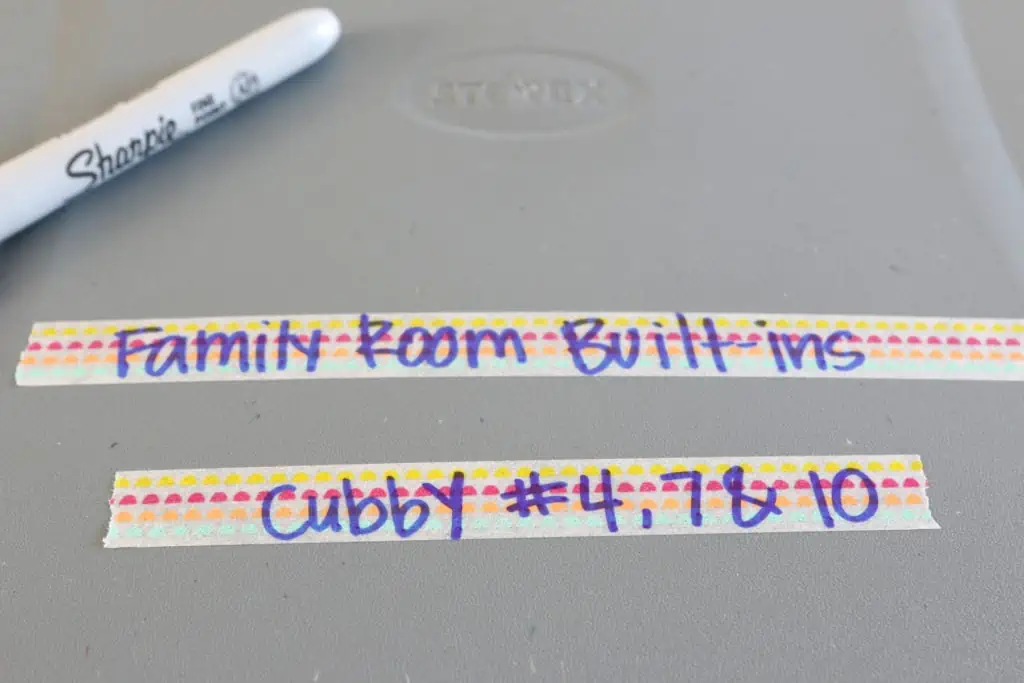
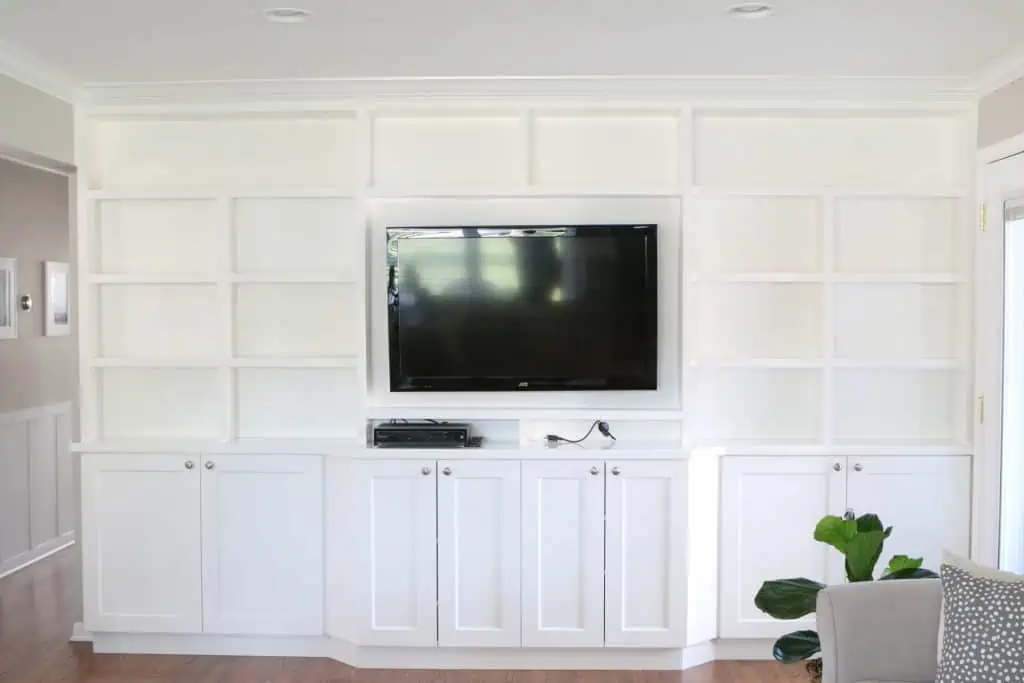
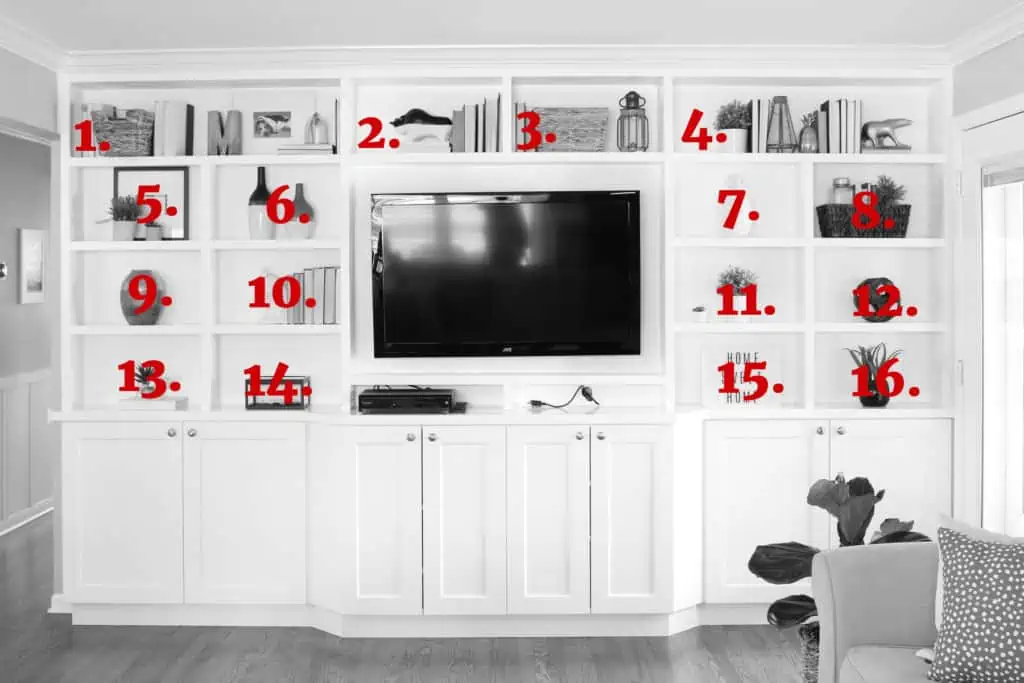 The first thing you have to do is create a numbering system for your shelving unit. You can use any method you want and don’t need to make a fancy graphic like this, you just have to make sure you remember which shelf corresponds with what number. Some may be able to easily memorize the number system, but if you’re not confident in your ability to do that, you can always put a piece of painter’s tape on each shelf with the corresponding number so you remember. This trick will take about 1 minute and won’t damage the shelving unit at all.

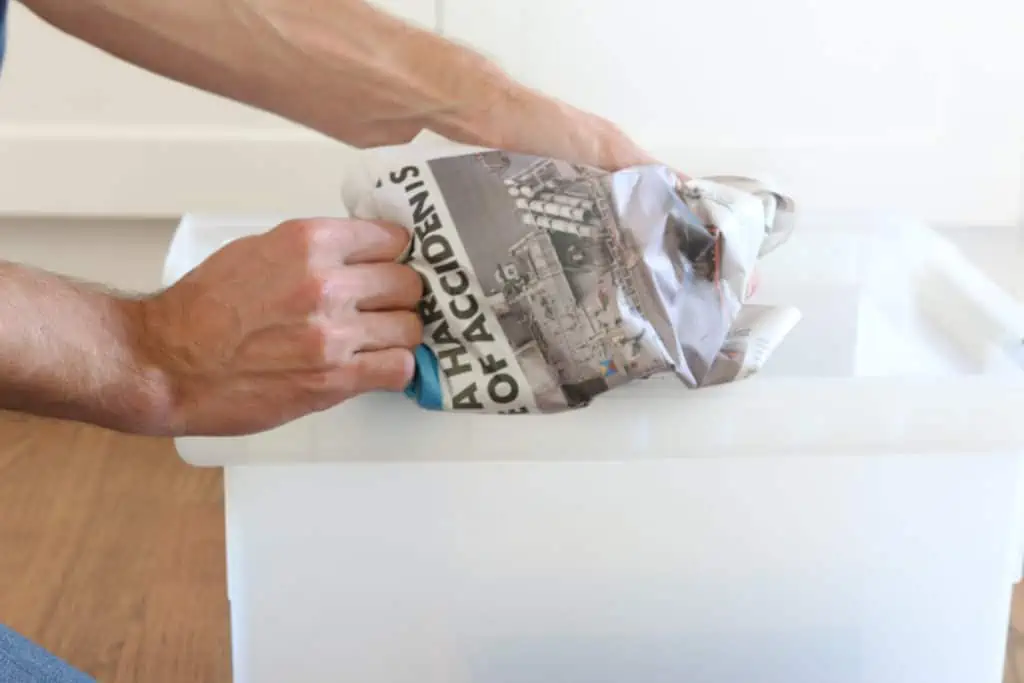
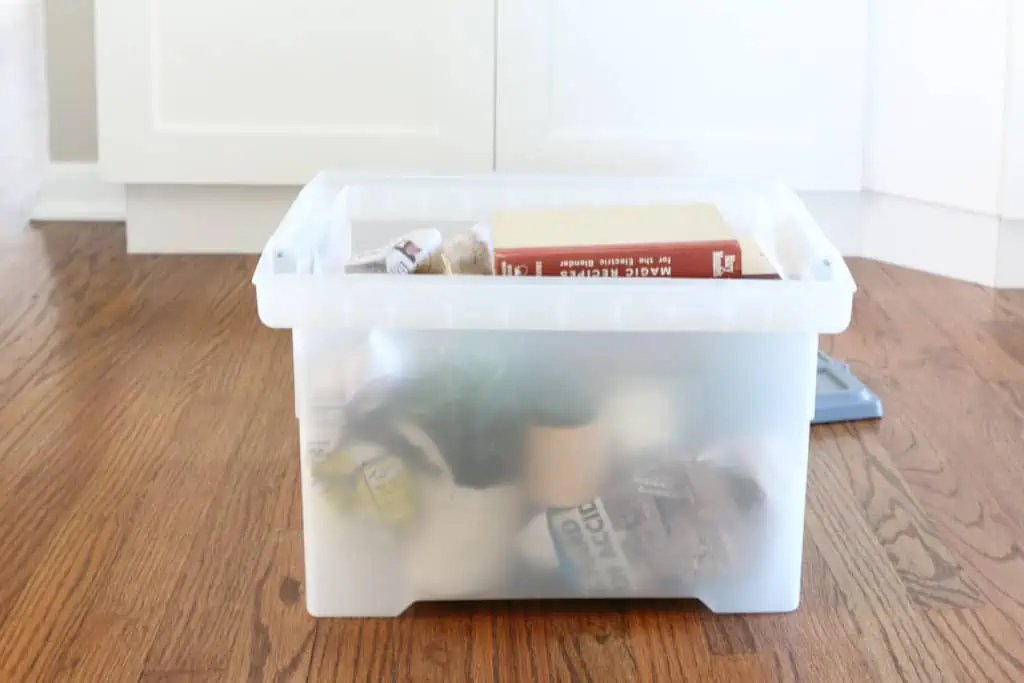
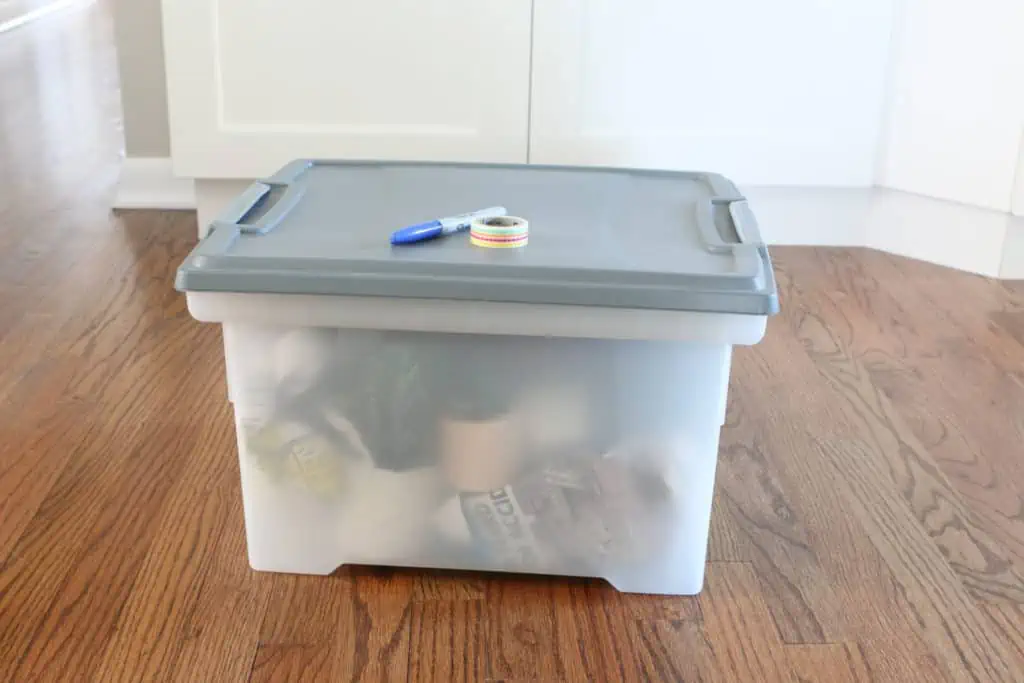
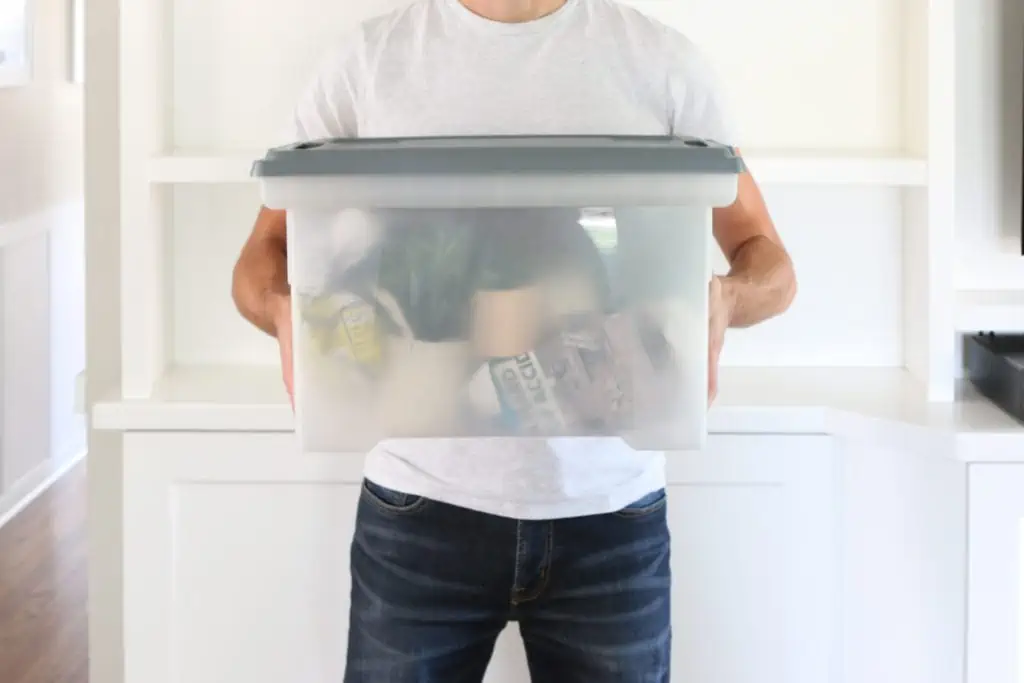
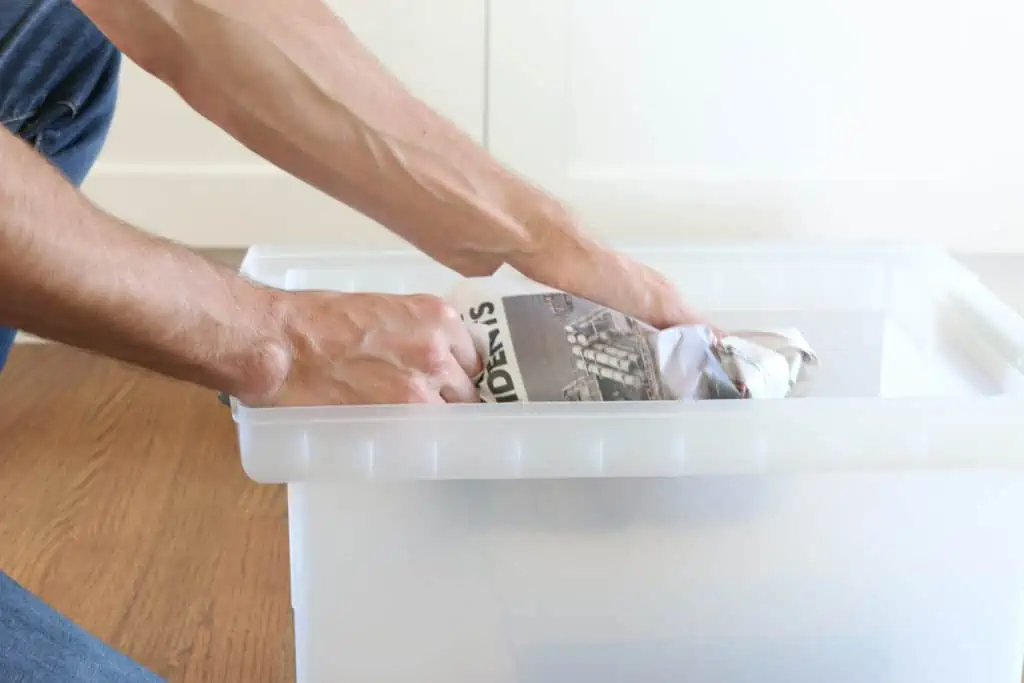 Carefully wrap and box the items like you would normally do, but try to keep as many of each shelf’s contents together in one box. For example, the grouping of books, the picture frame and planter in box #4 should all make their way into the same moving box.